
How to Password Protect a Folder in Windows 10 without Software
You can password protect the folder with Windows 10 built-in feature"Encrypting File System (EFS)" on your desktop/laptop. Only the current user can access the folder, while other unauthorized Windows 10 local users (without the certificate and key) can't. Let's look at how to password protect a folder on Windows 10 desktop without software.
- Content:
- Part 1: Change encrypt attributes of the folder to enable password protection
- Part 2: Export the certificate and key of the protected folder and set a password
Steps to Password Protect Folder in Windows 10 without Software
For more securer, protecting a folder with a password in Windows 10 can ensure the files pried by others. Without 3rd-party software, we can definitely password protect one single folder with EFS of Windows 10 and the way is different from how to encrypt disk drives. You can follow these steps to set one password to lock your folder up.
Part 1: Enable password protection of the folder in Windows 10
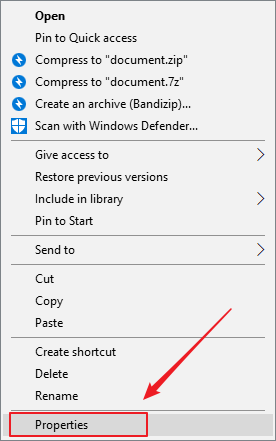
1. Locate the folder on your desktop. Right-click the folder you want to protect and click "Properties".
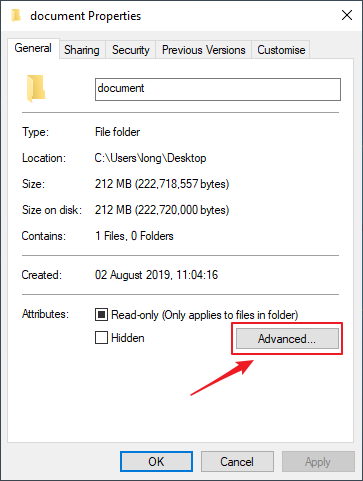
2. On the General tab, click "Advanced".
3. Check the "Encrypt contents to secure data" data checkbox. Click OK.
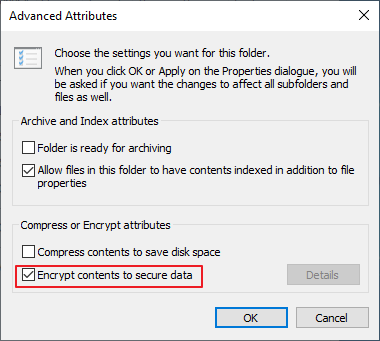
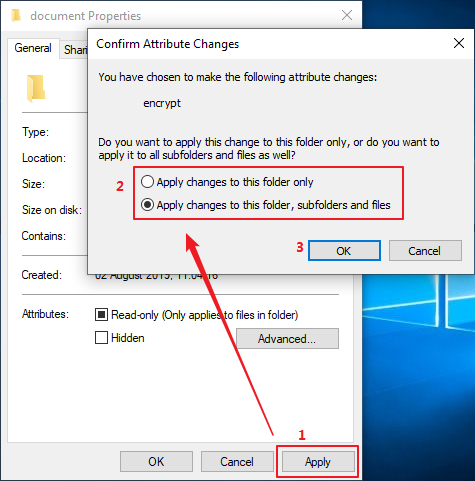
4. Click the "Apply" button of the Properties panel. Then select one change mode (Apply changes to this folder only or Apply changes to this folder, subfolders, and files) to protect folder or all subfolders and files as well. Then click OK to finish.
Part 2: Steps to set a password to protect folder in Windows 10
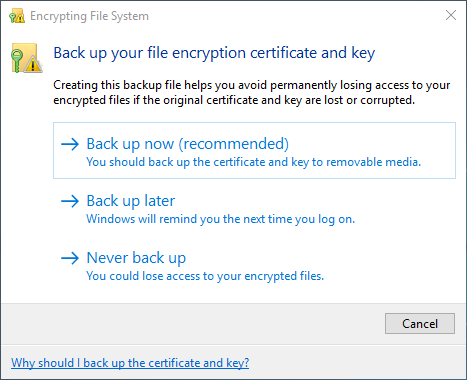
If it's your first time to enable this feature to password protect the folder without other software in Windows 10, a message of Encrypting File System notification will pop up. You can back up the encryption certificate and the key of the password-protected folder. Normally, as long as you log in to Windows 10 with your own account, the encrypted folder will be automatically unlocked.
Step-1: Select "Back up now (recommended)".
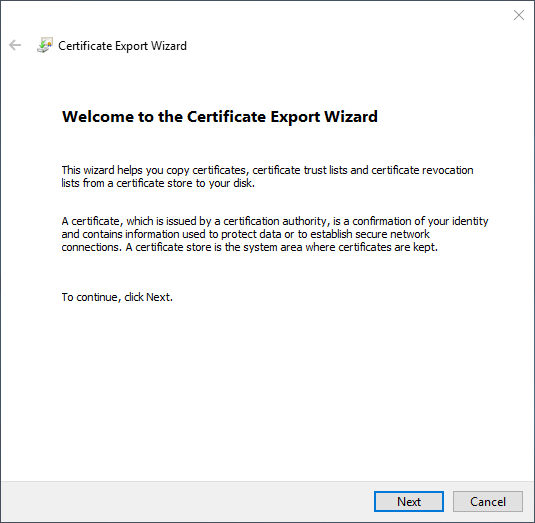
Step-2: Click the "Next" button.
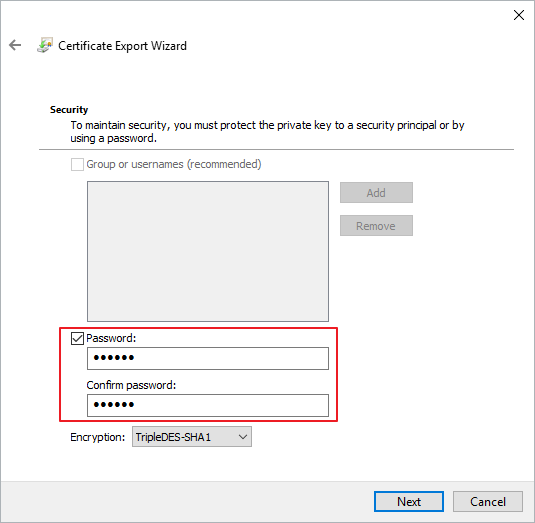
Step-3: Set a password to protect the private key of the password-protected folder. Check the password checkbox and set your password. Then click "Next" to close the wizard.
Note: Other users who want to open this protected folder will need to enter the password set for the key certificate and then import the key certificate to their own accounts. Then after that, they will be allowed to get permission to open the password-protected folder.
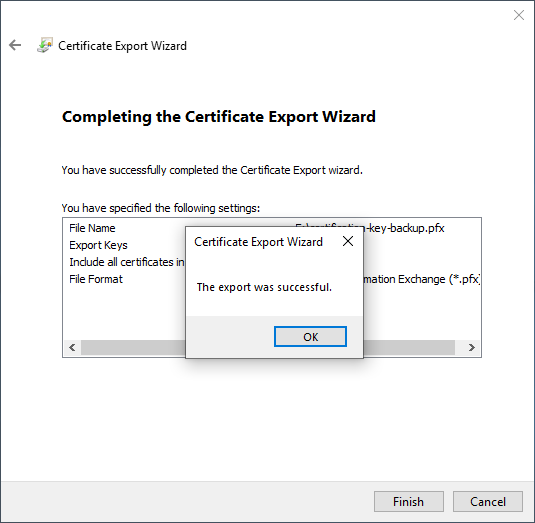
Step-4: Click the "Browse" button to select a path to save the backup file and specify the name of the file you want to export. Then click "Next".

Step-5: Click "Finish" to complete the certificate export wizard. And the folder is locked and protected by the EFS.
More:
1. EFS is built in all Windows 10 versions except Windows 10 home like the feature BitLocker Drive Encryption.
2. If you want a simpler way to password protect a folder or files in Windows 10, you can try the folder encryption software, like Cocosenor File Lock Tuner.
Tutorial: How to encrypt a folder with File Lock Tuner.
Related Articles
- Four Password Attack Methods to Open Encrypted File
- Copy Files from Hard Drive without Windows OS
- How to Set A Bitlocker Password to Hard Drive
- Use strong password to protect your data and personal information
- How to Change Microsoft Account Password on Windows 10
- How to Copy Folder to another Folder in Windows Command Prompt

