
Capture Screen and Save the Screenshots on Surface Pro Quickly
While using a Surface tablet, you may want to share the screen picture with your friends, or need to capture the screen picture for work. How to capture screen on Surface Pro 3 (or Surface Pro 4, Surface Pro 2, Surface Pro, Surface 3, Surface 2, Surface RT, Surface Book) quickly and simply? Here are several methods described on this article, just choose the best one for you.
- Guide Steps
- Method 1: Press "Windows + Volume-down" button to take a screenshot
- Method 2: Press "Fn + Windows + Space" key on the Surface Pro 3 Cover
- Method 3: Use Surface Pen to do a screen capture
- Method 4: Use Snipping Tool to capture screen pictures
Method 1: Press "Windows + Volume-down" button to take a screenshot
Step 1: Press and hold on the Windows logo (the home key) do not release.
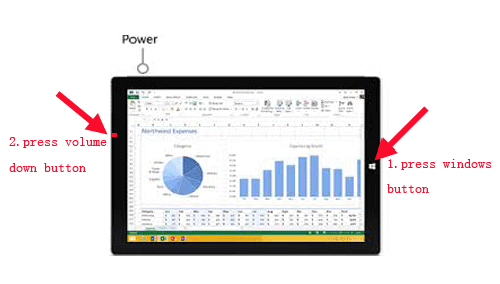
Step 2: And press on the Volume down button together, and then you will find that the Surface screen flash to black at a moment, which means the screen is captured successfully.
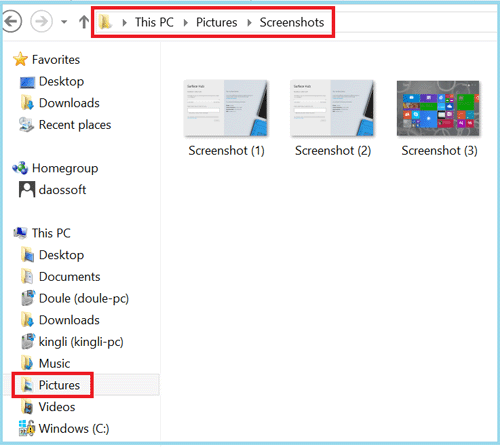
Step 3: Release the Windows home and Volume down key, and go to the Screenshots folder of the Pictures, you will find that the screenshot has been that. The default file saved with screenshots is: C:\Users\\Pictures\Screenshots
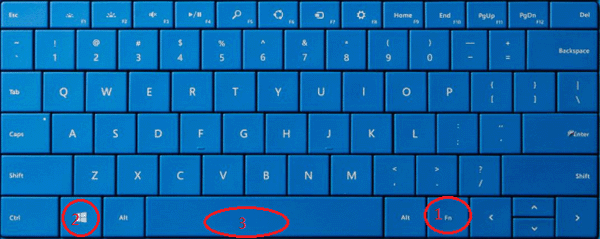
Method 2: Press "Fn + Windows + Space" key on the Surface Pro 3 Cover
On various versions of Surface, the Type Cover may be a litter different.
Step 1: On Surface Pro 3 Type Cover, press "Fn + Windows + Space" key, the screen dims for a second, and the pictures are saved to the Screenshots folder.
Step 2: On Surface 3 Type Cover, press "Windows + PrtScn" key, the screen dims for a second, and pictures are saved to Screenshots folder.

Step 3: On Surface 3 Type Cover, just press on the "PrtScn" key, the screen does not dim, and the pictures won't save to the Pictures library. The whole screen is copied to the clipboard. You just need to paste it to another application like Paint or Photoshop.

Step 4: On Surface 3 Type Cover, you also can press the "Alt + PrtScn" key to capture the active window instead of the whole screen.

Method 3: Use Surface Pen to do a screen capture
Step 1: While using Surface Pen, double click on the top button.

Step 2: Select the capture range by dragging the pen tip from one corner to the opposite corner.

Step 3: Lift the pen tip, and then the image was captured to OneNote.
Method 4: Use Snipping Tool to capture screen pictures
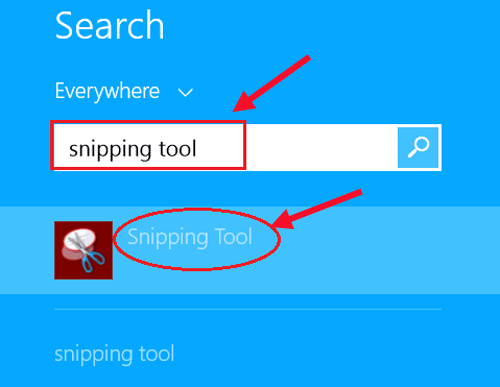
Step 1: Swipe in from the right screen of Surface, tap on "Search".

Step 2: On the search box type in: snipping tool. And then tap on the "Snipping Tool" to run it.
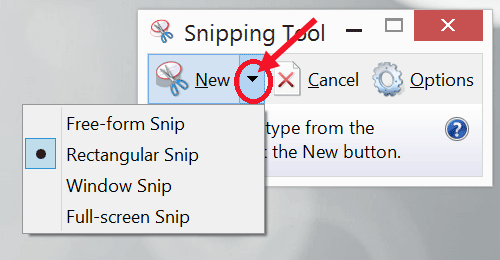
Step 3: Tap on the triangle next to "New" button, and select a snip type (Free-form Snip, Rectangular Snip, Window Snip, or Full-screen Snip).
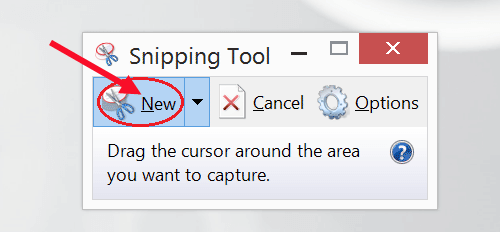
Step 4: Tap on the "New" button to snip screens.
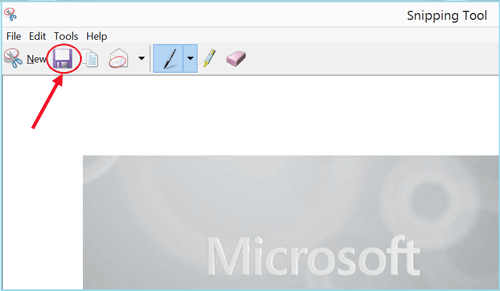
Step 5: And then save the screenshots to the folder you want.
Related Articles
- How to Change Windows Primary Language on Surface Tablet
- Transfer Files from Your Surface to a Desktop Computer
- Create HomeGroup on Your Surface to Share Files with Other Devices
- How to Add/Edit User Account on Surface Windows 8.1
- Change the Date and Time Displayed on Windows 10 Device
- Two ways to take a screenshot on iPhone 7/7plus
- 6 ways to take a screenshot and save to file on Surface Pro 4

