
How to Change Windows Primary Language on Surface Tablet
You can change Windows primary language on Surface tablet easily. You can change the language to English or other languages that you want on your Surface (Surface RT, Surface Pro, or Surface 3). Here will take Surface Pro 3 as example to show you the details step by step.
Step as follow:
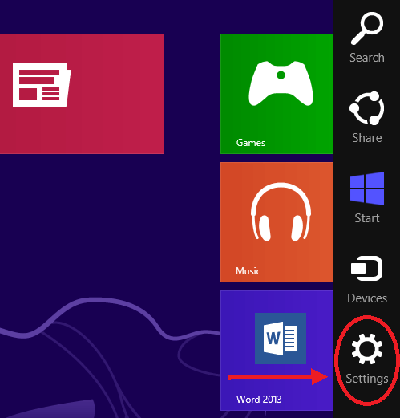
Step 1: Get into Windows on Surface, swipe in from the right edge of surface, tap on "Settings" on the charms bar.
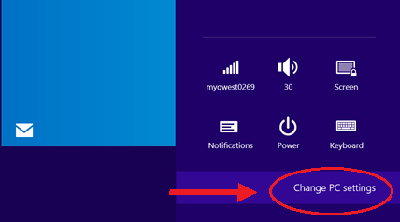
Step 2: Tap on "Change PC settings" on the right bottom of the screen.
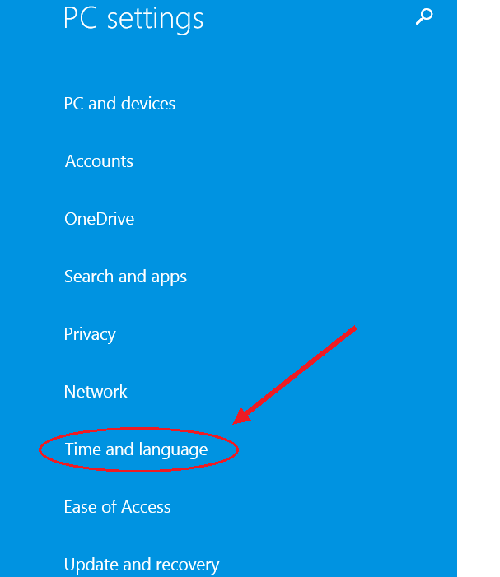
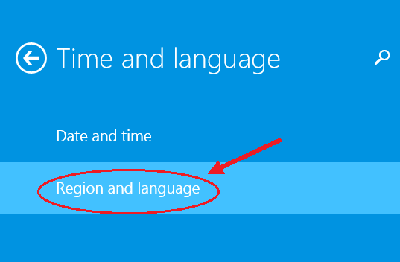
Step 3: Tap on "Time and language" on the PC settings.
Step 4: Select "Region and language" on the left panel.
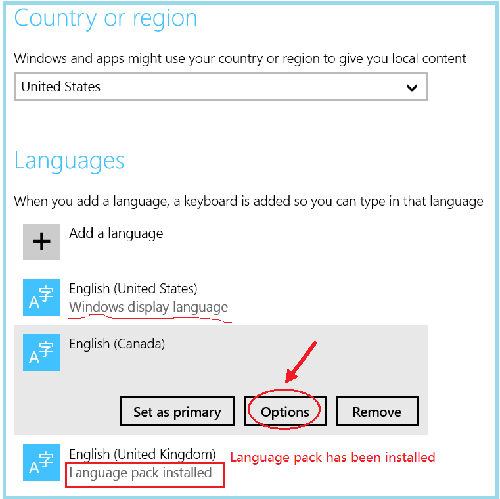
Step 5: Select your country or region on the drop-down list, click on "Add a language", and then select the language you want to set on surface.

Step 6: After the language was added, it will show that "Language pack installed".
If the language has not been installed, tap on the language you add (such as English (Canada)), tap on "Options" button, and then click "Download" to download and install the language.
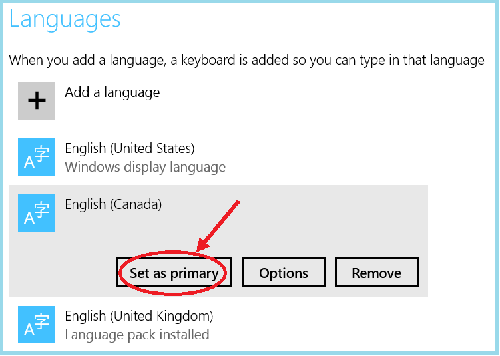
Step 7: Tap on the language again, and select "Set as primary" to set the Windows language as default on Surface. The language you just set will be display language after next sign-in.
Step 8: To take effect of the change on your Surface, sign out and in again (or restart your Surface). When you login your Surface again, you will find that most of the display language has been changed.
Tips:
The language will change only for the user who makes the change, not for all users who use the surface.
Related Articles
- Create a Child Account on Surface and Set Right Limits
- Capture Screen and Save the Screenshots on Surface Pro Quickly
- How to Set or Change Static IP Address on Surface Pro 3
- 9 Tips to Extend Surface Pro Battery Life When No Outlet to Charge
- Switch to Microsoft Account or Local Account on Surface Pro

