
Transfer Files from Your Surface to a Desktop Computer with Three Ways
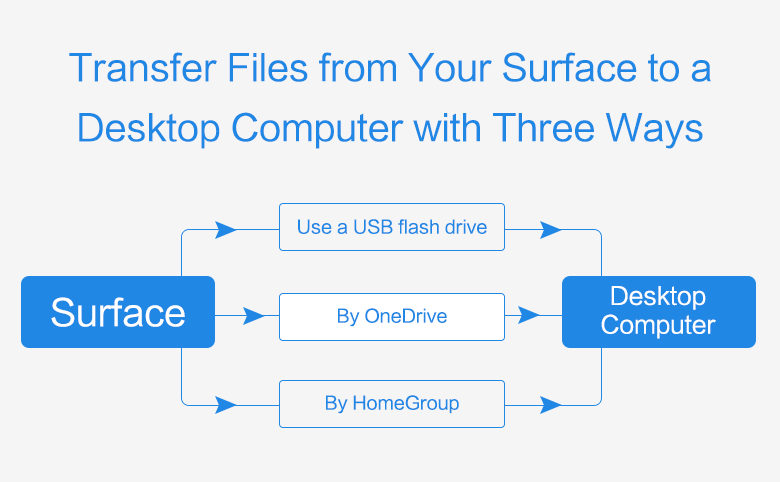
There are many methods for you to transfer your files (Videos, Pictures, Music, and Documents) from Surface to a desktop PC device. Following this article will show you the details how to transfer your Surface files to a computer quickly with the methods below. Read about them and choose the appropriate one for yourself according to your conditions.
- Guide Steps
- Way 1: Move files from Surface to a desktop computer with a USB flash drive
- Way 2: Transfer files from Surface to desktop PC through OneDrive
- Way 3: Share files with other computer via HomeGroup
Way 1: Move files from Surface to a desktop computer with a USB flash drive
Moving files from one computer to another computer with a USB flash drive is very common to us. We also can move files from Surface device to a desktop computer with the USB drive. On Surface Pro 3, you can find the USB port on the right side easily.
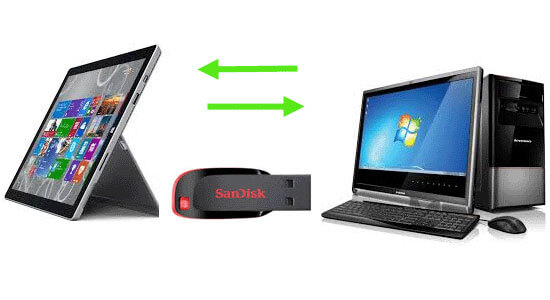
Step 1: Insert the USB drive to the Surface, copy the files from the Surface to the USB disk.
Step 2: Disconnect the USB drive from the Surface, and take it insert into the desktop computer.r
Step 3: Move the files to the desktop computer from the USB disk. With the USB flash drive, your surface and the computer do not need to connect to the network. But, in case your surface and computer infected with virus, you should check the USB with antivirus software before you opening it.
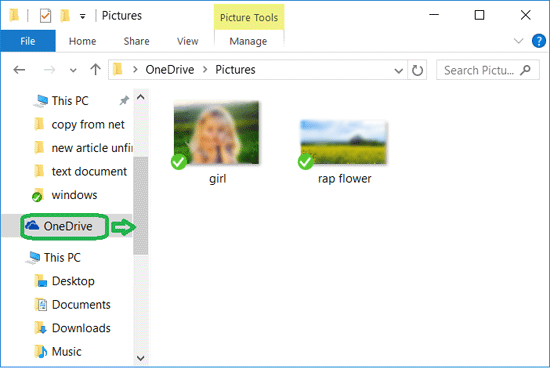
Way 2: Transfer files from Surface to desktop PC through OneDrive
Transfer files through the Cloud (Google Drive or OneDrive), when your Surface and computer are connected to the network. Here we only take OneDrive for example.
Step 1: First, sign into your Surface with Microsoft account, and then get into OneDrive.
Step 2: Drag or copy your files to OneDrive on Surface, and then it will sync automatically.
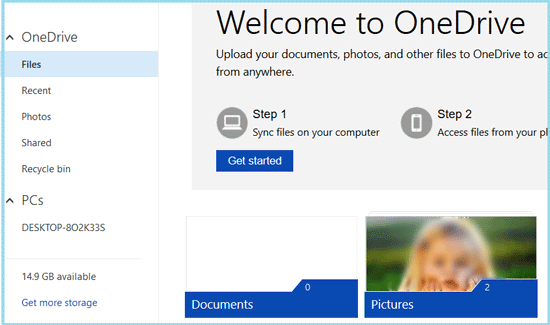
Step 3: Go to your desktop computer, and sign into OneDrive with the same Microsoft account.
Step 4: And then you will find the files transferred from your Surface device.
Step 5: If your computer is not installed with OneDrive, you can go to the onedrive.live.com: https://onedrive.live.com/about/en-us/, and sign in with your Microsoft account.
Way 3: Share files with other computers via HomeGroup
Step 1: Create a HomeGroup On your Surface to share files.
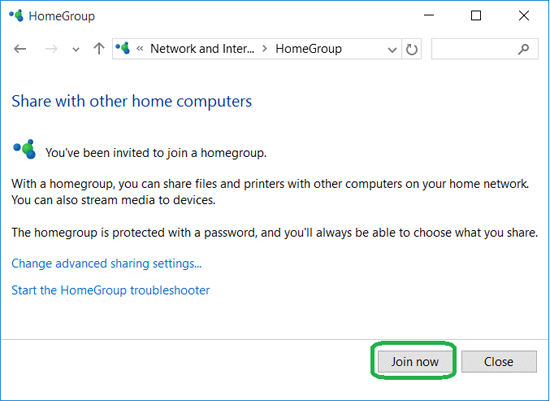
Step 2: Join the homegroup with other computers.
(1) Open the computer, go to HomeGroup settings by right-clicking on Start Menu >> Control Panel >> Network and Internet >> HomeGroup.
(2) Your computer will detect the homegroup created on your Surface, click on "Join now" button to continue.
(3) On the next page, it will tell you that the homegroup is protected with a password, click on the "Next" button to continue.
(4) Choose the files and devices you want to share on homegroup, and click on "Next".

(5) Enter the homegroup password, and click on Next. Now you have joined the homegroup successfully.

Step 3: Share Surface files with other computers through Homegroup.
(1) Open the File Explorer on your computer, on the bottom of left panel, and you will find the Homegroup and the members.
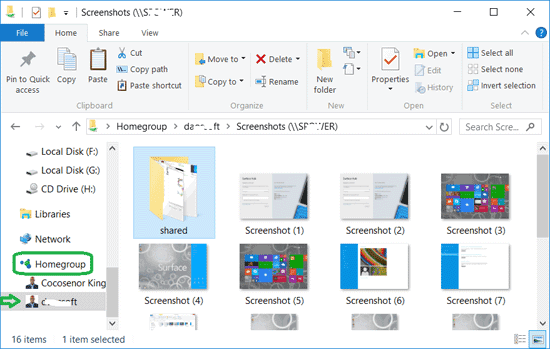
(2) Click on the account of your Surface, and you will see the shared files from your Surface. You can copy the files shared from your Surface to the other location of your desktop computer.

