
How to Set or Change Static IP Address on Surface Pro 3
In this article will show you how to set or change the static IP address on Surface Pro 3 Windows 8.1. It is similar to the steps to set an IP address on desktop or laptop PC.
Here are the detail steps:
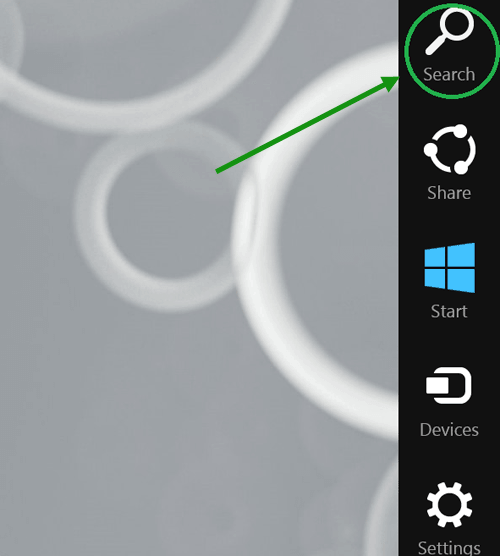
Step 1: Swipe in from the right edge of surface to bring out the Charms bar, and tap on "Search".
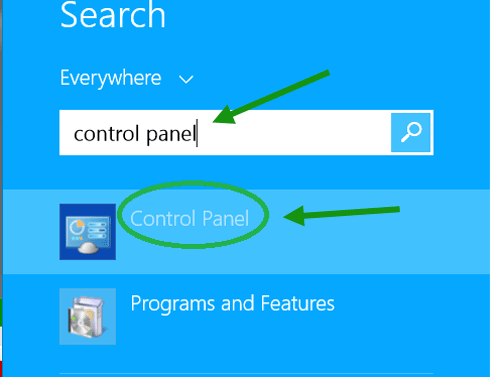
Step 2: Type in "control panel" on the search box, and then tap on "Control Panel".
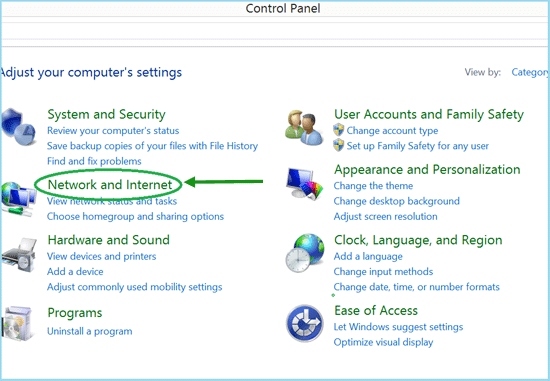
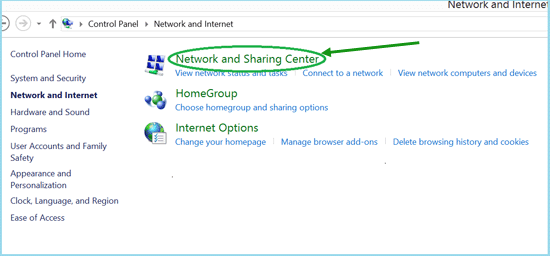
Step 3: Tap on "Network and Internet" on the Control Panel.
Step 4: Next, tap on "Network and Sharing Center".
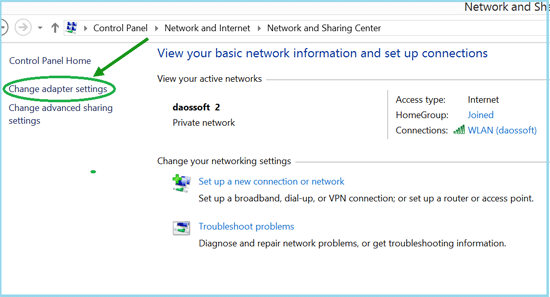
Step 5: Select "Change adapter settings" on the left side.
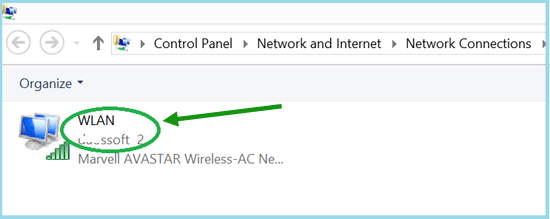
Step 6: Double tap on the WLAN to open the WLAN Status.
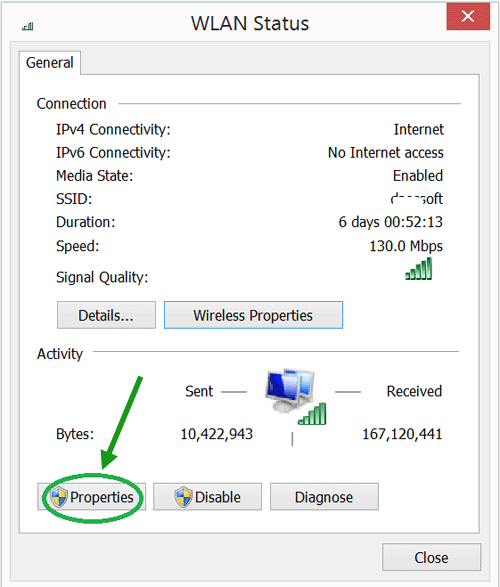
Step 7: Tap on the "Properties" button on the WLAN Status.
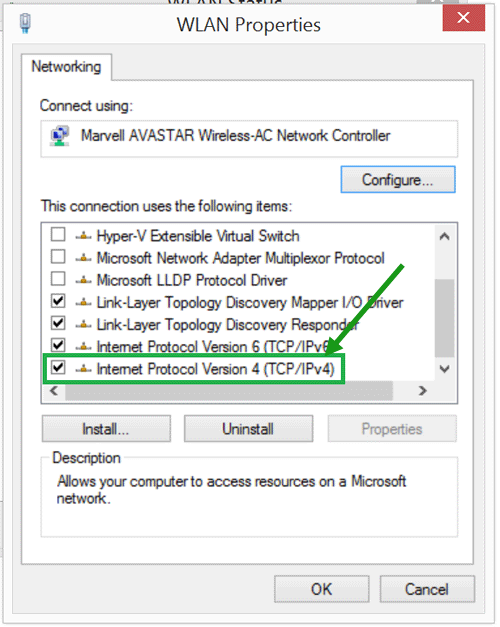
Step 8: Double tap on "Internet Protocol Version 4 (TCP/IPv4)" on the WLAN Properties.
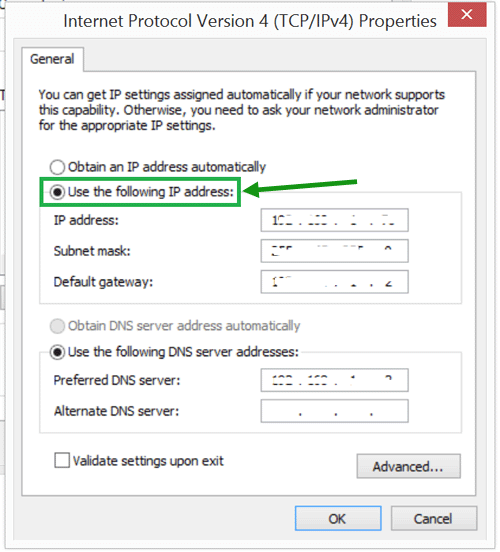
Step 9: Select "Use the following IP address:", and then set or change your IP address on the Surface.
Tips:
The steps to set or change the static IP address on the other Surface devices (Surface RT, Surface 2/3, Surface Pro 1/2) are similar, and I hope this article would be a good reference for you.

