
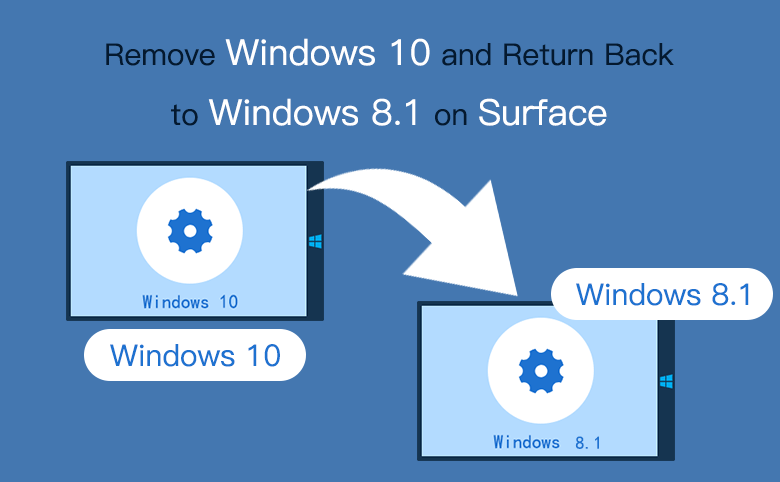
Remove Windows 10 and Return Back to Windows 8.1 on Surface
If you have upgraded your Surface to Windows 10, but find that it is not perform well, or not as well as you thought, you can roll it back to Windows 8.1.
Tips:
Before rolling your Surface back to Windows 8.1, make sure the power on your Surface is enough and connected to a working electrical outlet. If not, when it runs out of battery halfway through the rollback, more bad things may happen to your Surface.
- Guide Steps
- Method 1: Within first 31 days, roll back to Windows 8.1 directory
- Method 2: After 31 days, reset Surface with USB recovery disc
- Method 3: Reset Surface to factory settings with image file
Method 1: Within first 31 days, roll back to Windows 8.1 directory
When you have upgraded your Surface to Windows 10, but within the first 31 days, you have the option to go back to Windows 8.1 directory from the Windows 10 settings. Roll your Surface back to Windows 8.1:
Step 1: Tap on Windows Start icon, select Settings >> Update & security >> Recovery.
Step 2: Tap on "Go back to Windows 8", and then following the instructions on the screen to roll your Surface back to Windows 8.1.
Method 2: After 31 days, reset Surface with USB recovery disc
If you have upgraded your Surface to Windows 10 after a month, the Go back option is no longer available. If you have created a USB recovery drive before you upgraded to Windows 10, you can use it to turn your Surface back to Windows 8.1. Revert back to Windows 8.1 with USB recovery drive:
Step 1: Insert the USB drive into the USB port on your Surface, and make sure your Surface is connected to the power source.
Step 2: Boot your Surface from the USB recovery drive. (If power off, press and hold the volume down button, and then press and release the power button)
Step 3: When boot from the USB drive successfully, select the language and keyboard layout.
Step 4: Tap on "Troubleshoot", select "Reset this PC".
Step 5: Select the operating system, and then tap on "Reset". Your Surface will restart and the reset process will go on.
Step 6: And then your Surface Pro 3 will boot from the USB recovery drive after a moment.
Method 3: Reset Surface to factory settings with image file
If have upgraded your Surface to Window 10 longer than 31 days, the Go back option is not available, if want to go back to Windows 8.1, you have to reset your Surface. If have no USB recovery drive, you can restore your Surface to factory settings, which will remove personal files, apps, settings, and go back to Windows 8.1
Step 1: Prepare a writable USB drive, and format it to FAT32. (For Surface 3 and Surface Pro models, the USB should be at least 16GB, 32GB USB would be better.)
Step 2: Sign into Microsoft account to download a recovery image for your Surface.
Step 3: Copy the recovery image to the USB to create a USB recovery drive.
Step 4: Connect your Surface with the USB recovery drive and make sure the power supply is normal.
Step 5: To set your Surface boot from the USB recovery drive.
(1) Turn off your Surface, press and hold the volume-down (-) button, then press and release the power button.
(2) Release the volume-down button once the Surface logo appears.
Step 6: When boot successfully from the USB recovery drive, select the language and keyboard layout.
Step 7: Tap on "Troubleshoot", and then select "Reset your PC". If prompt for a recovery key, tap on "Skip this drive".
Step 8: Tap on "Yes", repartition the drivers, and tap on "Next".
Step 9: Select "Just remove my files" or "Fully clean the drive", and then tap on "Reset" to reset your Surface.
Related Articles
- How to Factory Reset Surface without Losing Any Data
- How to Reinstall Surface Tablet with USB Flash Drive
- How to Get Into Surface Pro UEFI (BIOS) Firmware
- Surface Pro 3 Free Upgrade to Windows 10 from 8.1
- How to Upgrade Windows 7 or 8.1 PC to Windows 10 Full Version Freely
- How Can I Go Back to Windows 7/8 from Windows 10

