
How to Use checkra1n to Jailbreak iOS Devices on Windows PC
For some reasons, iOS users want the administrative access to their iOS devices, and as we all know, there is a method to realize it – jailbreak the iOS device. And I believe, most of them will use a reliable jailbreak software – checkra1n, to be specific – to jailbreak their iOS devices.
However, pretty regrettably, not a single release of checkra1n could directly work on Windows OS yet, which definitely bums out millions of Windows users.
Is there really no way to use checkra1n on Windows? Is there really no way to jailbreak iDevices on Windows PC? Is there really not a chance for Windows users to jailbreak using checkra1n on Windows until the developers finally work out?
We could not just sit and wait, without a doubt. We have to find out our way to jailbreak our iOS devices on Windows PC. Luckily, we do have two methods to achieve it, which is exactly what I am going to introduce you in this article. To be clear, I am using iPhone 6s for the representation. But it shouldn't be a problem to use checkra1n to jailbreak other iOS devices if they are supported by checkra1n.
- Use checkra1n to Jailbreak iOS Devices on Windows PC
- Method 1: Jailbreak using checkra1n with a bootable Ubuntu USB drive
- Part 1: Create a bootable Ubuntu USB drive
- Part 2: Boot Ubuntu OS
- Part 3: Install checkra1n on Ubuntu
- Part 4: Use checkra1n to jailbreak iOS devices
- Method 2: Jailbreak iOS devices with a third-party tool
- Part 1: Make a checkra1n jailbreak USB drive
- Part 2: Jailbreak iOS devices on Windows PC with a jailbreak USB drive
Method 1: Jailbreak using checkra1n with a bootable Ubuntu USB drive
This method is to install and use checkra1n on Ubuntu OS booted from a bootable Ubuntu USB drive plugged into a Windows PC.
- Module:
- Part 1: Create a bootable Ubuntu USB drive
- Part 2: Boot Ubuntu OS
- Part 3: Install checkra1n on Ubuntu
- Part 4: Use checkra1n to jailbreak iOS devices
- Tools needed list:
- Rufus application (to burn Ubuntu ISO image to a USB drive).
- Ubuntu desktop ISO image (one of the versions of Linux OS).
- A USB drive (to be used as a bootable USB drive).
Part 1: Create a bootable Ubuntu USB drive
Step 1: Download rufus.exe.
Step 2: Download Ubuntu desktop.
- Step 3: Burn Linux ISO file to a USB drive.
- 1. Choose the lucky device that was assigned to be the bootable Ubuntu USB drive.
- 2. Select the Ubuntu ISO image that just downloaded.
- 3. Click Start.
- 4. Choose to write the image in ISO Image mode and click OK.
- 5. When the bootable Ubuntu USB drive is ready, click Close.
Part 2: Boot Ubuntu OS
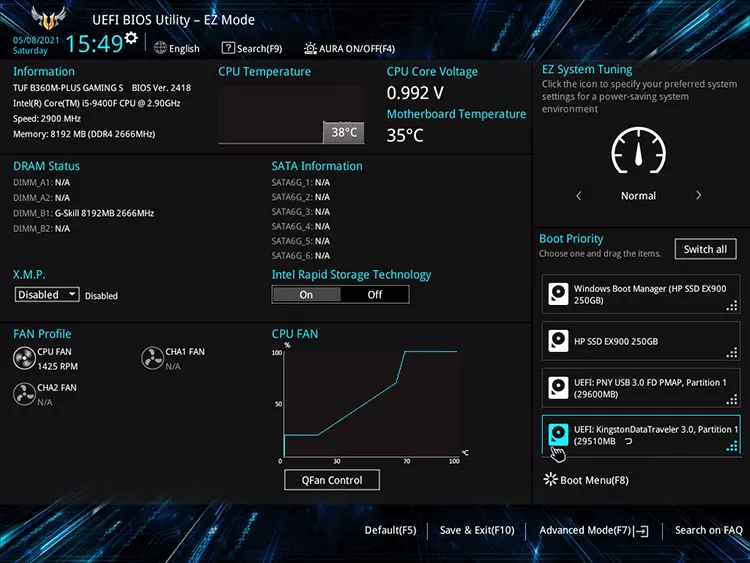
Step 1: Enter BIOS interface.
Booting keys vary from motherboards. You need to check on it.
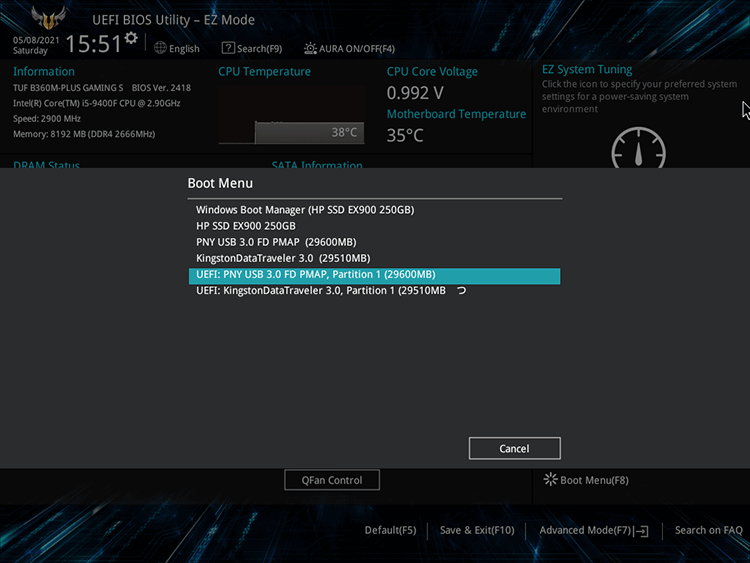
Step 2: Boot Ubuntu from the bootable USB drive.
Open Boot Menu and select the bootable Ubuntu USB drive, followed by pressing Enter. Now, the computer will start on Ubuntu.
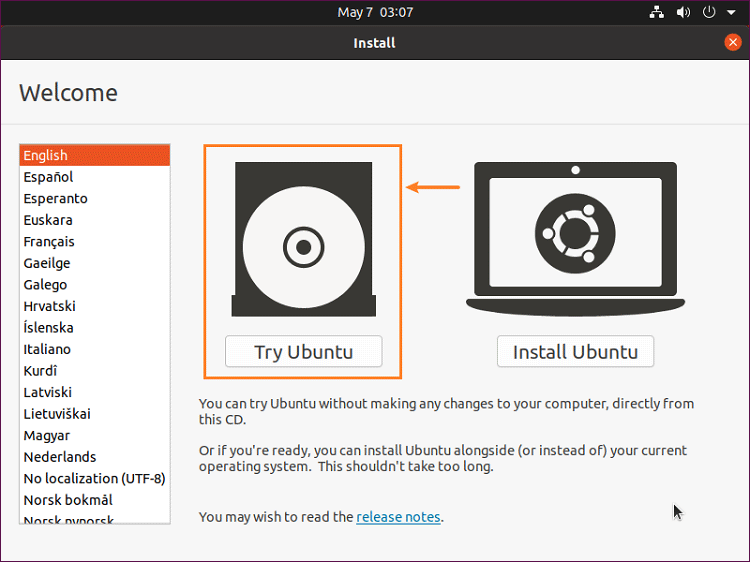
Step 3: Get into Ubuntu system.
There is no need to install Ubuntu, click Try Ubuntu.
Part 3: Install checkra1n on Ubuntu
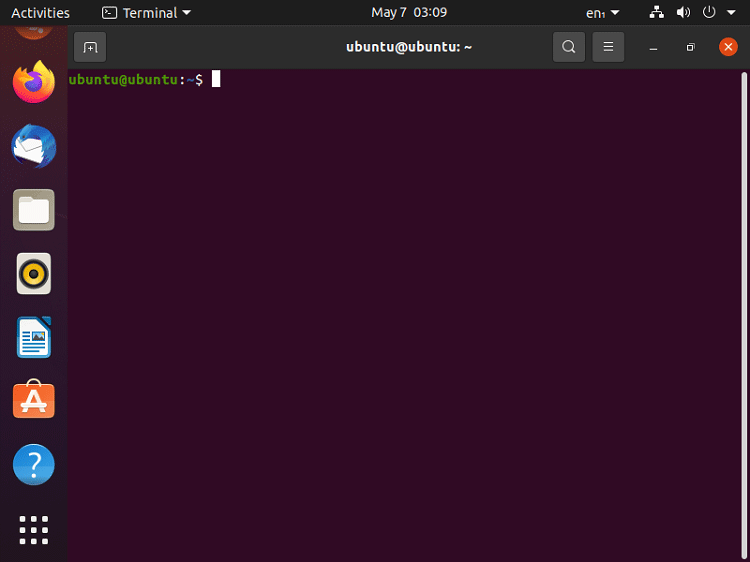
Step 1: Launch Terminal on Ubuntu.
Simultaneously press Ctrl, Alt and T keys to launch Terminal.
Step 2: Copy the APT repo to the Termina window.
Developers of checkra1n offered the APT repo on checkra1n official website, which is announced to be the best installation method.
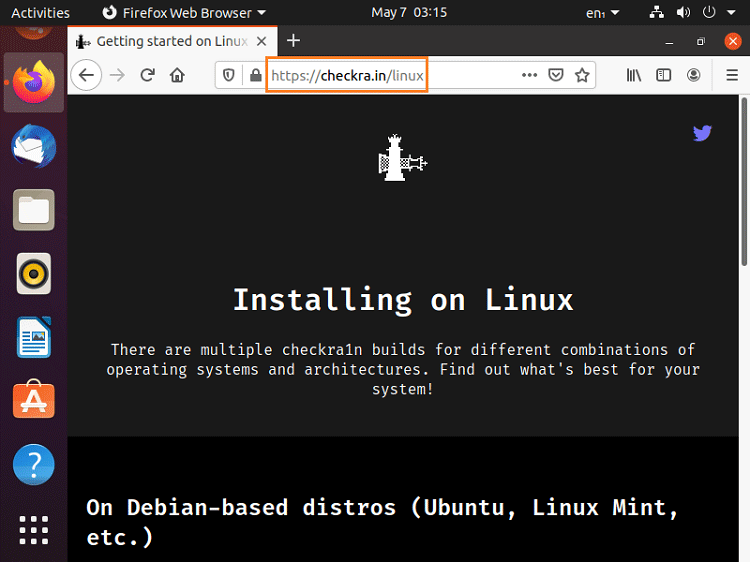
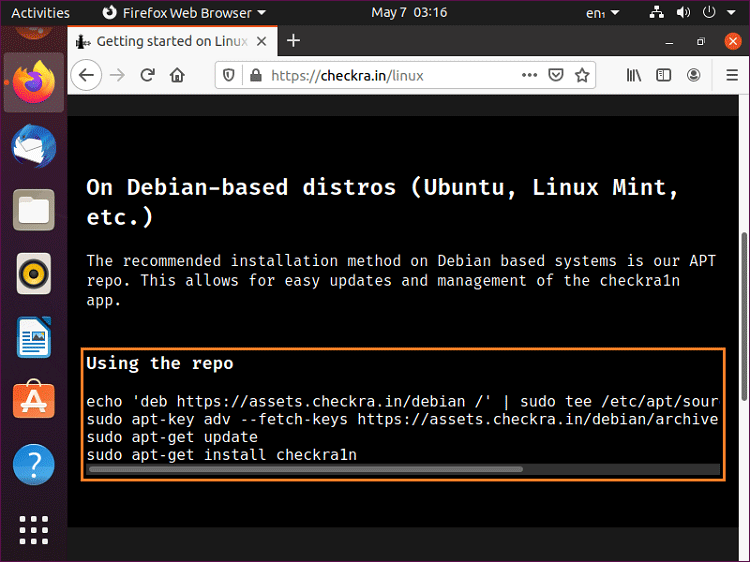
Since the Linux version we use is Ubuntu, go to On Debian-based distros module, use the APT repo on the website. This process is basically copying the repo I marked on the following picture to the Terminal windows one by one.
- Just a little explanation:
- 1. There are four of them and pay attention to copy the whole line.
- 2. Every time you copy one item, press Enter. Don't panic if it stops. Give it some time and do not input another command until it shows "ubuntu@ubuntu" on the Terminal windows. Then input another command.
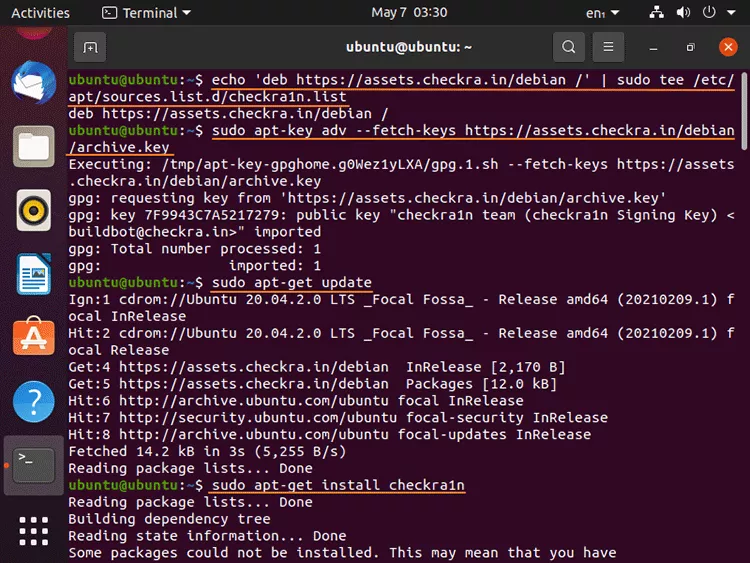
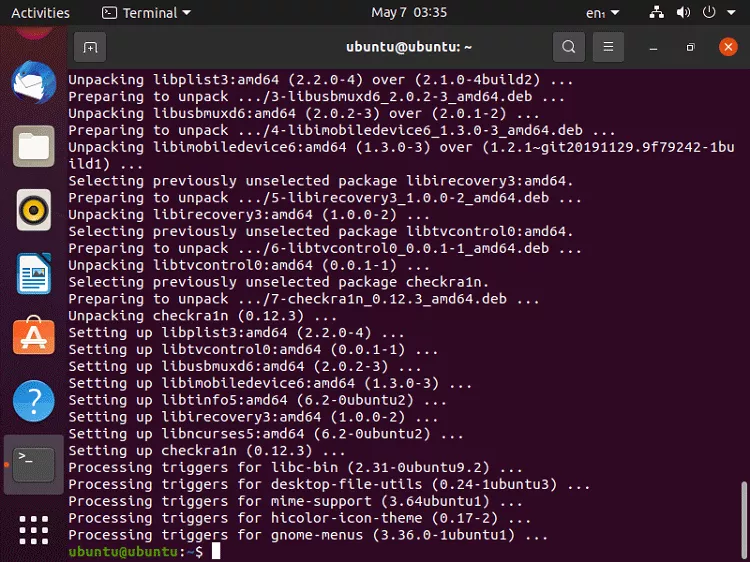
After inputting the last command, you just need to wait for the downloading process to complete.
It will inform you that how much disk space checkra1n is going to take up and ask you if you want to continue. If there is no problem for you, input “Y” and press Enter to continue.
Now, checkra1n is downloaded and installed successfully.
Part 4: Use checkra1n to jailbreak iOS devices
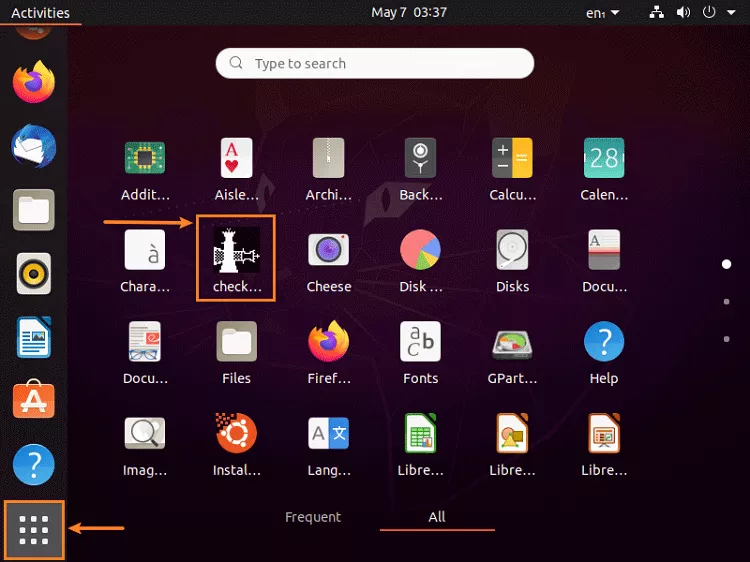
Step 1: Launch checkra1n.
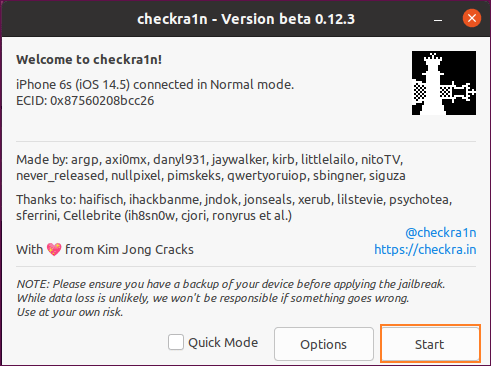
Step 2: Connect iDevices to the computer. After checkra1n detect the device, click Start.
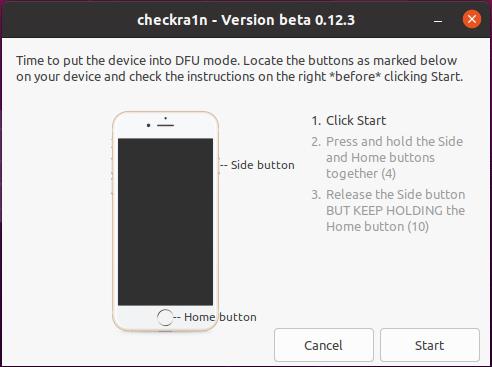
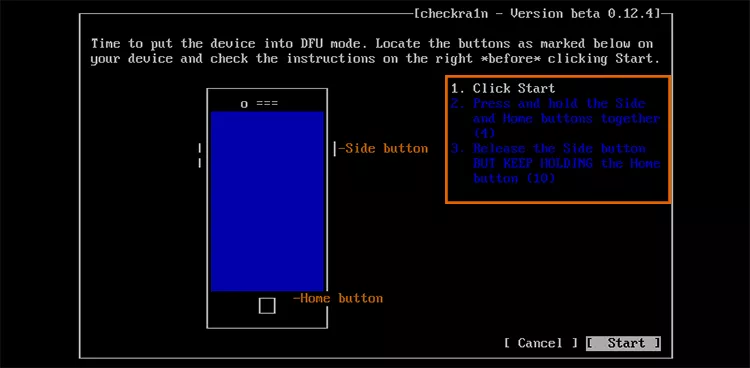
Step 3: Follow the instructions on the following page to get the iOS device entered DFU mode.
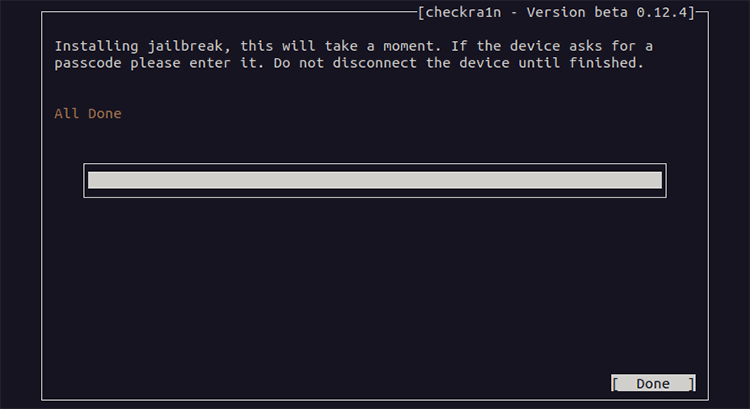
Step 4: Once the device has entered DFU mode successfully, checkra1n will move on to the next process automatically. From now on, all you need to do is just waiting until it is all done.
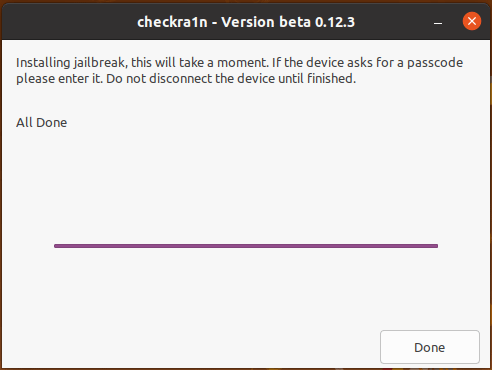
Now, the iOS device is successfully jailbroken.
Method 2: Jailbreak iOS devices with a third-party tool
As you can see, it takes so much effort to jailbreak an iOS device all by yourself. And it's quite complicated, especially for green hand to Linux OS. With Cocosenor iBypass Tuner, you can easily create a checkra1n USB drive and jailbreak the iPhone in iOS 12-14.8.
- Module:
- Part 1: Make a checkra1n jailbreak USB drive
- Part 2: Booot Windows from USB and Jailbreak the iPhone
- Tools needed list:
- Cososenor iBypass Tuner.
- A USB drive.
- Advantages of jailbreaking with the help of Cocosenor iBypass Tuner:
- 1. It could massively downgrade the difficulty of jailbreaking an iDevice on Windows.
- 2. It could help you jailbreak almost all iOS devices with just your Windows PC.
- 3. It can help you bypass iCloud activation lock and turn off FMI without password.
Therefore, I strongly recommend you this tool – Cocosenor iBypass Tuner. Now, let's see how to take advantage of it to jailbreak an iOS device.
Part 1: Make a checkra1n jailbreak USB drive
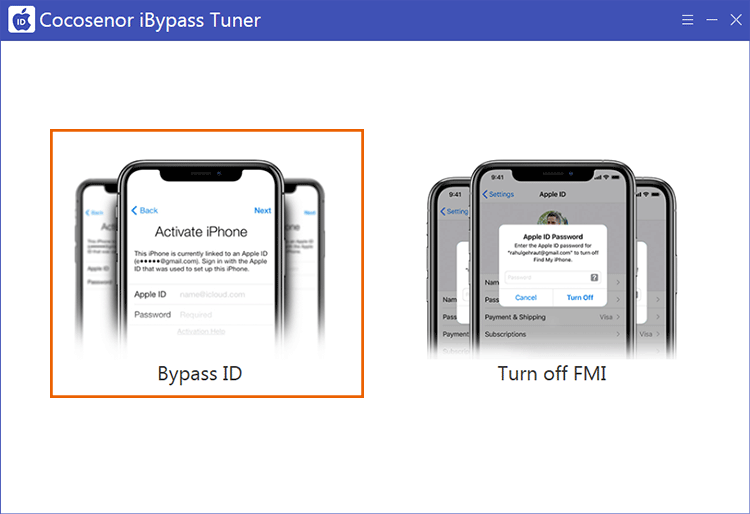
Step 1: Download and launch Cocosenor iBypass Tuner. After connecting your iPhone to the computer, click Bypass ID option.
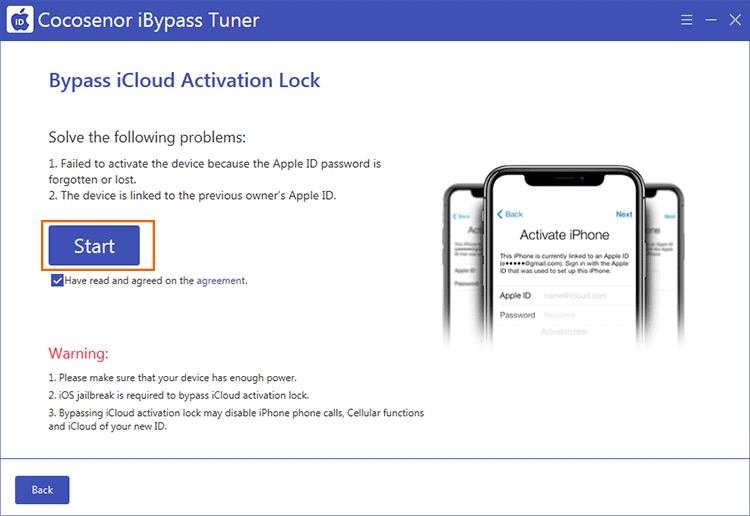
Step 2: Check out the agreement terms and then read the warning texts. If you are OK with these, click the Start button to move to the next step.
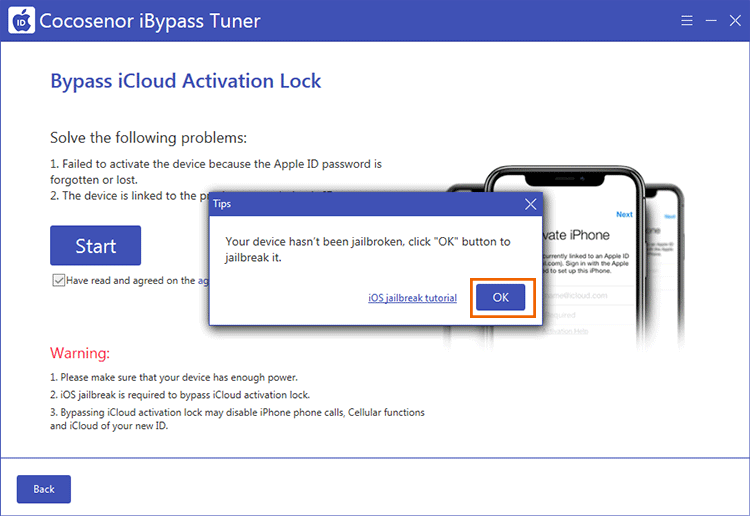
Step 3: iBypass Tuner detects your iPhone is not jailbroken. Then click OK to proceed.
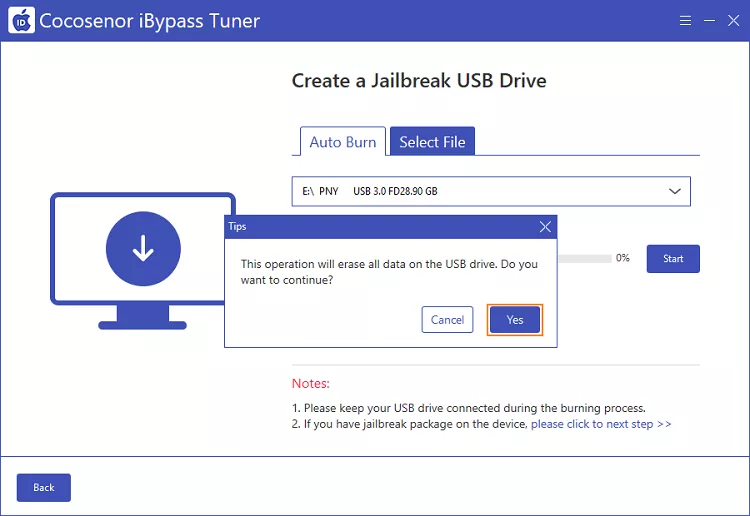
Step 4: Choose the USB drive and click Start

Be aware of that the burning process will erase all data on the USB drive. If it's not a problem for you, click Yes.
It's going to take a while for this creation process. But waiting is worthy.
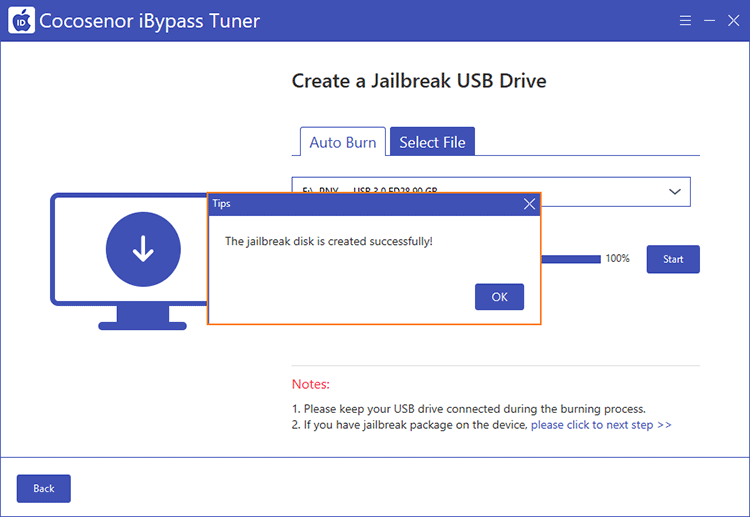
And after the burning process completes, click OK and go to the next part.
Part 2: Booot Windows from USB and Jailbreak the iPhone
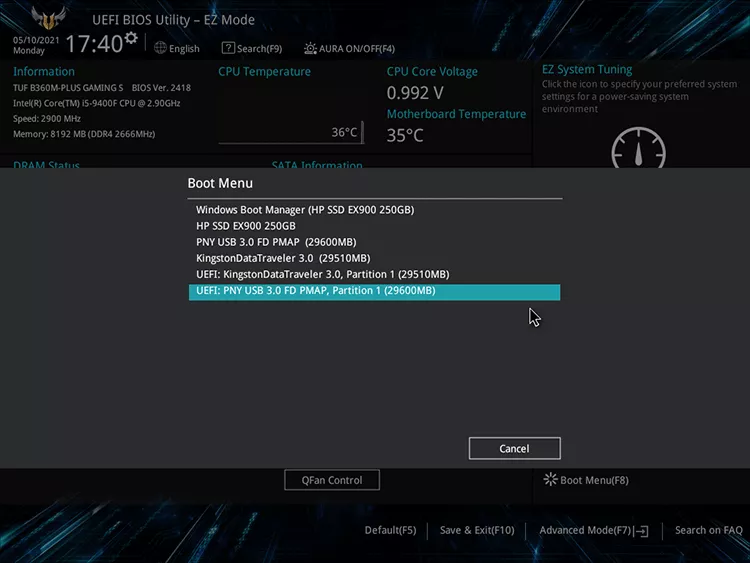
Step 1: Reboot the computer and enter BIOS settings.
Step 2: Open Boot Menu and choose to boot from the jailbreak USB drive just created.
Step 3: Connect your iOS device to the PC and click [Start] to set on jailbreaking.
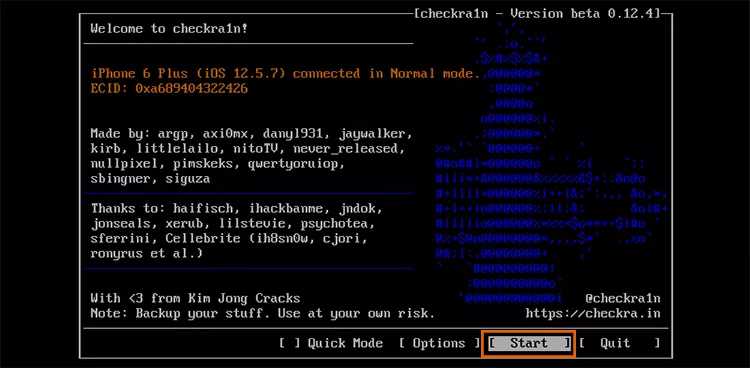
As you can see, the software may alarm you that the iOS version of your device is not tested. If you are ready to jailbreak the iOS device at risk, follow the steps below to enable the Start key.
- Steps to enable [Start] key:
- 1. Click [Options];
- 2. Select Allow untested iOS/iPadOS/tvOS versions;
- 3. Click [Back] to get back to the homepage;
- 4. Click [Start] to set on jailbreaking process.
Step 4: Put the iOS device into DFU mode.
Then the program will show you how to put the device into DFU mode. Just strictly follow the instruction step by step.
Now the device is jailbroken successfully.
Note: The software uses checkra1n to jailbrek the iOS 12-14,8 devices. If you want to jailbreak iOS 15/16 device, the steps will be simpler.

