How to Jailbreak iOS 15/iOS 16 on Windows Computer
As the SSV (Signed System Volume) is added to iOS 15-16 internal mechanism, it is not allowed to writing to the file system. Thus, it is difficult to use checkra1n /checkn1x to jailbreak iPhone.
However, Palera1n/Palen1x can help us to jailbreak iPhone in iOS 15/16, which offers two jailbreak types: Rootful and Rootless. As there is much more restrictions on the Rootless jailbreak, we will choose Rootful jailbreak in this article. Besides, you can learn a safer way to jailbreak iPhone iOS 15/16 with activation lock.
- How to Jailbreak iOS 15/16 on iPhone
- Part 1: Important Notes about Jailbreaking iPhone
- Part 2: How to Jailbreak iOS 15/16 with Palen1x [Free]
- Part 3: How to Jailbreak iPhone with Activation Lock [Easier]
Part 1: Important Notes about Jailbreaking iPhone
Important Notes:
- 1. Your iPhone should be arm64 devices on iOS 15.0 or above.
- 2. You cannot jailbreak the iPhone on any virtual machine.
- 3. It is recommended to perform jailbreak on the computer with Intel CPU.
- 4. After the rootful jailbreak and creating the fakeFS file, your iPhone will reboot. You need to run again to finish the jailbreak.
- 5. Turn off the screen lock before you start the jailbreaking.
- 6. It is better to disable secure boot in UEFI. If you cannot do it, you can use the secure boot function of Ventoy.
Part 2: How to Jailbreak iOS 15/16 with Palen1x [Free]
You need to get a USB flash drive and the Ventoy & Palen1x.iso ready on Windows computer before you go ahead.
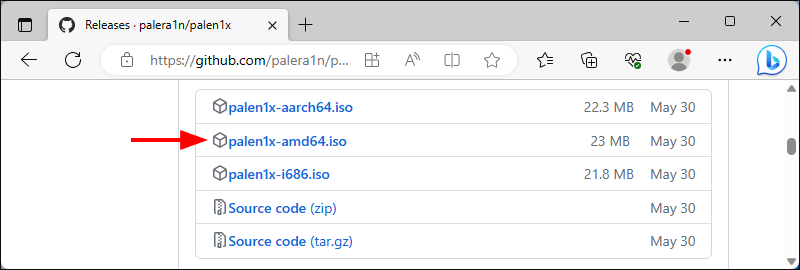
1. Visit https://github.com/palera1n/palen1x/releases and download the Palen1x-amd64.iso.
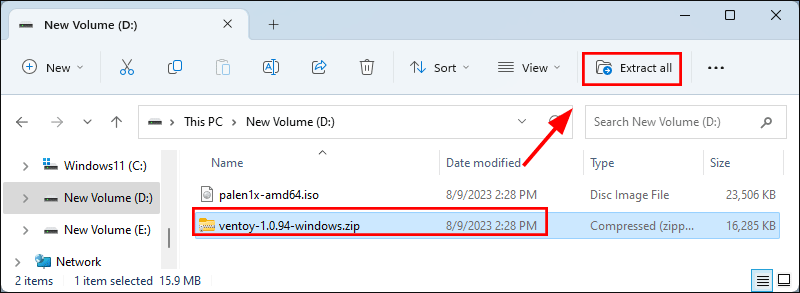
2. Visit https://github.com/ventoy/Ventoy/releases and download ventoy-1.0.94-windows.zip on your computer.

After the downloading, you need to extract the zip file here.
Tips: The Windows computer used here is Win 11 Pro x64 (UEFI+GPT).
Then the jailbreaking process is divided into two sections.
Section1: Burn Ventoy and Palen1x to the USB
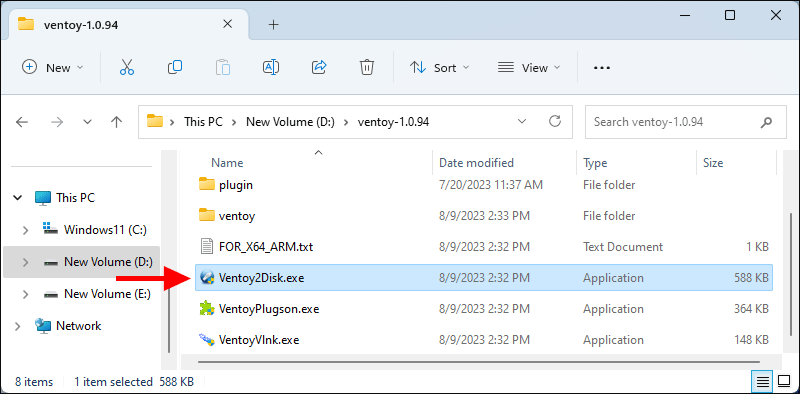
Step 1: Insert the USB flash drive into your computer. Then go to the folder your Ventoy lies. Open it and double-click the program to run.
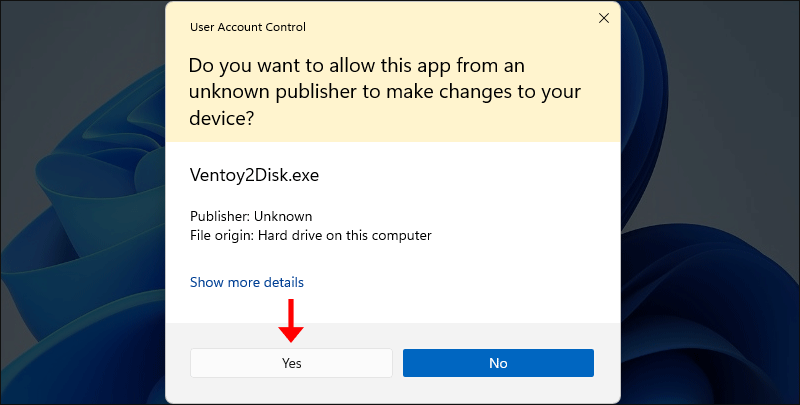
Step 2: Click Yes to allow this app to make changes to your device.
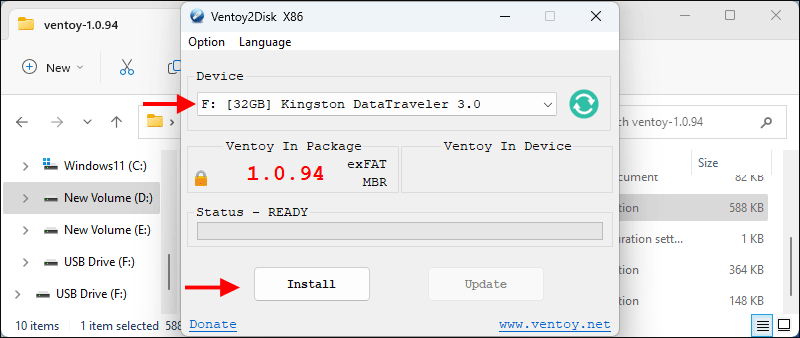
Step 3: Then Ventoy2Disk app is on. You can select the USB from the Device section. After that, you can click the Install button on the bottom left corner.
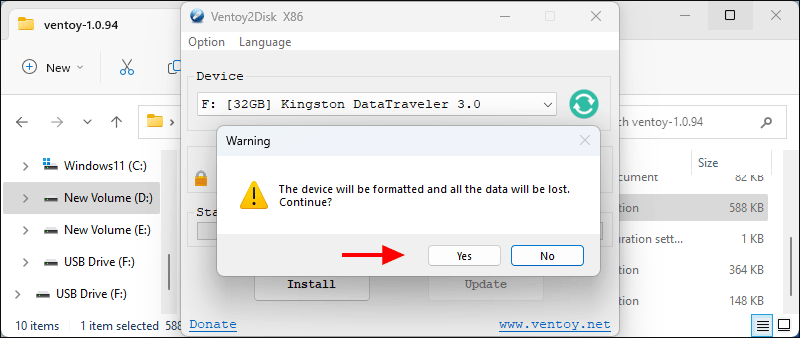
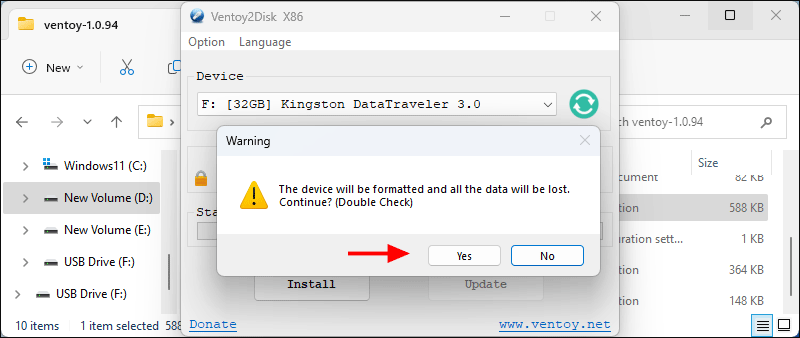
Step 4: A warning box comes to tell you all data will be erased. Click Yes to continue.
Step 5: Click Yes for the double check.
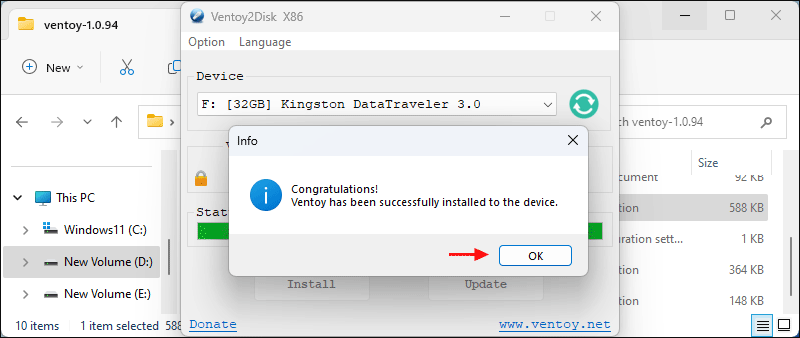
Step 6: In no time, the installing process begins. It will be finished minutes later. Then you can check there is a volume named Ventoy in the USB disk.
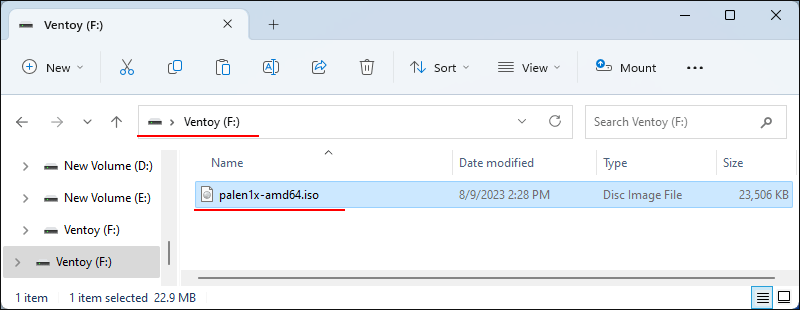
Step 7: Go to the folder where palen1x-amd64.iso is stored. Copy it and then paste it in the volume named Ventoy.
Section 2: Boot from USB to Jailbreak iOS 15/16
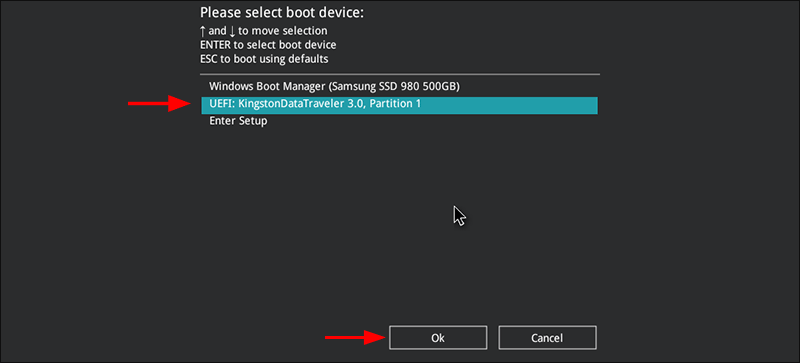
Step 1: Restart your computer and press F8 or F12 key to enter the boot menu. After that, select the USB to boot.
Step 2: If the secure boot is disabled on your computer, you can skip this step. If not, you will see the error message. Press Enter to confirm OK.

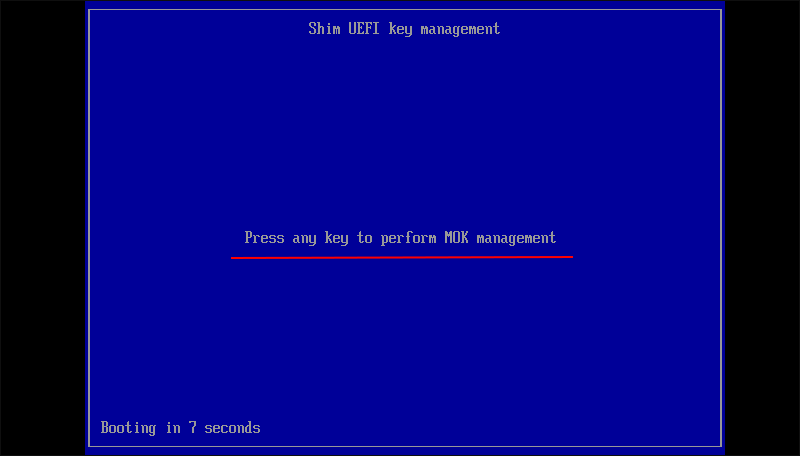
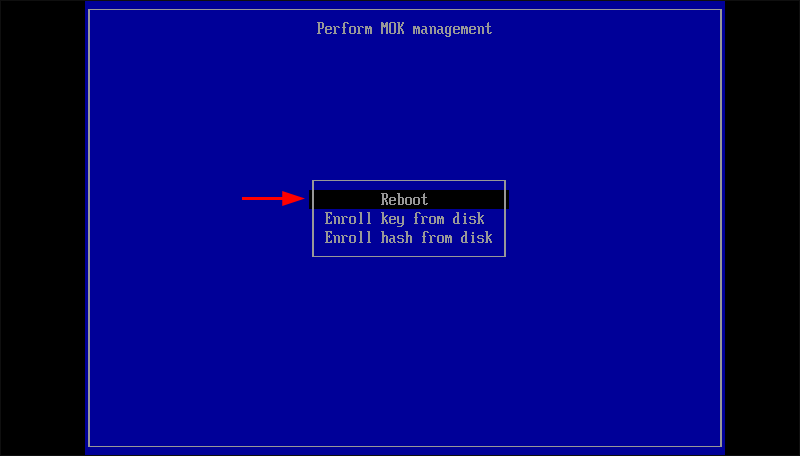
Then press any key to perform MOK management in 10 seconds.
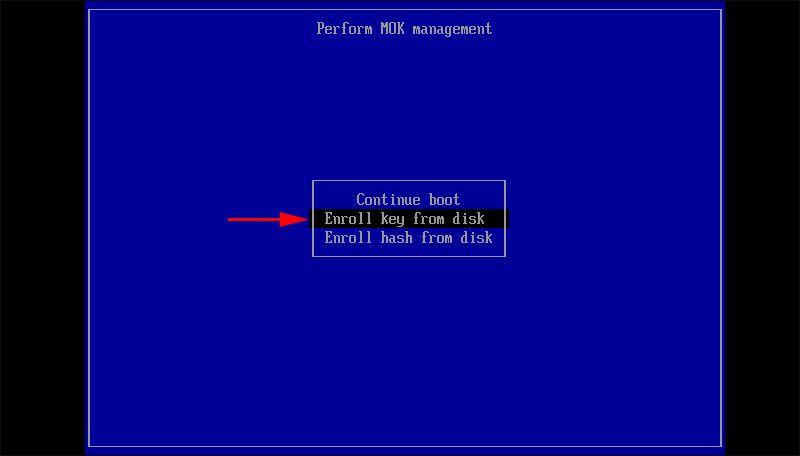
Select Enroll Key from disk option with the down or up arrow in your keyboard. Then Press Enter to continue.
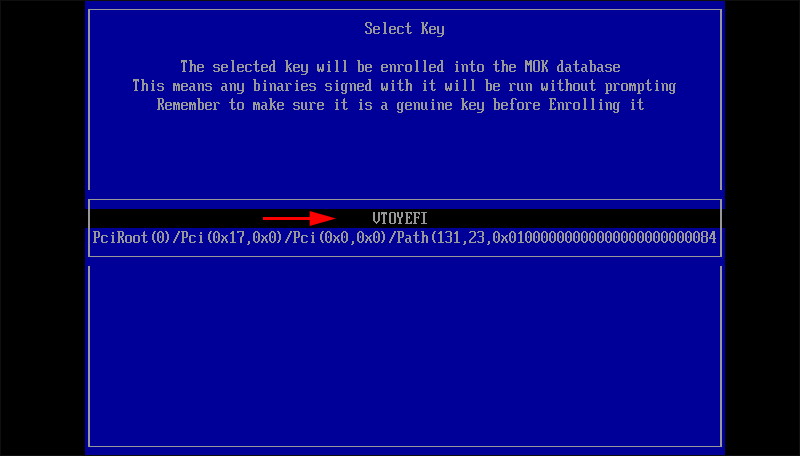
Choose VTOYEFI and press Enter.
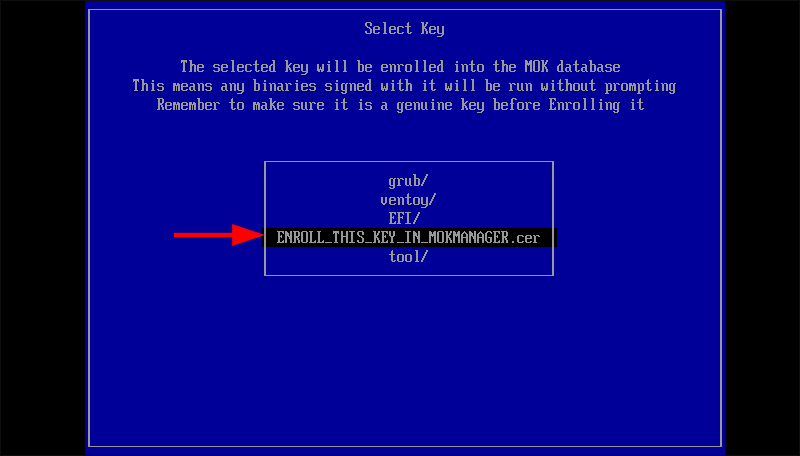
Select ENROLL_THIS_KEY_IN_MOKMANAGER.cer and press Enter.
After that, choose Continue > Yes> Reboot. Then your computer will reboot and you need to press F8/F12 to set the computer to boot from USB disk.
Step 3: Connect your iPhone to the computer. Then choose Palen1x-amd64.iso on the computer screen and press Enter key.

Step 4: Select Boot in grub2 mode and press Enter to proceed.

Step 5: Choose 1 palera1n.

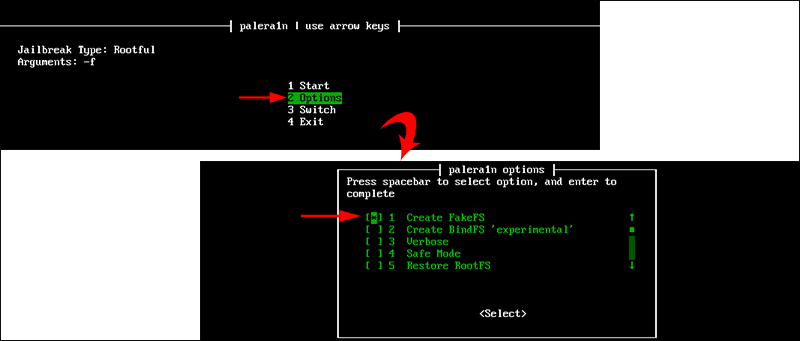
Step 6: Select 2 Options and then press spacebar to select 1 Create FakeFS. Then press Enter key to confirm the selection.
Tips: For the iPhone with 16 GB storage, it is recommended to create BindFS. But it does not work on iOS 16.
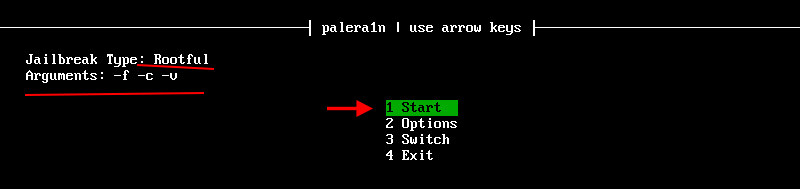
Step 7: Now, you can see the Jailbreak type is Rootful, Argument is –f –c-v. If everything is OK, you can select 1 Start and press Enter key to run palera1n.
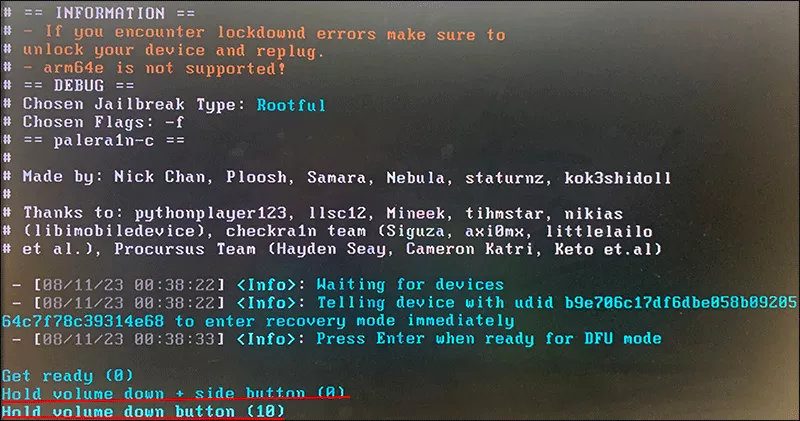
Step 8: After successfully detected your iPhone, Palera1n will inform you “Press Enter when ready for DFU mode”. Then you can press Enter.
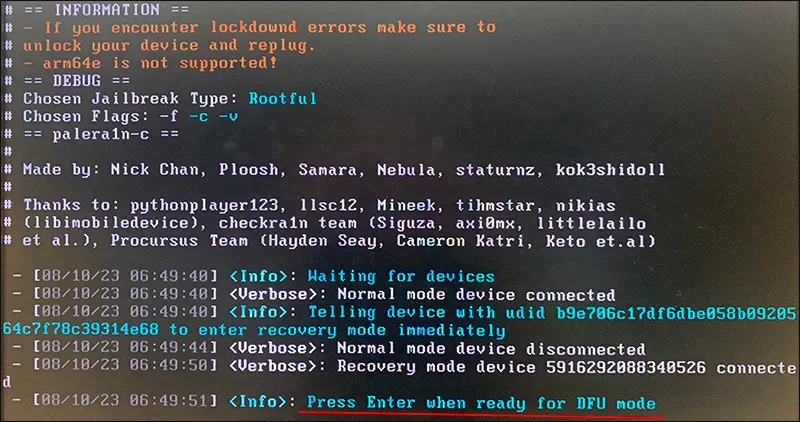
Step 9: Follow the on-screen instructions to manually put iPhone into DFU mode:
Hold volume down and side button for 4 seconds. Release both buttons. Then hold volume down button for 10 seconds.

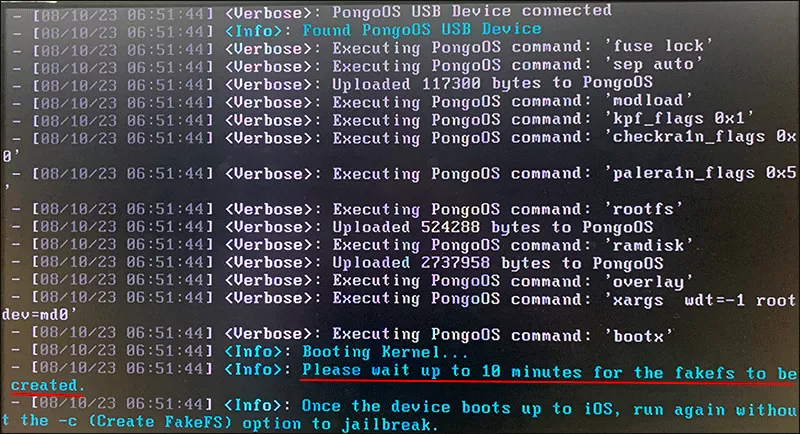
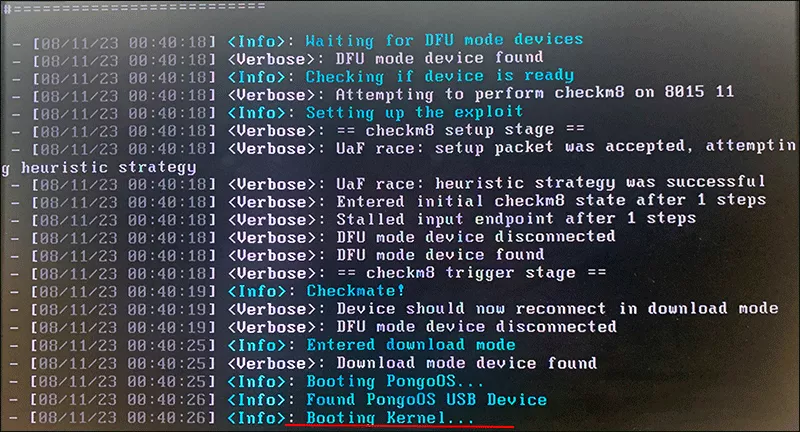
Step 10: After your iPhone enter DFU mode successfully, palera1n will create the fakeFS file. You need to wait about 10 minutes.
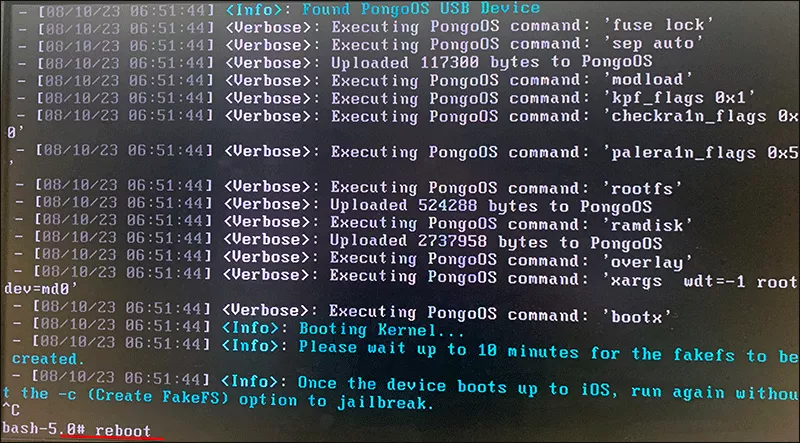
Step 11: When the fakeFS file is created, the palera1n app will not exit automatically. You can press Ctrl +C and then enter reboot to restart this program.
Step 12: After the palen1x reboots, you can select 1 palera1n to continue.
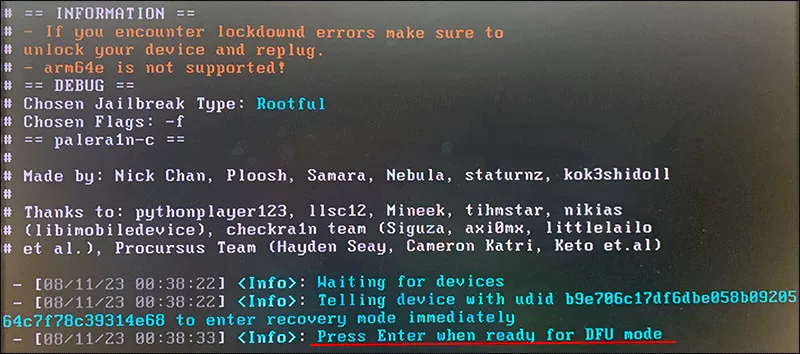
Step 13: Now you can check that the jailbreak type is Rootful and the Argument s is –f. Then select 1 Start and press Enter to start the jailbreak.

Step 14: Palera1n will automatically change the iPhone to recovery mode and try to connect it. At this time, you can see the message Press Enter when ready for DFU mode. Then you need to press Enter.
Step 15: On your iPhone, press the volume down and side key together for 4 seconds.
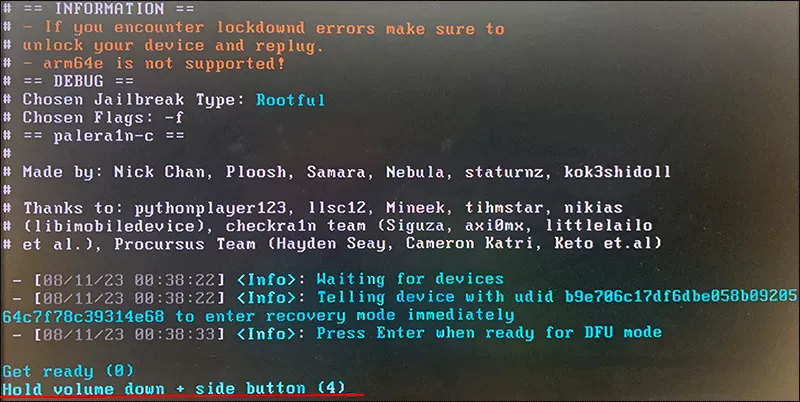
Step 16: Release the side button and keep holding the volume down button for 10 seconds. If you fail to put iPhone into DFU mode, try again.
Step 17: Now, the jailbreak starts. When the process ends, you can see the iPhone reboots on the setup screen. After that, the iPhone can be remounted as read-write. But most of the time, many people will continue to bypass Activation lock on the iPhone after it is jailbroken.
Part 3: How to Jailbreak iPhone with Activation Lock [Easier]
If you want to bypass the activation lock on iPhone via jailbreaking, there is a much easier and safer way for the beginners. Cocosenor iBypass Tuner simplifies the jailbreaking process and enables iPhone iOS 15 and 16 users, even the newest iOS 16.7 users, to jailbreak the iPhone and unlock the activation lock within simple clicks.
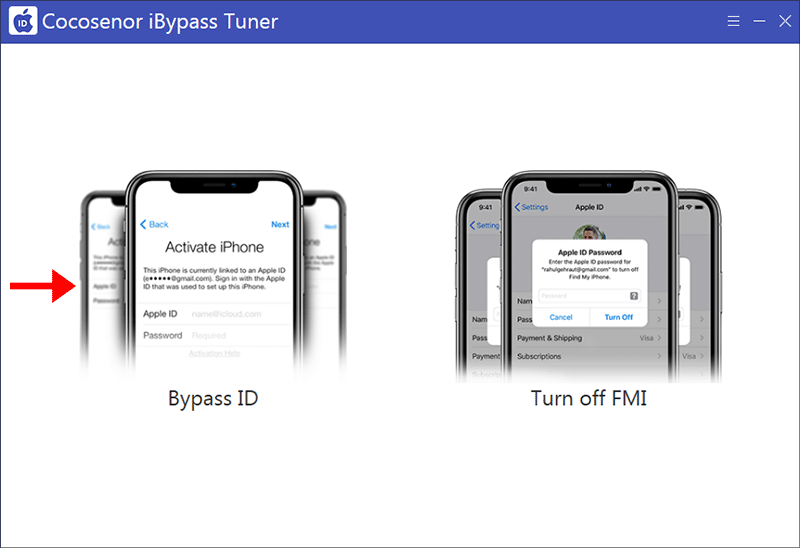
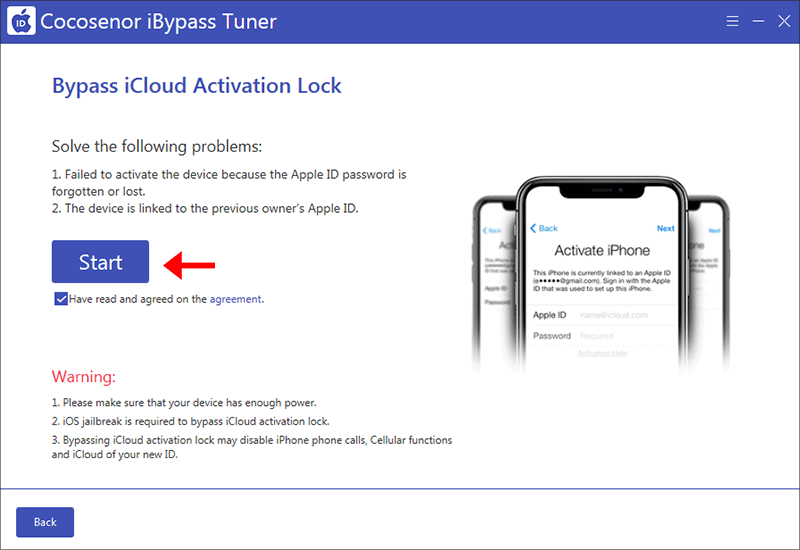
Step 1: Open Cocosenor iBypass Tuner on your computer and connect your iPhone to the PC. Then choose Bypass ID.
Step 2: Check out the agreement terms and then make sure the option Have read and agreed on the agreement is checked. You should also pay attention to the warning text.
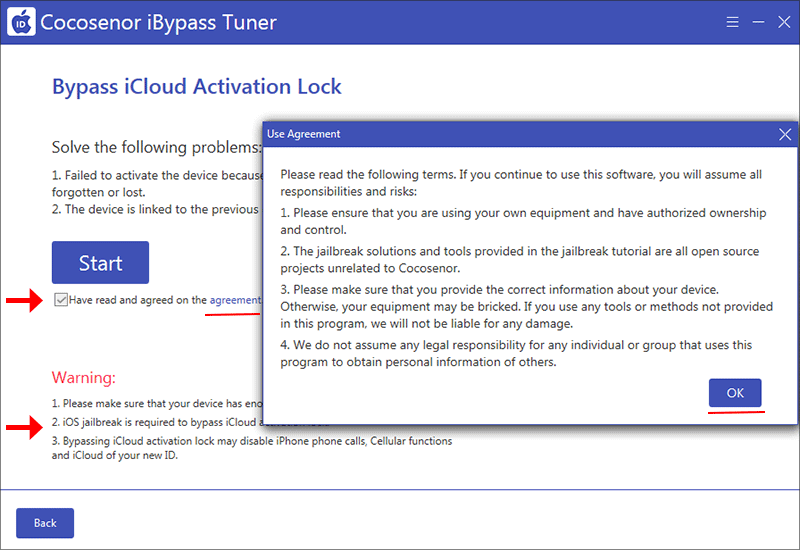
Step 3: Click the Start button to move forward.
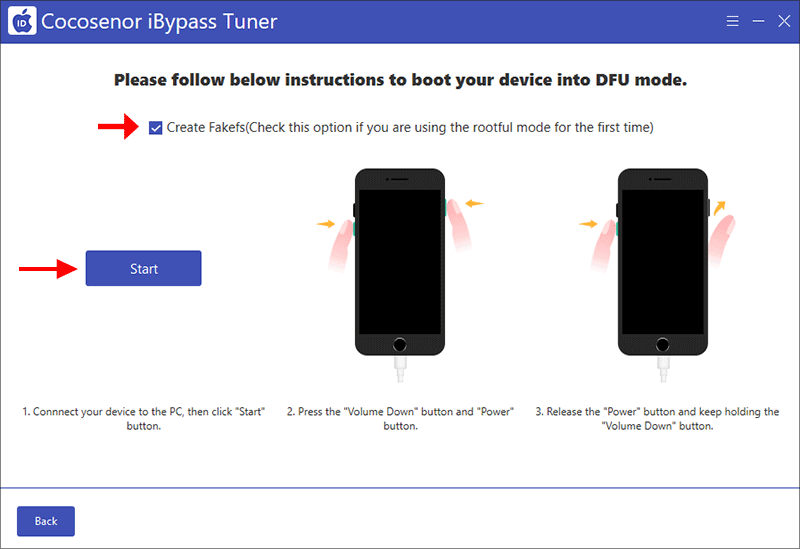
Step 4: Here you can follow the on-screen instructions to jailbreak the iPhone. During this process, you need to put iPhone into DFU mode twice.
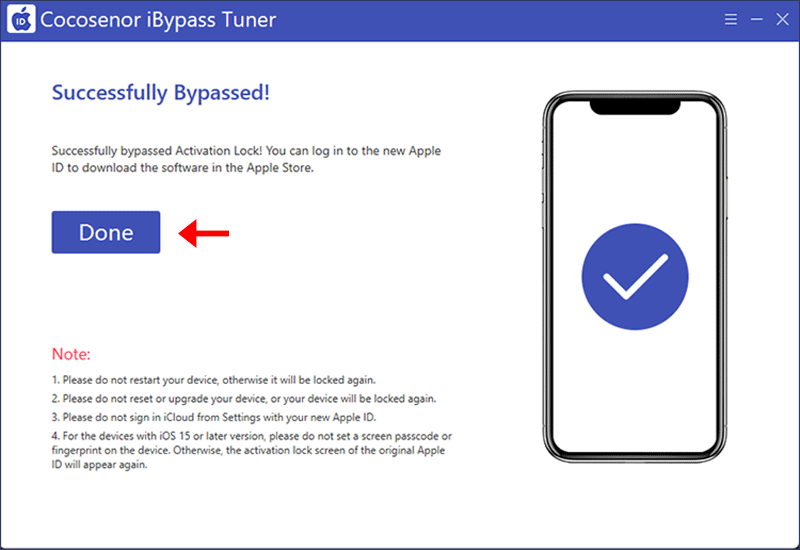
Step 5: After completing the jailbreak, iBypass Tuner will start removing the Activation Lock from your iPhone automatically.
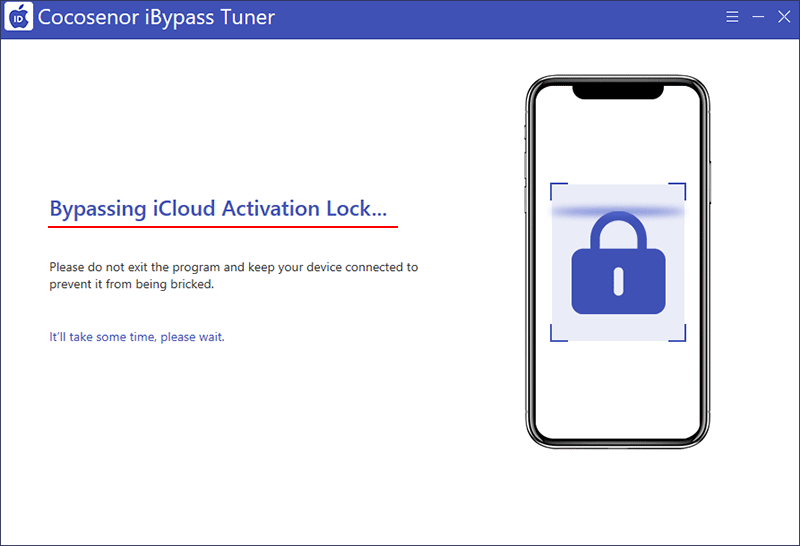
Finally, the Activation Lock on your iPhone is successfully removed. You set up the iPhone with no obstacles.