How to Create a Windows To Go USB Drive without the Enterprise Edition
Microsoft Windows To Go feature enables users to install Windows OS to the USB drive so that you can run Windows from the bootable USB without installing. But not everyone can take advantage of this feature to create a Windows To Go USB drive. It is only available on Windows 10/8/8.1 Enterprise edition. To use Windows To Go feature on Enterprise edition, you need to prepare a Microsoft-certified USB, Windows image file, and another USB3.0 hardware on your computer.
Now here come the questions: Is it possible for users to create a Windows To Go USB drive without the enterprise edition? What if you do not have a certified USB drive? Can you still create a Windows To Go USB with any Windows version and edition?
Yes, of course. When you cannot use the built-in Windows To Go utility, you can try Cocosenor OS2Tuner, the Windows To Go creator, which enables you to create a Windows To Go USB without the enterprise edition. As a matter of fact, you can apply this software to create bootable USB of Windows 7/8/10/11.
- Create a Windows To Go USB Drive without the Enterprise Edition
- Part 1: Why choose Cocosenor OS2Tuner?
- Part 2: Create a Windows To Go USB drive from your current PC
- Part 3: Create a Windows To Go USB drive from ISO image file
Part 1: Why choose Cocosenor OS2Tuner?
Cocosenor OS2Tuner is designed with the intuitive interface so that everyone can easily create a Windows portable USB drive. This software enables you to put Windows on USB safely. You can use it on any Windows versions or editions, including the newest Windows 11.
Besides creating the Windows To Go USB on non-enterprise edition computers, Cocosenor OS2Tuner can help you to completely clone the installed Windows system as well as the apps on your computer to the USB drive and make it bootable. In this way, you can run your personalized Windows from the USB even you do not have your PC on hand. What’s more, if you create the Windows To Go USB of Windows 11, you can directly install and run Windows 11 from USB on unsupported hardware computers.
Part 2: Create a Windows To Go USB drive from your current PC
First of all, you need to prepare a USB drive of which the size should be larger than your system drive. Then, get Cocosenor OS2Tuner downloaded and installed on your computer. During the whole process, you need to keep the USB connected to your computer.
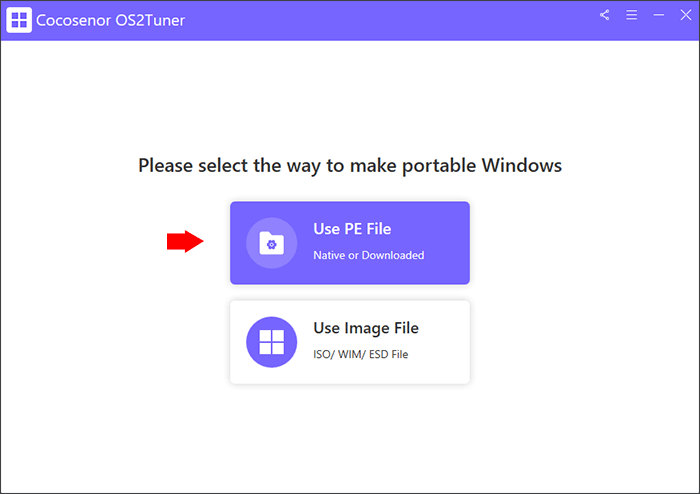
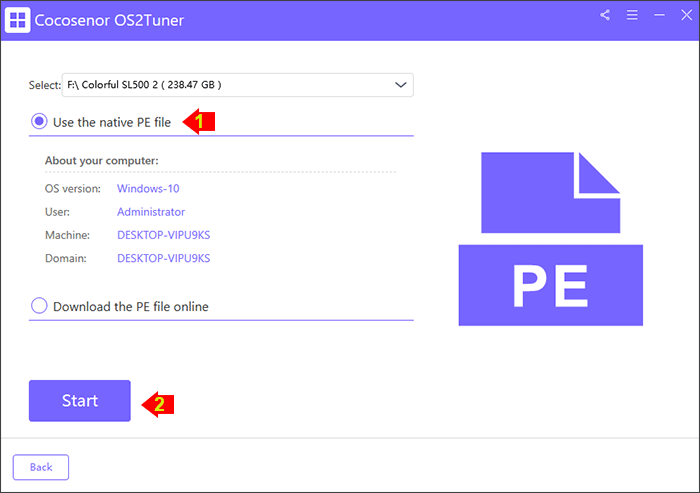
Step 1: Run Cocosenor OS2Tuner and then select the option—Use PE File.
Step 2: Your USB drive will be detected by the software. Just go to choose it from the drop-down menu.
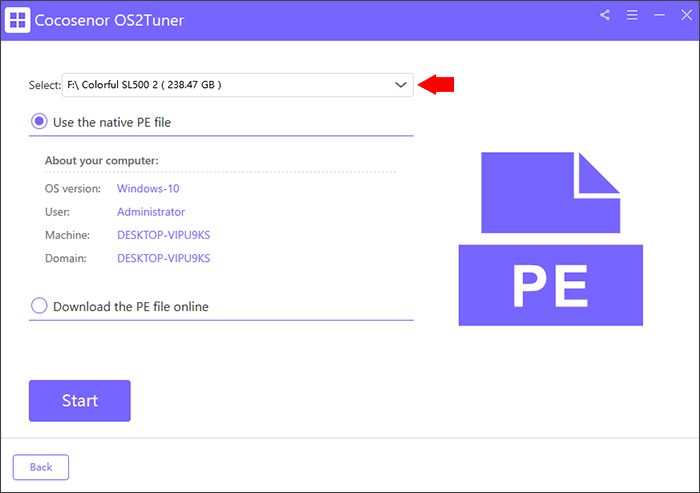
Step 3: Generally, the software will detect your built-in PE file. You can directly choose the option—Use the native PE file and then click the Start button.
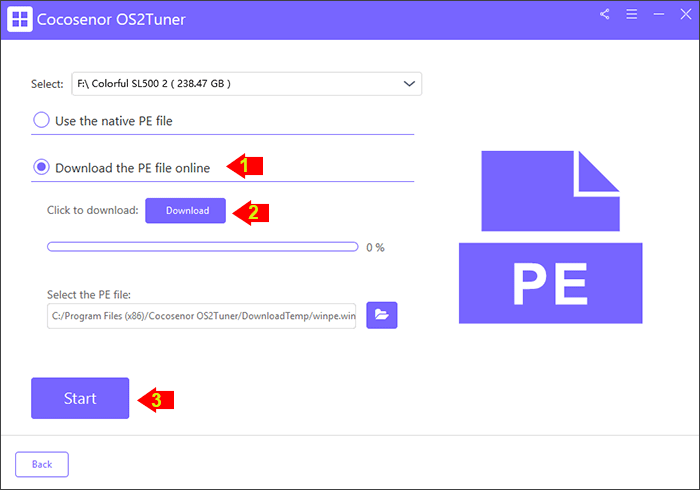
If there is no PE file found on your computer, you can choose the option—Download the PE file online and click the Download button. When you get the successful download prompt, click the OK button. Then you can click the Start button to make PE.
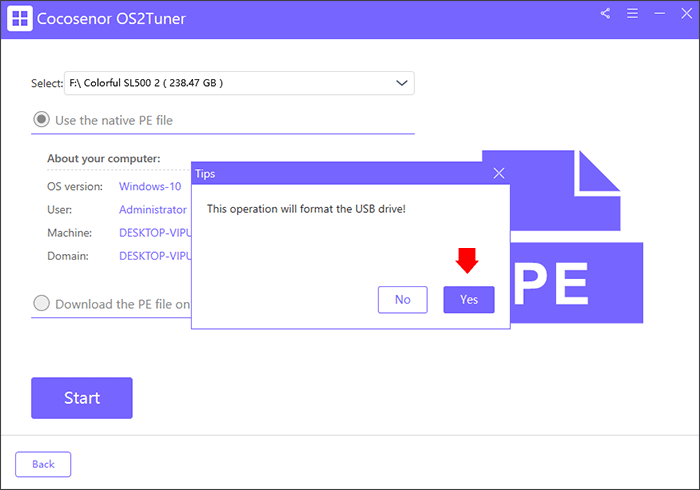
Step 4: The USB format warning pops out. Click the Yes button and the software starts making PE on your USB.
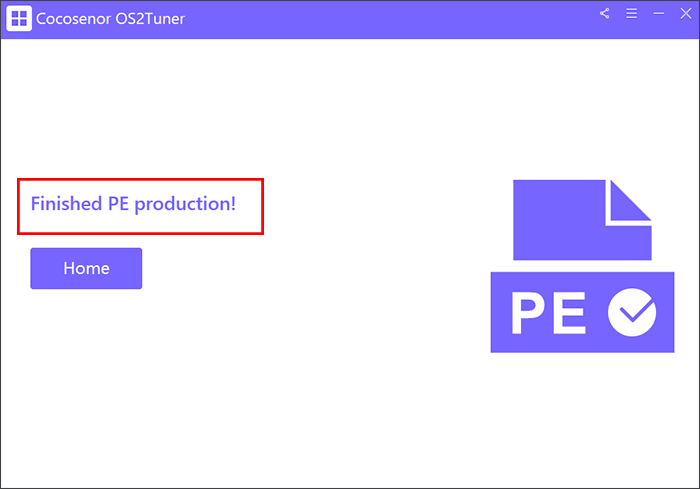
Step 5: When this process ends, you just get the USB with PE file. You need to close the software and boot the computer from the USB to clone the existing Windows in PE mode.
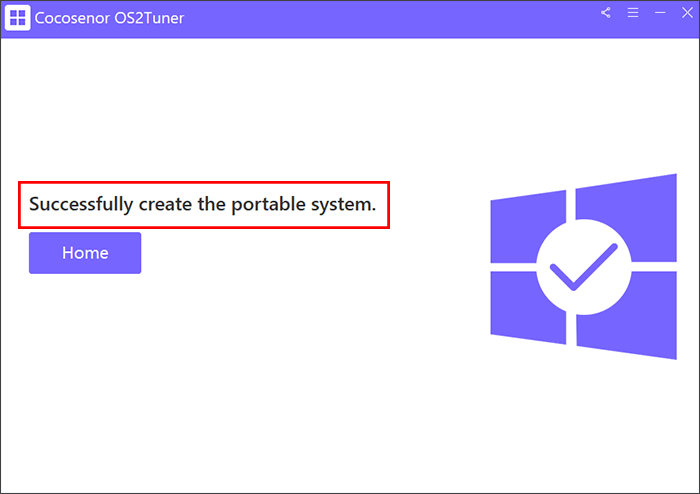
Step 6: When you start the computer from USB successfully, you can see that Cocosenor OS2Tuner is automatically running to make the portable USB. Wait patiently until it tells that it successfully creates the portable system.
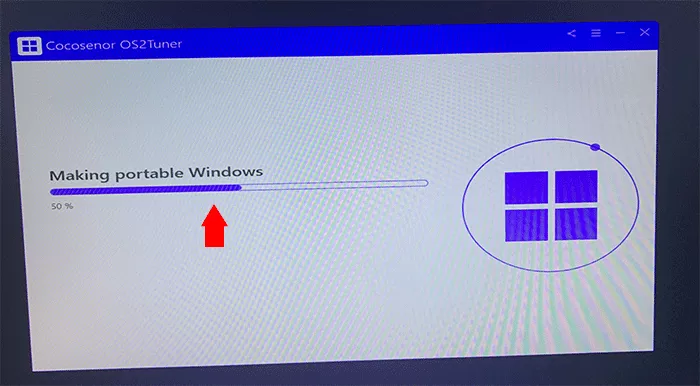
After that, the Windows To Go USB drive is created. You can disconnect the USB and then boot any Windows computer from it to work in the Windows environment which is the same as your computer.
Part 3: Create a Windows To Go USB drive from ISO image file
If you just want a clean Windows OS on the USB, you can create the Windows To Go USB drive from ISO image file. Cocosenor OS2Tuner can help you to do that within minutes.
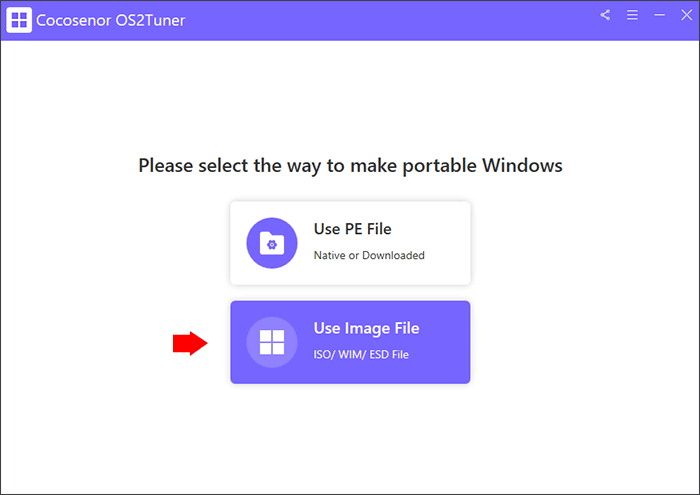
Step 1: Open the software and connect the USB. Then select the option—Use Image File on the home screen.
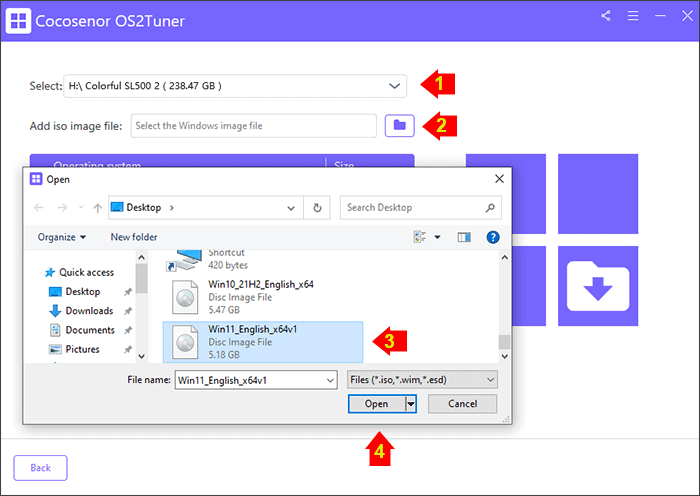
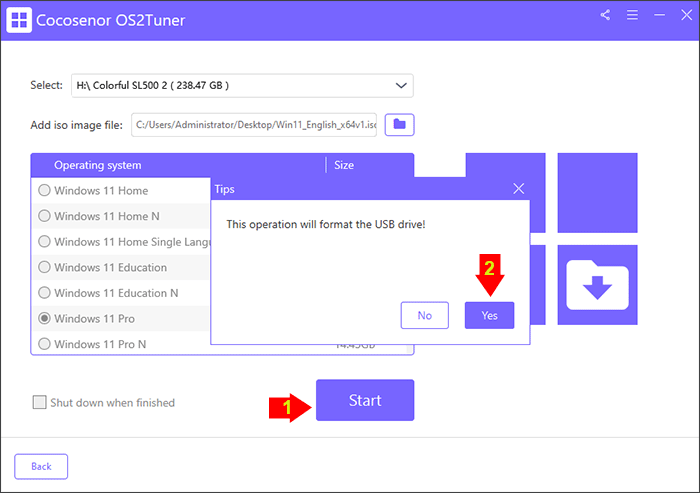
Step 2: Select your USB drive and then click the icon behind Add iso image file checkbox to import the ISO image file.
Step 3: After the decompressing process, you need to choose the Windows version to install on the USB.
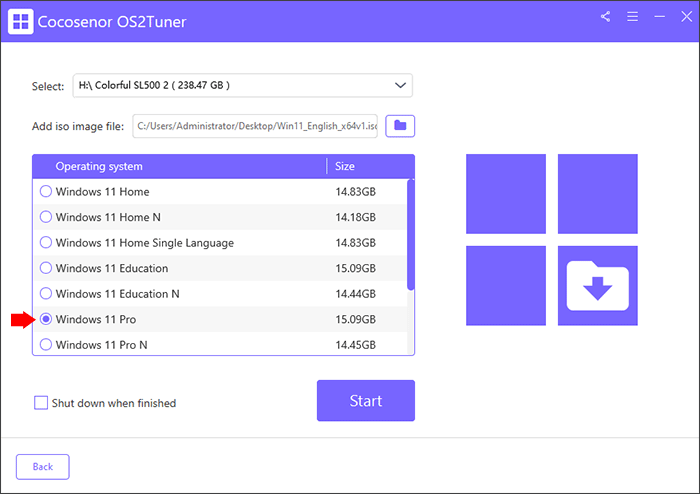
Step 4: Click the Start button and then you will get the formatting warning. Just click the Yes button and the Windows OS is burning on the USB.
Step 5: You successfully make the Windows To Go USB with the clean Windows operating system. Now you can boot any Windows computer to run this clean Windows OS.