
How to add a standard guest account on Windows 10
For security, sometimes we need to make a guest account for friends or other users without administrator privilege to login and use our PC device. The guest account has no administrator privileges, so, when login with a guest account, it has no privileges to install/uninstall apps or change settings on this Windows 10 PC.
Previously, we can enable the built-in Guest account in Windows 10, but now, when we enable it, it is just showed on the accounts list, but not showed on the logon screen, so we can't login with the built-in Guest account. How to add a guest account on Windows 10 and login with it? We can first create a Standard account on Windows 10, and then change it to Guest.
- 4 ways to create an account in Windows 10:
- Way 1: Add an account on Windows 10 from accounts settings
- Way 2: Create an account on Windows 10 through Command Prompt
- Way 3: Make an account on Windows 10 via Local Users and Groups
- Way 4: Add a guest account in Windows 10 with "netplwiz"
Way 1: Add an account on Windows 10 from accounts settings
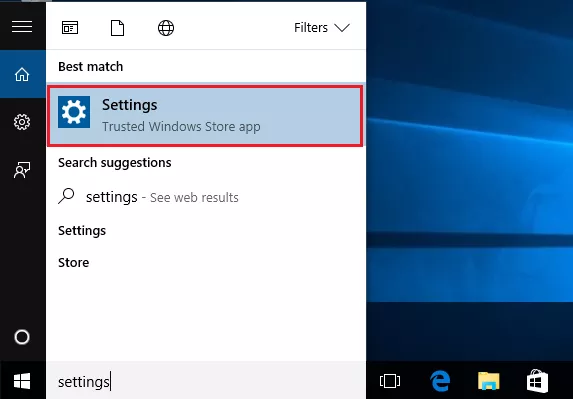
1. Type in "settings" on search box, and then click on Settings on the search result.
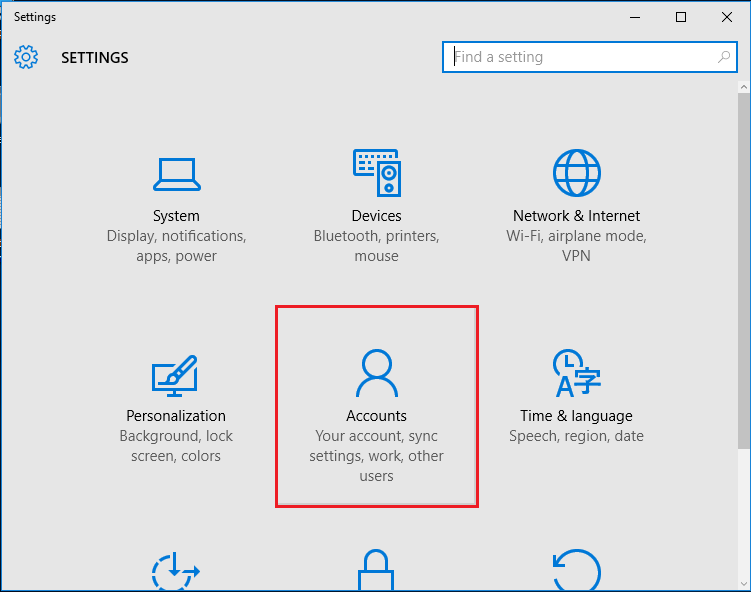
2. Click on Accounts.
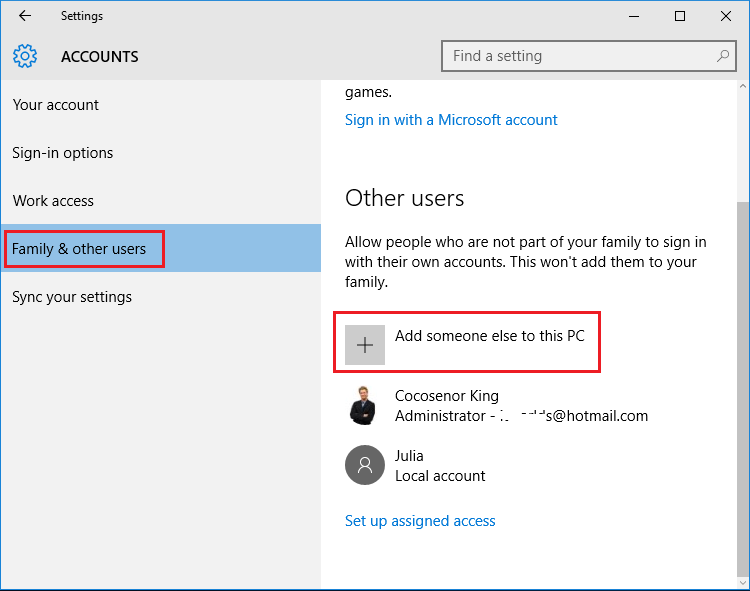
3. Click on Family & other users option, and then click on Add someone else to this PC.
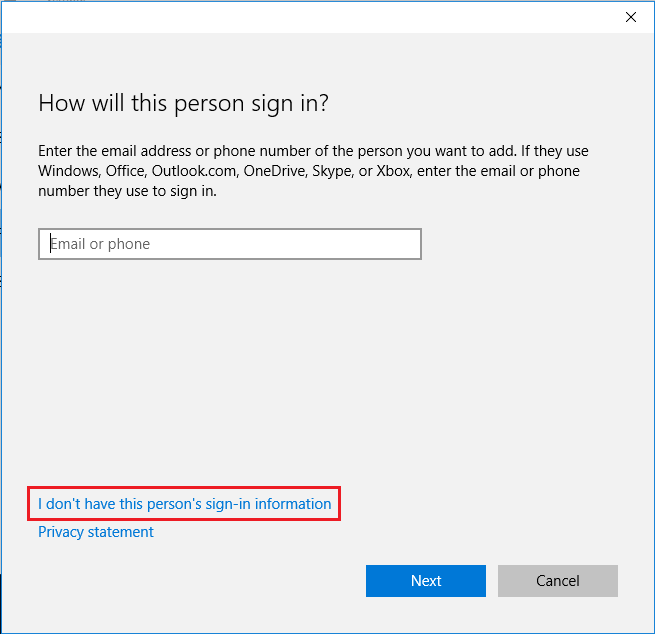
4. Enter the email of phone number of this user, and click on Next.
If don't want to enter the email or phone number, click on the link "I don't have this person's sign-in information".
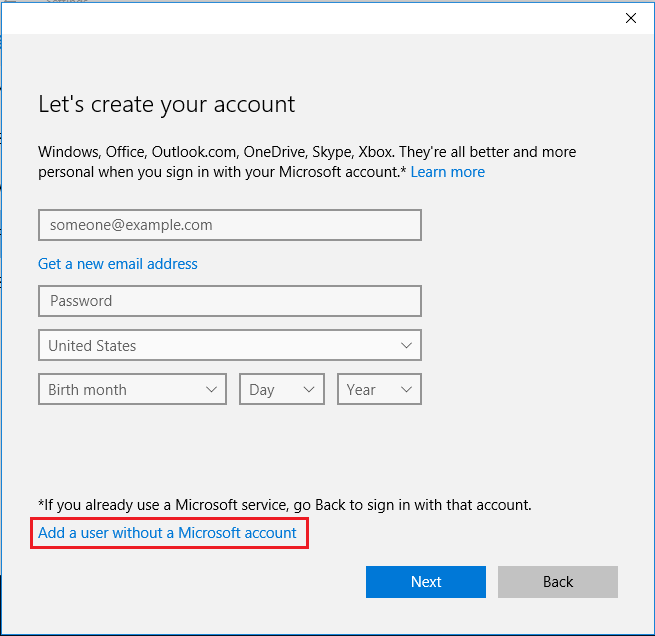
5. To sign in with an email, enter the email address and password on the corresponding text box.
If don't want to sign in with email, click on the link "Add a user without a Microsoft account", enter the user name and password to make an account.
Way 2: Create an account on Windows 10 through Command Prompt
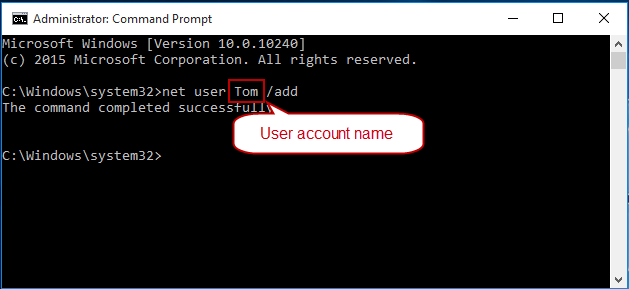
1. Run Command Prompt as administrator.
2. Add a guest account with command line:
net user username /add
Way 3: Make an account on Windows 10 via Local Users and Groups
1. Right-click on This PC, select Manage.
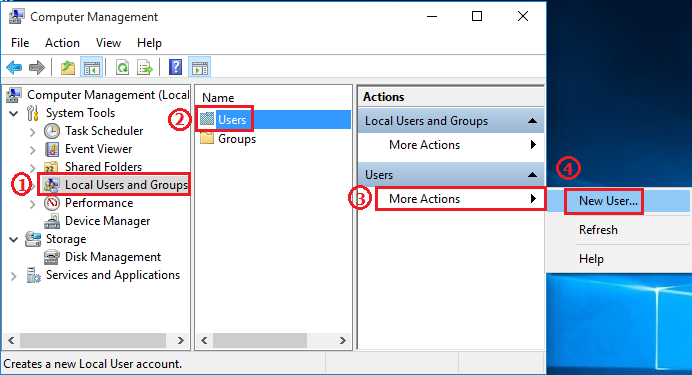
2. Click on Local Users and Groups.
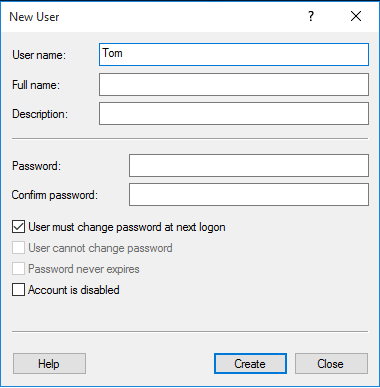
3. Click on Users, click on More Actions, and then select New User.
4. Enter the user name and password, click on Create to add a new user on Windows 10.
Way 4: Add a guest account in Windows 10 with "netplwiz"
1. Press "Windows + R" keys to open Run.
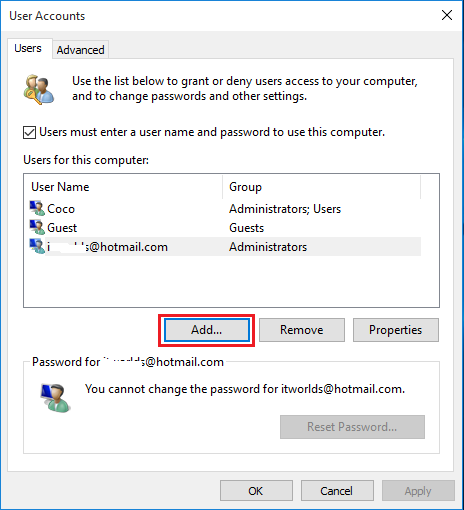
2. Type in "netplwiz" on text box and click on OK.
3. Click on Add button.
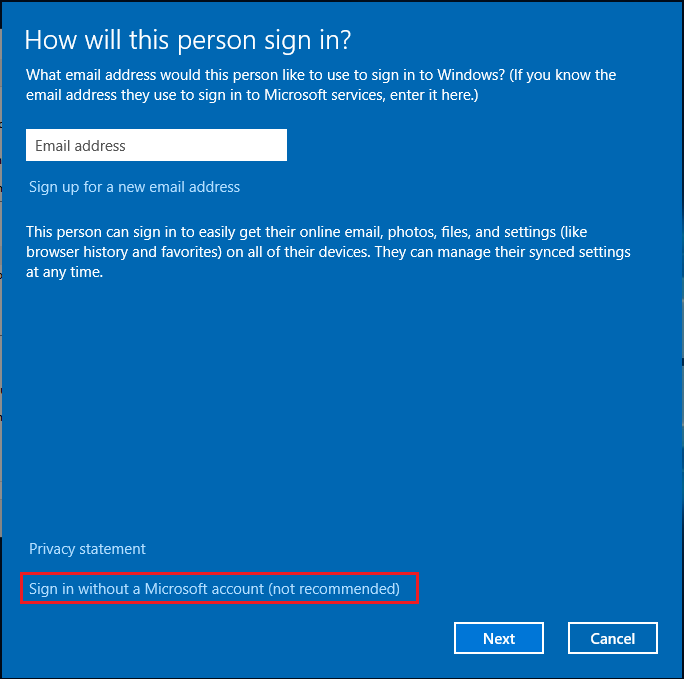
4. If want to login with Email address, enter the Email address and click on Next.
If don't want to login with Email account, click on the link "Sign in without a Microsoft account".
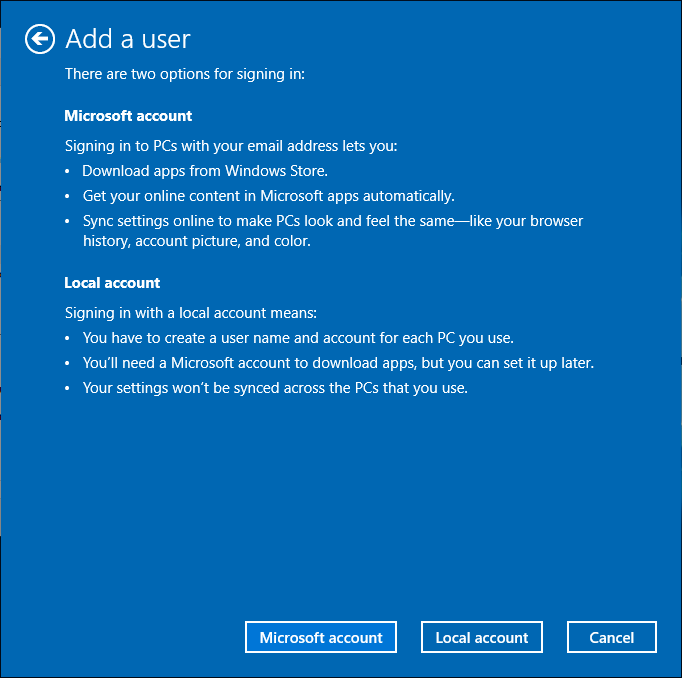
5. If want to add a Microsoft account, click on Microsoft account button. Else, click on Standard account.
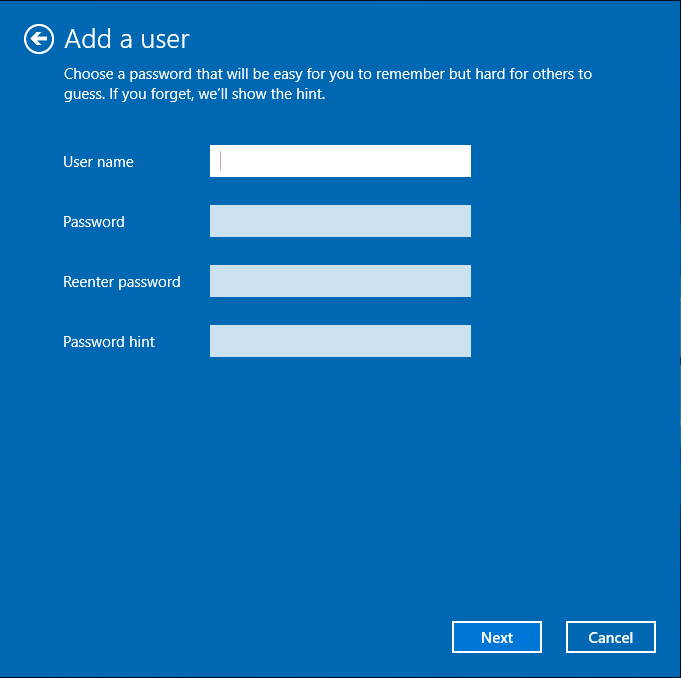
6. Enter user name, password, password hint, and then click on Next. The password hint is good for you to remember the password, when you forgot the password one day, it can help you to remind of the forgotten password.
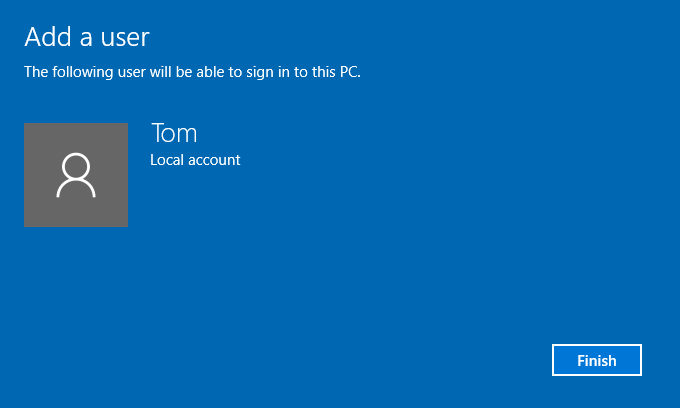
7. When password is created, click on Finish to close the Add a user dialog.
The four ways above to add an account on Windows 10, is adding the Standard account by default. If want to change the account type to Guest, follow the steps below:
Change account type to Guest
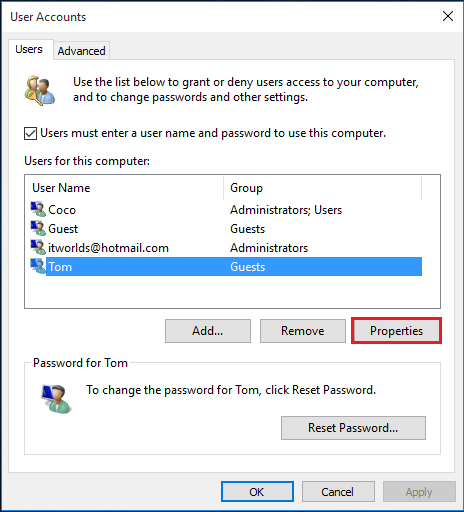
1. Open the User Accounts dialog with "netplwiz".
2. Select the user account that you want to change to Guest, and then click on Properties.
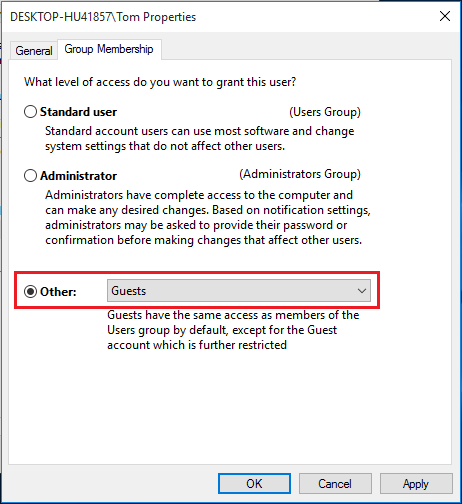
3. Click on Group Membership tab, select Other option, and select Guest on the drop-down list. And then click on OK.
Related Articles
- How to Create a Child Account on Windows 10 Device
- Create Windows 10 Microsoft Account and Local Account
- 4 ways to remove Microsoft account or Local account from Windows 10
- Windows 10 login without password – bypass it with 9 tips
- Windows 10 Forgot Login Password Reset without Disk or Microsoft account

