How to Fix JPG Invalid Image File Header Error in Windows

The “Invalid Image File Header” error is a common issue that prevents JPG images from opening properly on Windows. This error usually appears when JPG files are corrupted or damaged. To recover the image and fix the error, start with simple fixes like opening the file in another viewer or renaming the format. If these fail, run system checks via Command Prompt or repair the image using File Repair Tuner.
- Contents:
- Part 1: What Causes the Invalid Image File Header Error
- Part 2: How to Repair Invalid Image File Header Quickly
- Part 3: How to Fix Image Errors Using File Repair Tuner
Part 1: What Causes the Invalid Image File Header Error
Someone may ask what image file header is before knowing the causes of the image error. Every image file has a header which is part of metadata, containing the file name, image size, location, etc. It can help you identify the image file when other apps need it.
If the image file header becomes invalid, maybe there is file corruption, malware attacks or bad sectors on the drive. These reasons all will cause your computer that is hard to decode the image. Now let’s walk through the methods of fixing the “Invalid Image File Header” error.
Part 2: How to Repair Invalid Image File Header Quickly
Once the JPG picture becomes inaccessible, you can’t view and edit the cherished pictures anymore. Thus, there are a few quick ways you can try before using advanced repair tools:
Fix 1. Try to Open the Image with Another Photo Viewer
Generally, the default Photos app can be launched when opening any images on Windows 10/11. If the image checker can’t work well due to software bugs, attempt to use Photoshop, Paint, Snip & Sketch, or Paint 3D.
Just right-click the image, choose Open with. Then select a picture application different from the default one to see if the invalid image header error disappears.

Fix 2. Change the Problematical Image File Format Manually
If the image file format is wrong or not supported by the image editor, you can convert it to other widely used formats like JPG, JPEG or PNG.
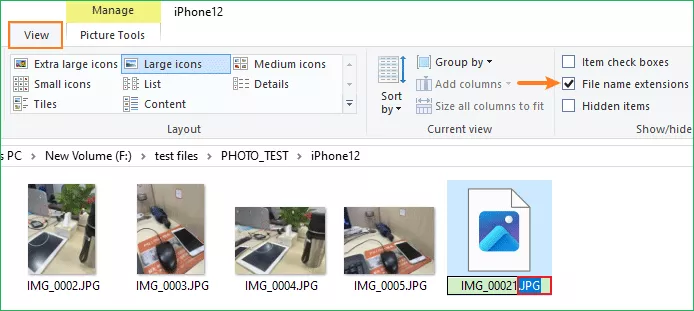
1. Manually change the file name extension
After opening File Explorer, click the View option from the top menu. Tick the box of File name extension. Then check whether the image file format is right. If not, change it to .jpg.
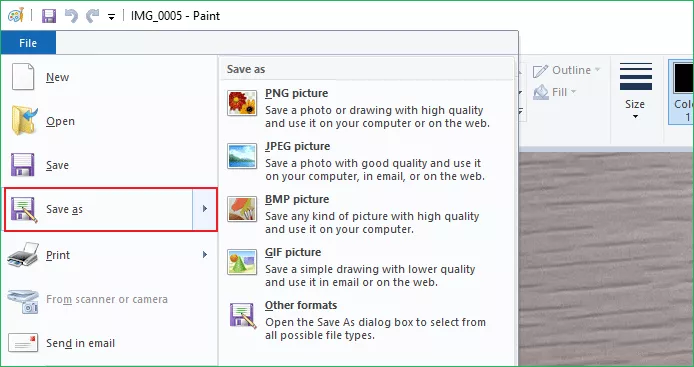
2. Use the Paint app to convert the format
Open the picture with Paint. Then click the File option > Choose Save as. Then select a format from the menu.
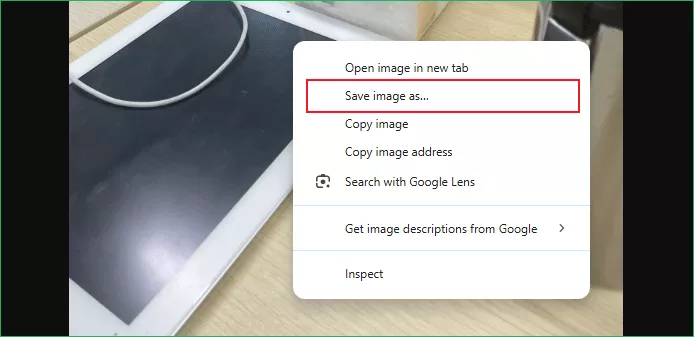
Fix 3. Open and Check the Image in an Internet Browser
When the images are partially corrupted, a more suitable option is to display the image in Web browsers.
Launch a browser like Chrome, Edge or Firefox. Drag and drop the JPG file into the browser window. If the image appears, take a screenshot or save it again using right-click > Save image as.
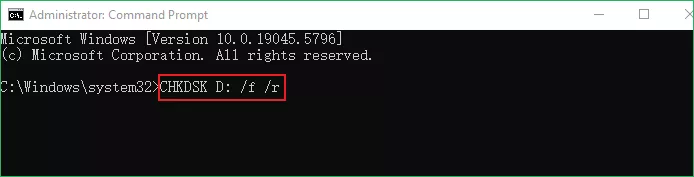
Fix 4. Run CHKDSK Command to Repair Bad Sector Issues
The image file may be stored in a bad sector of your drive, so running system checks via Command Prompt can help repair the issue.
Step 1: Press Win + X keys together, then click Command Prompt (Admin) or Windows PowerShell (Admin).
Step 2: Type the following command CHKDSK C: /f /r and then press the Enter key. (Replace “C” with the correct drive letter where your image is stored.)
Step 3: Restart your PC if prompted. Once completed, check if the image file opens correctly.
Step 4: After resetting the app, try opening the JPG files again to check if the issue is resolved.
Part 3: How to Fix Image Errors Using File Repair Tuner
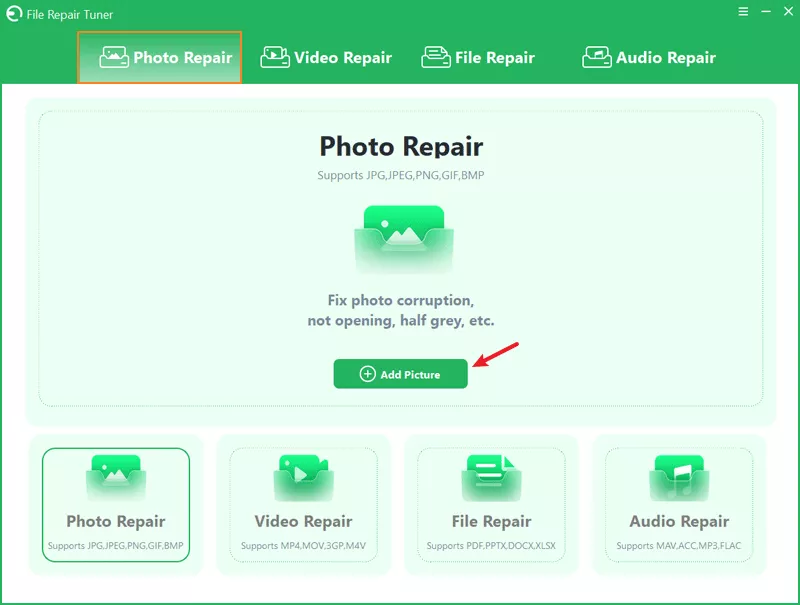
Whether the picture is damaged or the image file header is missing, you can repair all files at once using the professional image repair software—Cocosenor File Repair Tuner.
Step 1: Download and install the reliable program on your PC. Then launch the tool and choose Photo Repair > Click on the Add Picture button.
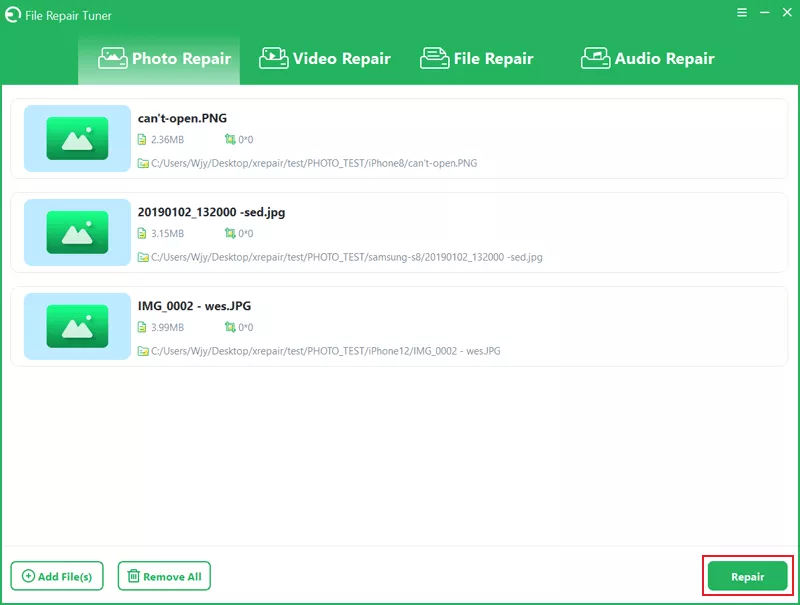
Step 2: After selecting the corrupted JPG images, hit Repair to begin the recovery process.
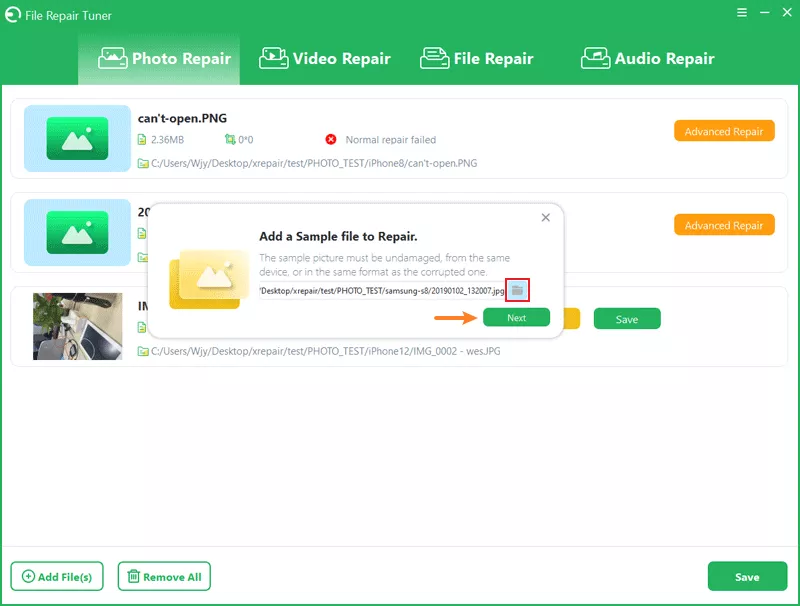
Step 3: Once completed, click OK. Then preview and save the repaired files to a secure location. If the image is corrupted severely, continue to choose Advanced Repair.
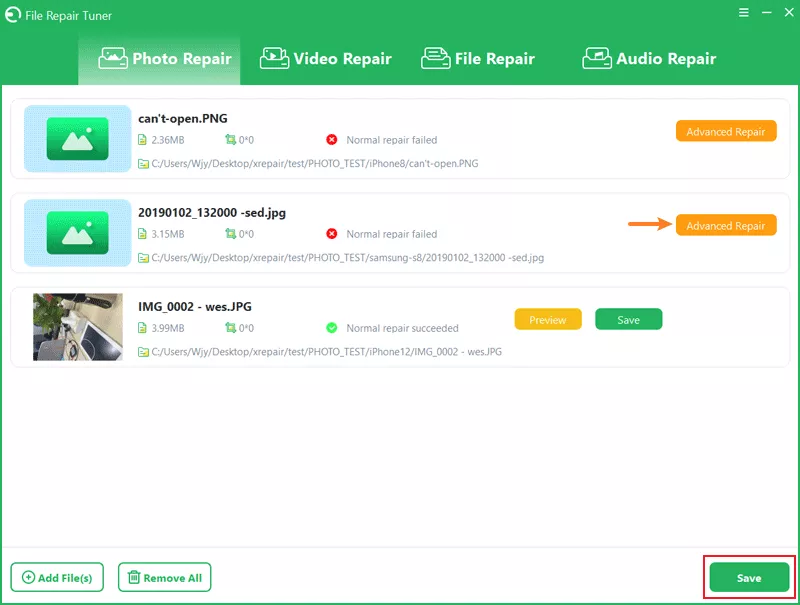
Step 4: Add a sample image file from the same device > Tap on Next. After that, save it on your PC.