Fix the Error “Unsupported Image Format” on Android Phones
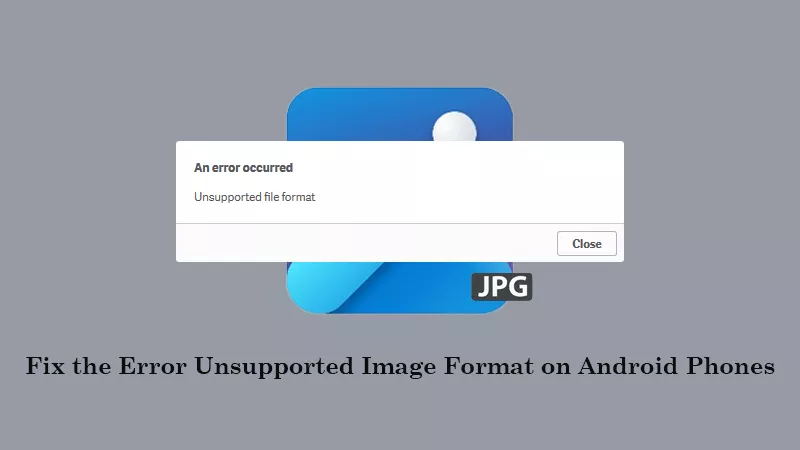
Did you encounter the error “unsupported image format” when opening a photo on the Android phone? If yes, maybe you want to know why this image issue suddenly pops up on your screen. In this guide, we’ll explore the common causes of the error, how to resolve it on your phone, and how to recover corrupted images using File Repair Tuner.
- Contents:
- Part 1: Why Does “Unsupported Format” Occur on Android Phones
- Part 2: How to Solve Your Phone Shows the Unsupported Image Error (5 Ways)
- Part 3: How to Repair the Corrupted Images Using File Repair Tuner
Part 1: Why Does “Unsupported Format” Occur on Android Phones
You may have an impression of some JPG/JPEG file errors. The “unsupported image format” error is one of the common types of them. There are some possible reasons listed as follows.
First, check whether you have a full storage space. Second, ensure the SD card is inserted properly. Third, the image files are corrupted due to physical damages or outdated software. Also, you may shut down the device while saving the image.
Part 2: How to Solve Your Phone Shows the Unsupported Image Error
If the image file is downloaded from the Internet, ensure you have connected to the stable network and then redownload it. If it still cannot be opened, here are several methods to fix the photo corruption problem:
Way 1: Open the Photo with Different Image Apps
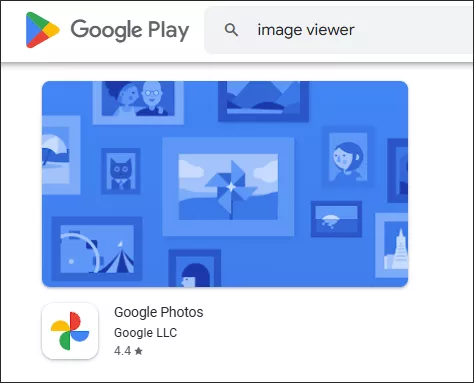
When the default photo app can’t work well or doesn’t support more file formats, download a free image viewer in Google Play Store. Then launch the app and check whether it can be used to open the JPG/PNG files.
Search for the software and try installing one of them: Google Photos, QuickPic Gallery, Simple Gallery, etc.
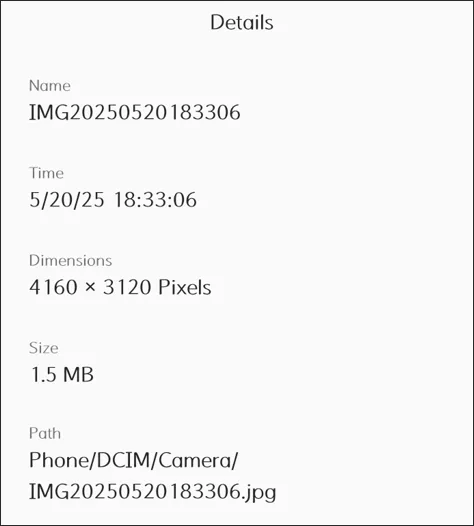
Way 2: Check the Image Type or the File Name Extension
If the file type is unsupported, find the photo after the image is saved and then check its detailed information. Just click More and make sure the file name extension is right. After that, convert the image to a widely accepted format like JPEG or PNG if needed.
Way 3: Reboot the Phone or Update the Old Software
Temporary software glitches or outdated photo apps can cause image incompatibility issues. To fix it, you can have a restart or check for updates (apps and Android OS).
Restart your phone: This refreshes the system and clears temporary bugs. Just press and hold the Power button.
Update the gallery app: Open the Google Play Store, search for your photo app, and tap Update if available.
Way 4: Convert the Image File to Another Format
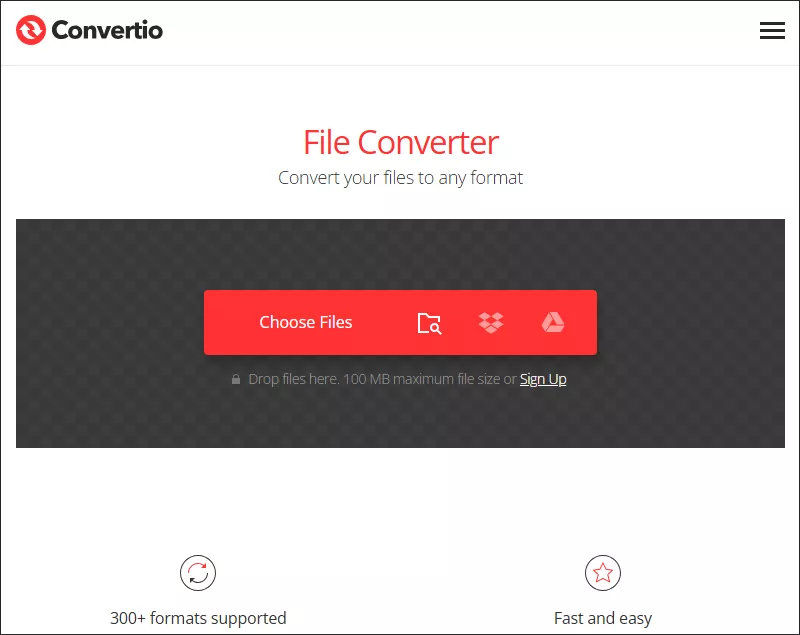
If your phone doesn’t support the current image format, convert it to a common format like .jpg, .jpeg, or .png. Use online converters like Convertio or ILoveIMG. You can also open Play Store and try other apps.
Way 5: Clear the Cache/Data on Android Phones
Downloading large image files can take up too much space, so reduce the image size or clear the cache on Android. But clearing data may remove app settings and saved albums, and only the images stored on the device won’t be deleted.
Go to Settings and click Apps. Tap your Gallery or Photos app. Then find Storage and click Clear Cache (you can also try Clear Data if needed).
Part 3: How to Repair the Corrupted Images Using File Repair Tuner
It doesn’t necessarily mean your image is lost forever when the “Unsupported Image Format” error appears on phones. You can try to repair the image file with a powerful third-party tool like Cocosenor File Repair Tuner, which supports JPEG, PNG, BMP and GIF format.
Step 1: Download and install the reliable program on a computer. Then transfer your damaged images to the drive.
Step 2: Launch the software, choose Photo Repair and click Add Picture.

Step 3: After selecting the files, tap on the Repair button.

Step 4: Click OK and then Save when “Repair Completed” shows up.
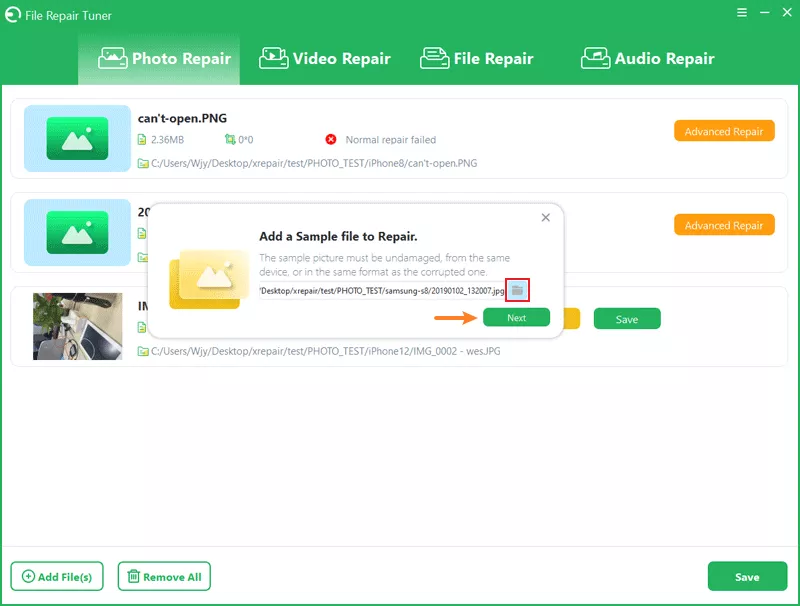
Step 5: If the image is severely damaged, continue to choose Advanced Repair.
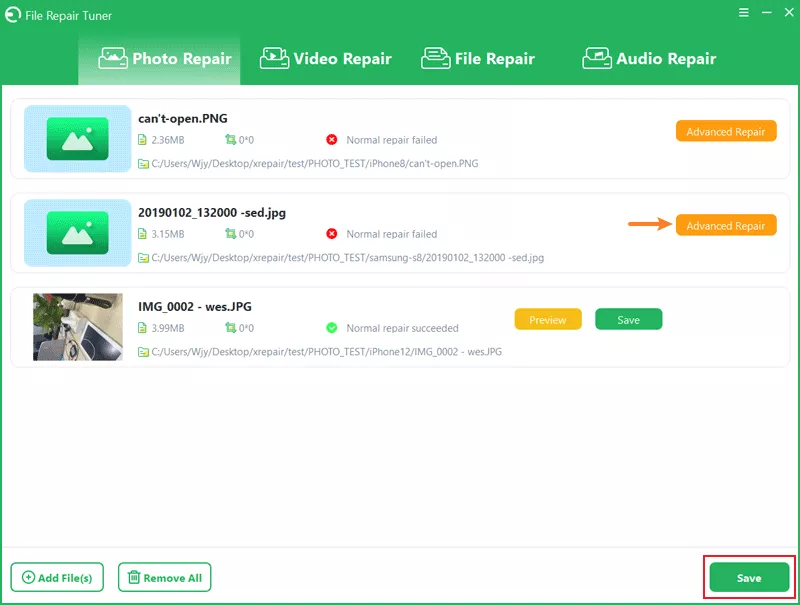
Step 6: Add a sample file from the same device. Then click Next and wait for some time.
Step 7: Tap on OK and preview the repaired photos. After that, save it on your computer.