
How to Record Phone Calls on iPhone
Some Android Smart Phones in some countries, for example in China, have the built-in phone call recorder. However in some countries, for example in Europe and America, both Android Smart Phone and iPhone does not come with the built-in phone call recorder. Because there are federal and state laws pertaining to the recording of phone calls. As a general rule of thumb, though, you shouldn’t run into any legal trouble if you capture both parties verbally consenting to the recording. Some states require that only one party consent, however, feel free to check your state or local laws if you need further clarification.
To find an appropriate application, we’ve scoured the internet in search of the best phone call recorders. Now we got some good application. Please do not forget about the federal and state laws before you use it.
1. Using Google Voice to Record an Incoming Call
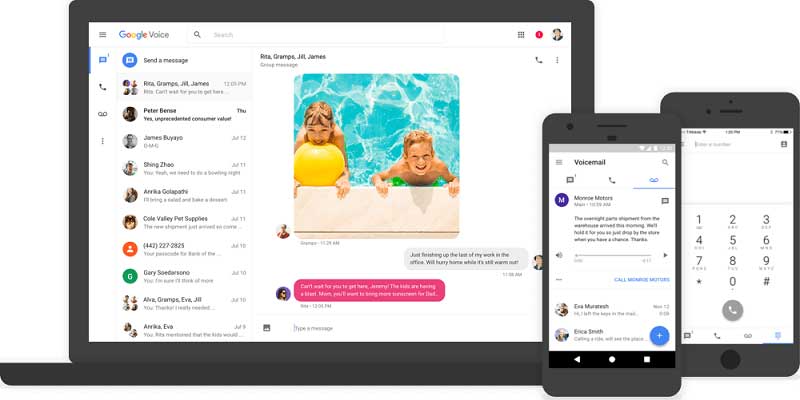
Google Voice gives you a free phone number for calling, text messaging, and voicemail. It works on smartphones and computers, and syncs across your devices so you can use the app while on the go or at home. Google Voice just records the incoming call.
Step 1. Download Google Voice from iTunes, install it in your iPhone.
Step 2. Open the Google Voice app.
Step 3. At the top left, tap Menu, then Settings.
Step 4. Under "Calls", switch "In-bound call options" to On.
Answer a call to your Google Voice number. To start recording, tap 4. All participants hear an announcement that the recording has begun. To stop recording, tap 4. All participants hear an announcement that the recording has ended. When you hang up, the recording stops as well. You can find your recordings in the Voicemail tab.
2. TapeACall Lite
TapeACall lets you record your iPhones incoming and outgoing phone calls. The Lite version will record your entire call, but you can only listen to the first 60 seconds of the recording. If you upgrade to PRO by paying USD9.99, you can enjoy below features:
- Listen to the entire call
- Record both incoming and outgoing calls
- No limit on how long you can record a call
- No limit on how many recordings you make
- You can easily transfer the recordings to your new devices
- Download recordings to your computer
- Upload your recordings to Dropbox, Evernote and Google Drive
- Email the recordings in MP3 format, share it via SMS, Facebook, and Twitter, etc.
- It will not notify the people who call you or the people who receive your call that the phone call is under recording.
2.1 How to Use TapeACall
2.1.1 Record an incoming call.
If you want to record an incoming call, when you're on the call,
Step 1. Open TapeACall and press the record button, your call will be on hold, TapeACall's recording line was connected.
Step 2. As soon as the line answers, tap the merge button on your screen to create a 3 way call between your other caller and TapeACall's recording line.
2.1.2 Record an outgoing call
If you want to record an outgoing call,
Step 1. Open TapeACall and press the record button. The app will dial TapeACall's recording line and will begin recording as soon as the line answers.
Step 2. Once that happens, tap the add call button on your screen, call the person you want to record, then press the merge button when they answer.
3. NoNotes
NoNotes is one of the world’s largest ecommerce transcription and call recording services. NoNotes works with individuals, small / medium business, Fortune 500 companies, government and universities every day for call recording, transcription and captioning services.
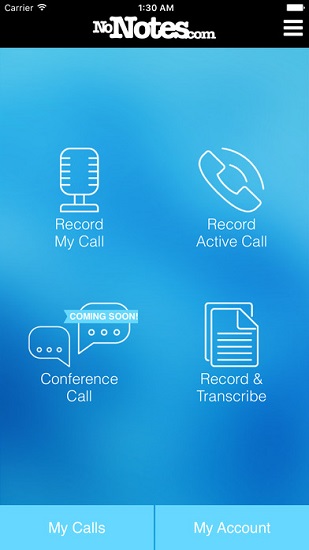
To use this App, you need to sign in by entering your phone number, 6 digits (numeric) pin code and email (this will be used to receive your recordings). Then you can record inbound and outbound calls.
You can have 20 minutes free call recording per month. If you need more, you need to purchase.
With this App, you can save your recordings in the Cloud, Share it on Facebook, or via Email. You can cancel the recording at any time.
Note: This App is for North American and UK Users Only.
4. Call Recorder Lite
Call Recorder is the easiest way to record your iPhone's incoming and outgoing calls! It can be used to record your incoming calls, outgoing calls. When the recording is done, you can download and share recordings via Email, iMessage, Twitter, Facebook, and Dropbox
4.1 Record an incoming call.
If you want to record an incoming (existing) call,
Step 1. Open the software, go to record screen and tap the record button.
Step 2. Meanwhile, your existing call is put on hold and your phone will will dial Call Recorder's recording number. Once it is connected, tap the Merge button on your screen to create a 3-way call between your existing call and our recording line.
4.2 Record an outgoing call.
When you want to record an outgoing call, the step is almost same as recording an incoming call. Just a little difference: In the incoming call, the other call is already in the conversation, then you hold on it. But for outgoing call,
Step 1. Open the APP, connect to Call Recorder's recording number.
Step 2. Add the people you want to call in the conversation. Then merge it to create a 3-way call between your existing call and the recording line.
Tip: The free version records the full length of your calls, however, if you wanna listen past the first 60 seconds, you need to upgrade to Pro.
Note: 3-way calling is a required phone feature for Call Recorder to work properly. Cellular carriers known to NOT support 3-way calling are: H2O Wireless, Virgin Mobile.

