Delete Unnecessary Files to Clean up and Speed up Computer

The hard disk space, especially that of the C drive, is one of the most critical factors affecting the running speed of a PC. If the disk if almost full, we must try various methods to get more storage space. Otherwise, your computer may encounter lags, unresponsive programs or slow responses. Cleaning up the disk with built-in utility may firstly come to your mind. Unfortunately, although Disk Clean up can help you get rid of some unnecessary files to a large extent, it cannot eliminate all those unnecessary files. You may wonder which files are unnecessary? What are the big files that you are not aware of yet? What files can be safely deleted to squeeze more extra storage of your Windows and improve PC performance? Follow this article to find out answers and solutions.
What are the unnecessary files?
Unnecessary files is a general term for anything you don't need other than the files that keep your system running properly. In other words, all something that can be safely removed from system. Common types of unnecessary files are listed below:
- ● Windows installation files. If you have upgraded Windows to a newer version, the previous Windows installation files are likely to remain on your hard drive.
- ● Windows update files. Windows saves the update files including update log files and backs up the current system in case the update fails.
- ● Recycle bin files. Usually, if you delete a file, it is not permanently removed from your computer but will be stored within the Recycle Bin folder so that it could be restored when needed.
- ● Previous downloaded application files. Program installers you downloaded previously come to useless after you successfully installed them.
- ● Windows error logs. Windows error reporting collects error information about software crashes and hardware failures. As these log files are not required for operation, they can be safely removed.
- ● Thumbnails. They are cached images of photos and videos appearing when you browse files.
- ● Language resource files. Some users may have downloaded other language or keyboard layout for specific use. These files should be cleared out if they are no longer required.
- ● Temporary files. They are generated when running all sorts of apps and programs.
- ● Temporary internet files. They are internet caches collected when browsing with Windows browsers.
- ● DirectX Shader Cache. This term refers to the cached images created by the graphics system.
- ● The Hibernation file. This is a large file and if the hibernation mode is hardly employed on your computer, you can disable it to free up hard disk space.
- ● Duplicate files. They can be backup files, repeated files that are saved several times, copies and etc.
How to get rid of unnecessary files?
Now that we have a general ideal of the regular types of unnecessary files, next we will take you through 5 tips to get rid of unnecessary files.
- Way 1: Perform Disk Cleanup
- Way 2: Clean Hibernation files via Command Prompt
- Way 3: Delete old downloads and unused language pack
- Way 4: Remove unwanted user accounts
- Way 5: Clear duplicate files with duplicate finder
Most of the file types we mentioned above can be removed using the Disk Cleanup utility, so let's check out how to deal with all these different types.
Way 1: Perform Disk Cleanup
Step-1. Enter disk cleanup in the search bar and select Disk Cleanup from the result list.
Step-2. Select the drive you want to clean up (in our example, C drive). You can perform Disk Cleanup on every disk on your computer to have a full cleanup and release as much space as possible.
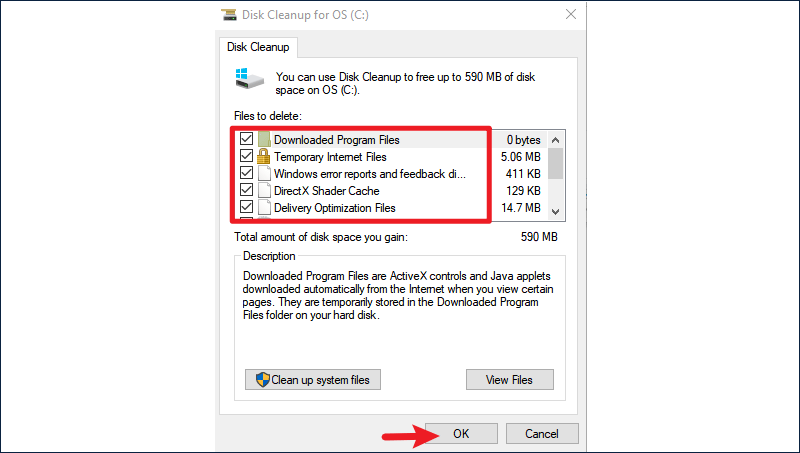
Step-3. Under Files to delete, tick all the boxes and click OK. Most of the unnecessary files including Windows update files, Windows installation files, error logs, etc will be removed within minutes.
Note that User file history refers to backup files of your computer, which is used to restore them if the originals are lost, damaged or deleted. Choose whether to delete this item based on your needs.
Way 2: Clean Hibernation files via Command Prompt
The Hibernation files locate on C:\hiberfil.sys, helping to save your current running programs to the storage drive so that you can continue from where you left off at next sign-in. If you hardly use hibernation mode, disable it to save more storage.
Step-1. Type cmd in the search bar and select Run as administrator from the results.
Step-2. Enter the following command to disable hibernation:
powercfg.exe /hibernate off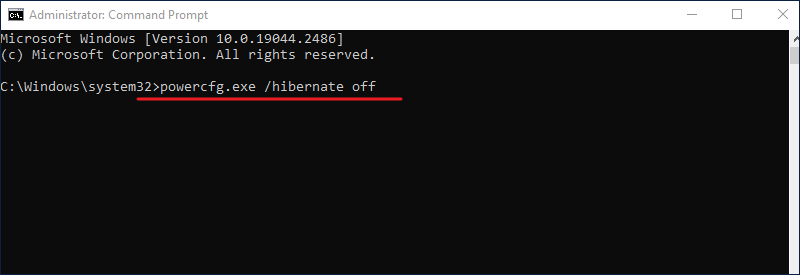
However, there is a caveat that disabling hibernation mode will result in Windows not being able to use fast startup.
Way 3: Delete old downloads and unused language pack
Downloaded installers are no longer required after you successfully installed certain software. Unless you want to have a second installation, there's no need to keep them.
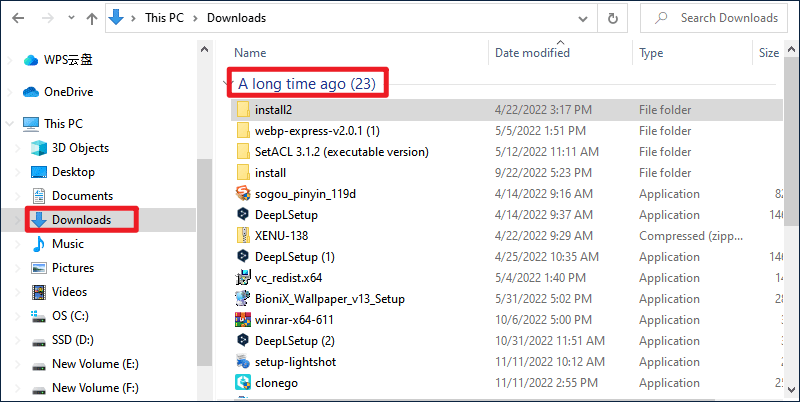
Step-1. Press Windows+E to launch File Explorer and head to Downloads.
Step-2. Click Date modified to sort the downloads by time. You probably see "A Long time ago" if you have never cleaned up previously downloaded installers. Right click them and select Delete from the context menu. Also, don't forget to empty the recycle bin after this.
As for unused language pack, though it won't take up too much space, neither will it work anymore. Delete them in the Settings:
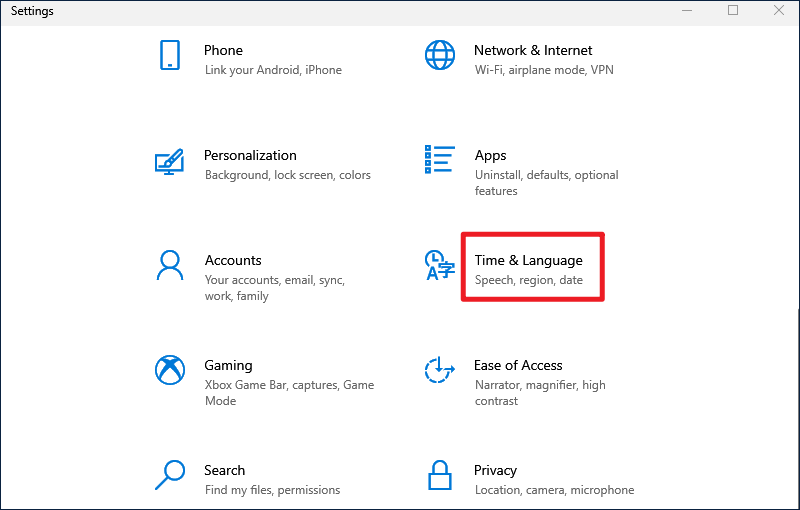
Step-1. Press Windows+I to launch Settings and select Time & Language.
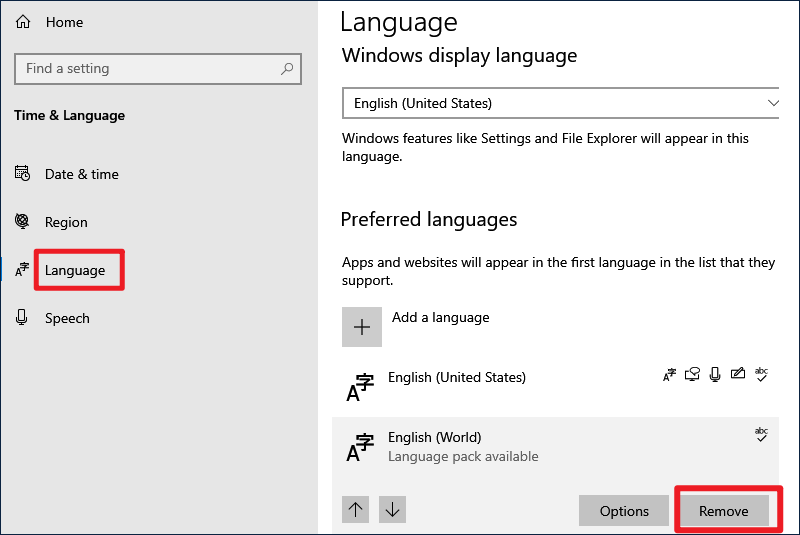
Step-2. Then select Language at the left pane, scroll to locate Preferred languages and then tap on Remove after expanding the language you no longer need.
Way 4: Remove unwanted user accounts
Perhaps you shared your computer with friends or family members before. They might log in with their own accounts and their sign-in info was then kept on the computer. When you don't need to share the computer with other persons, you can remove their accounts. Here's how to get it done:
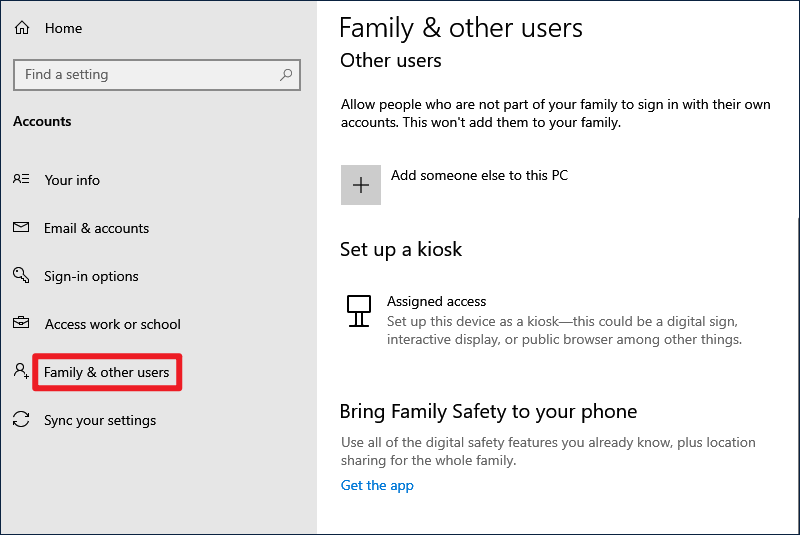
Step-1. Open Settings and select Accounts.

Step-2. Select Family & other users from the left pane, choose the user and click Remove.
Way 5: Clear duplicate files with duplicate finder
Every computer will inevitably collect duplicate files that hog up precious disk space. Manually identifying identical files could be tedious and annoying, in which way the results may also frustrate you. However, a reliable duplicate finder like Cocosenor Duplicate Tuner can be of great help. This tool is proved to be handy with fast speed in scanning for duplicate files and easy one-click operation to safely remove all duplicates. Reclaim the valuable storage space and tide up your file collection with this tool right now:
Step-1. Download and install Cocosenor Duplicate Tuner on your Windows computer.

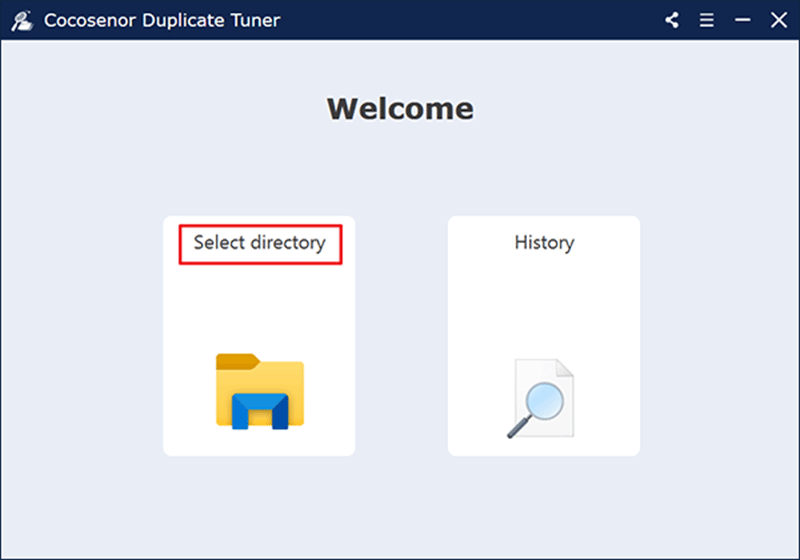
Step-2. Click Select directory on its home interface.
Step-3. To fully scan the computer, add all the drive volumes to the scan directory list. Then choose the folder you want to exclude if necessary and click Start scanning to begin searching.

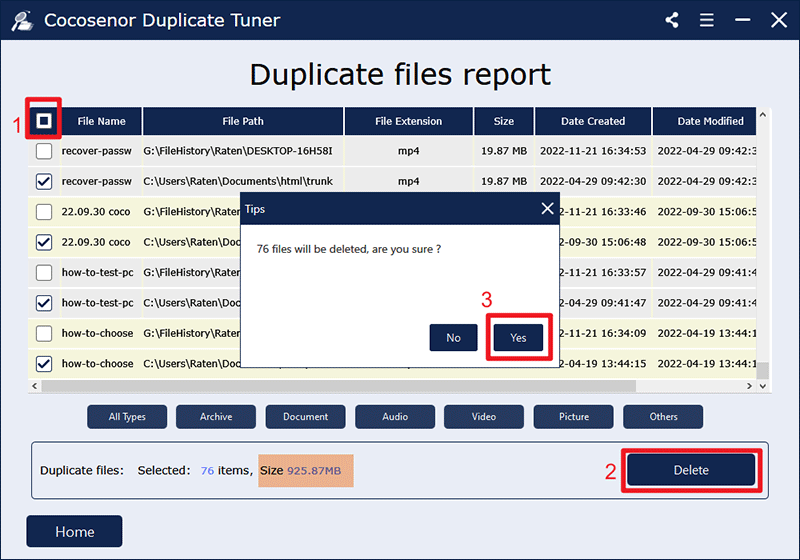
Step-4. You shall receive a duplicate files report which marks a group of duplicate files with the same colour and displays the total size of redundant files. Tick the box next to File Name to automate the process of selecting all repeated copies, click Delete button and then ensure your choice with a Yes.