
How to Disable User Account Control in Windows 10
User Account Control (UAC) is a part of the Windows security system which prevents apps from making unwanted changes on your PC. However, many users are not happy to see these UAC prompts and prefer to use Windows 10 with the classic security model. If you are one of those users, here is how to disable UAC in Windows 10.
Way 1: Disable UAC via the search box
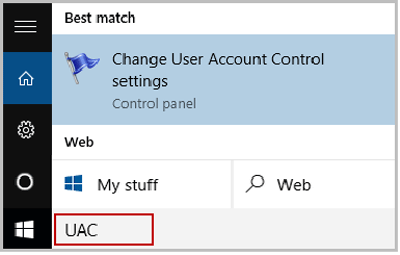
Step 1: Type UAC in the search box and then press Enter key.
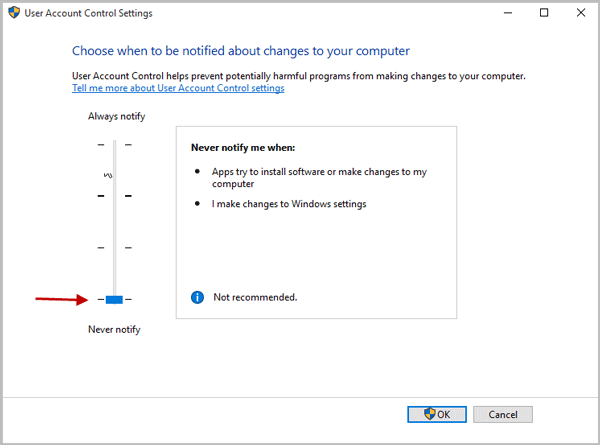
Step 2: Move the slider down to the Never Notify and click on OK.
Way 2: Disable UAC in Control Panel
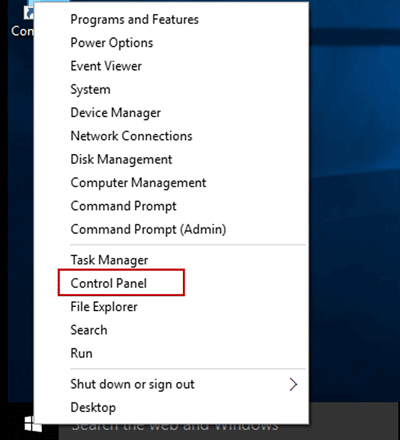
Step 1: Right-click on the Start button and then click Control Panel.
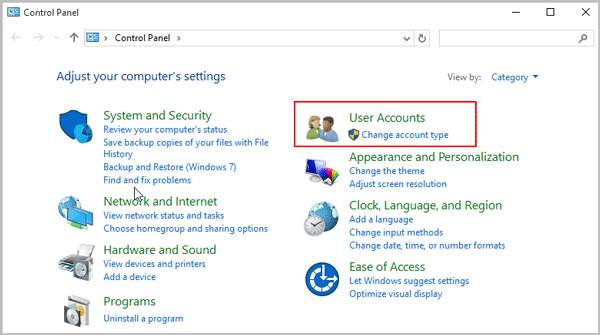
Step 2: Enter Control Panel and click on the User Accounts icon.
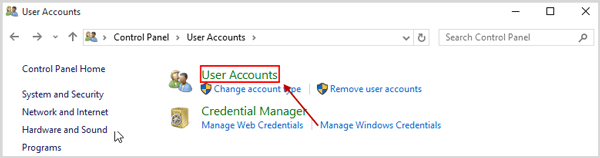
Step 3: Click the User Accounts.
Step 4: There you will find the Change User Account Control settings link. Click it.
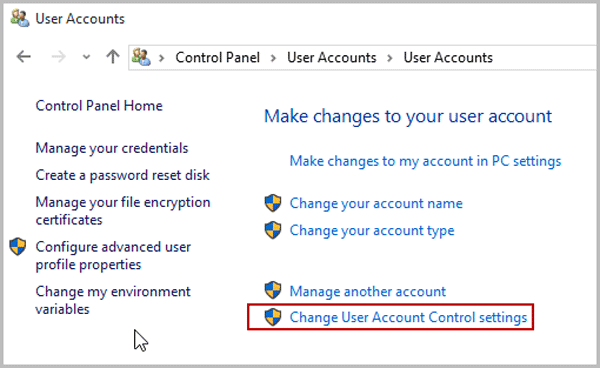
Step 5: In the User Account Control settings dialog, move the slider to the bottom (Never Notify). Click OK. This will disable UAC.
Related Articles
- How to Disable User Account Control with or without Admin Password in Windows
- Create Windows 10 Microsoft Account and Local Account
- How to Create a Child Account on Windows 10 Device
- How to Create a HomeGroup on Windows 10 Device
- How to Change Microsoft Account Password on Windows 10
- How to Change Windows 10 User Local Account Password

