How to Make a Word Document Read Only - Word 2013/2016
When sharing a Word document with others, it is a good idea to make it read only to protect the Word document from being edited by unauthorized readers. We also can make the Word document read only to avoid making any accidental changes. Here this article will show you 6 ways to make a Word document read only in Microsoft Word 2013/2016. Go on and choose the appropriate way according your needs.
Here this article mainly takes Microsoft Word 2016 as example, it also applies to Word 2013, as the steps on them are the same.
- 6 ways to make a word document read only:
- Way 1: Make Word document read only by Marked as Final
- Way 2: Make Word document read only from properties
- Way 3: Make Word document read only with Read-only recommended
- Way 4: Make Word document read only with modify password
- Way 5: Make Word document read only by Restrict Editing
- Way 6: Make Word Document read only by using File Lock Tuner
Way 1: Make Word document read only by Marked as Final
1. Open the Word document, click on File → Info → Protect Document, and then select Mark as Final.
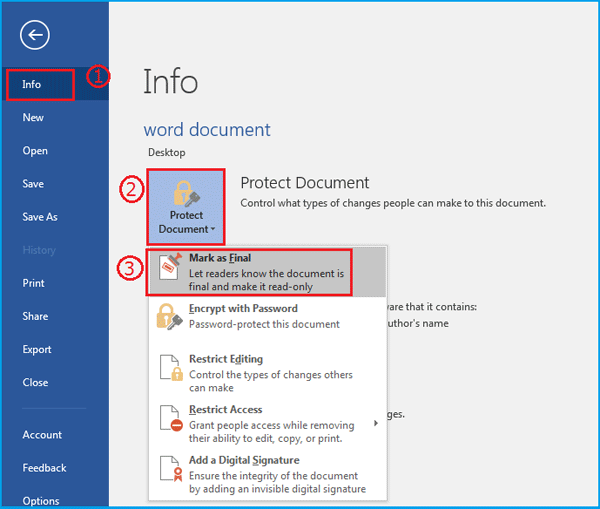
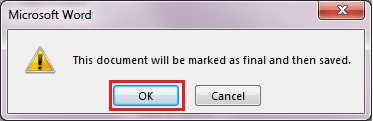
2. When get the pop-up message that telling you this document will be marked as final, click on OK to make it.
3. You will see the yellow line on the top of the Word document.
When the Word document is made to read only by this way, you won't be able to modify anything on this document If you want to edit this document, you can click on the Edit Anyway button to remove read only from this document.
Way 2: Make Word document read only from properties
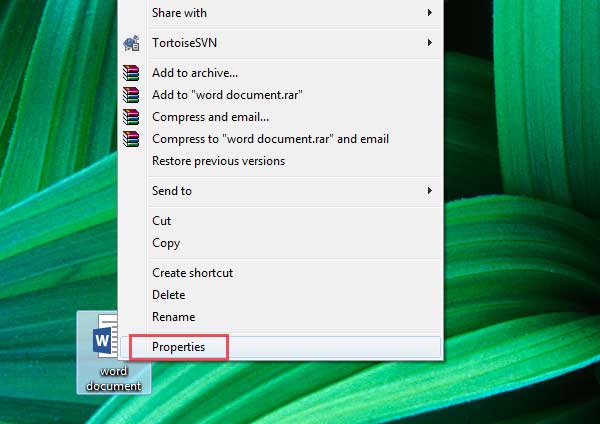
1. Right-click on this Word document file, select Properties.
2. Check the box next to "Read-only", and click on OK.
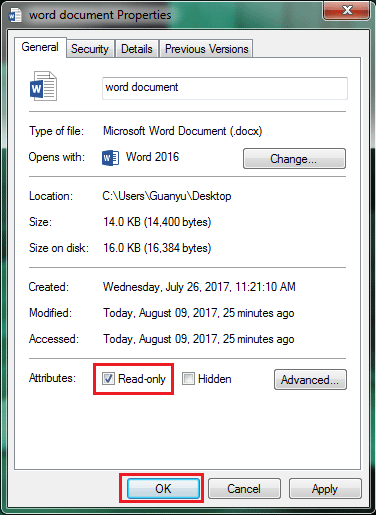
When the Word document is marked as read only by this way, it can be edited by anyone, but can't be saved as the same name on the same location. If you want to make change to this document, you can open the Properties of this document, and then uncheck the box next to "Read-only".
Way 3: Make Word document read only with Read-only recommended
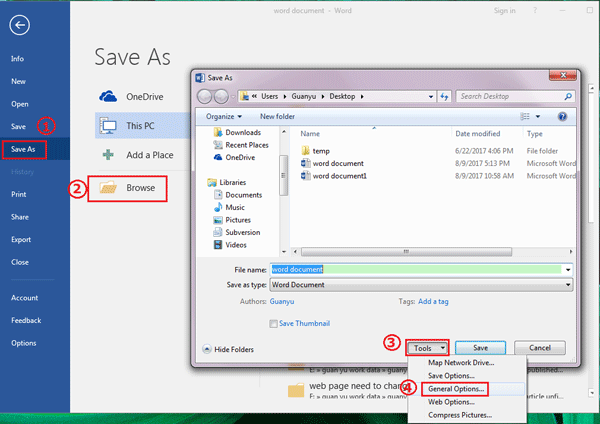
1. Open this Word document, click on File → Save as, click on Browse to select the location where it is, click on Tools, and then select General Options.
2. Check the box next to "Read-only recommended", and click on OK.
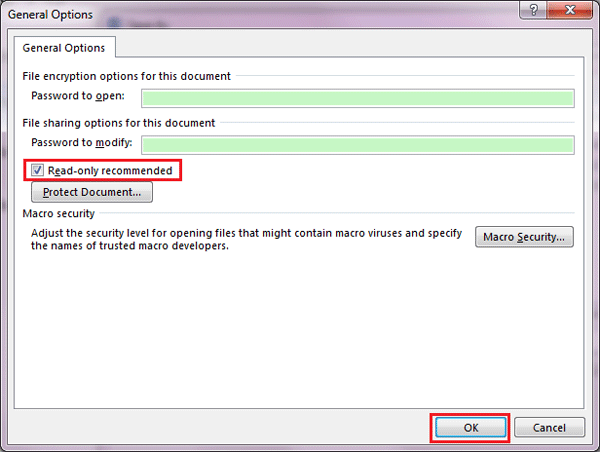
If make the Word document read only by checking the box next to "Read-only recommended", readers will get the prompt message telling "The author would like you to open this as read-only, unless you want to make changes". If you want to open this Word document in read-only mode, click on Yes. If want to make changes to this document, click on No.

The methods above to make a Word document read only, only can prevent readers from making changes to it accidently, but can't prevent unauthorized people from making changes to it intentionally.
If want to protect this Word document from being edited by unauthorized people accidently and intentionally, follow the ways below.
Way 4: Make Word document read only with modify password
1. Open the Word document, click on File → Save as, click on Browse to open the location where it is.
2. Click on Tools on the bottom of Save As dialog, and then select General Options.
3. Enter password on the text box on the right side of Password to modify, retype password to confirm it, and then click on OK.

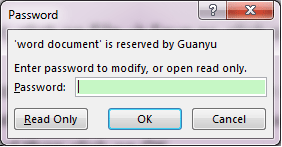
When the Word document is made to read only by this way, readers will get pop-up message that telling this Word document is reserved. If want to edit this document, enter the password to open it. If just want to read this document, click on Read Only button to open it.
This way only prevents readers from making changes to this document, but readers still can edit contents on this document, and then save it to a different file name, or save it to the same file name on a different location.
Way 5: Make Word document read only by Restrict Editing
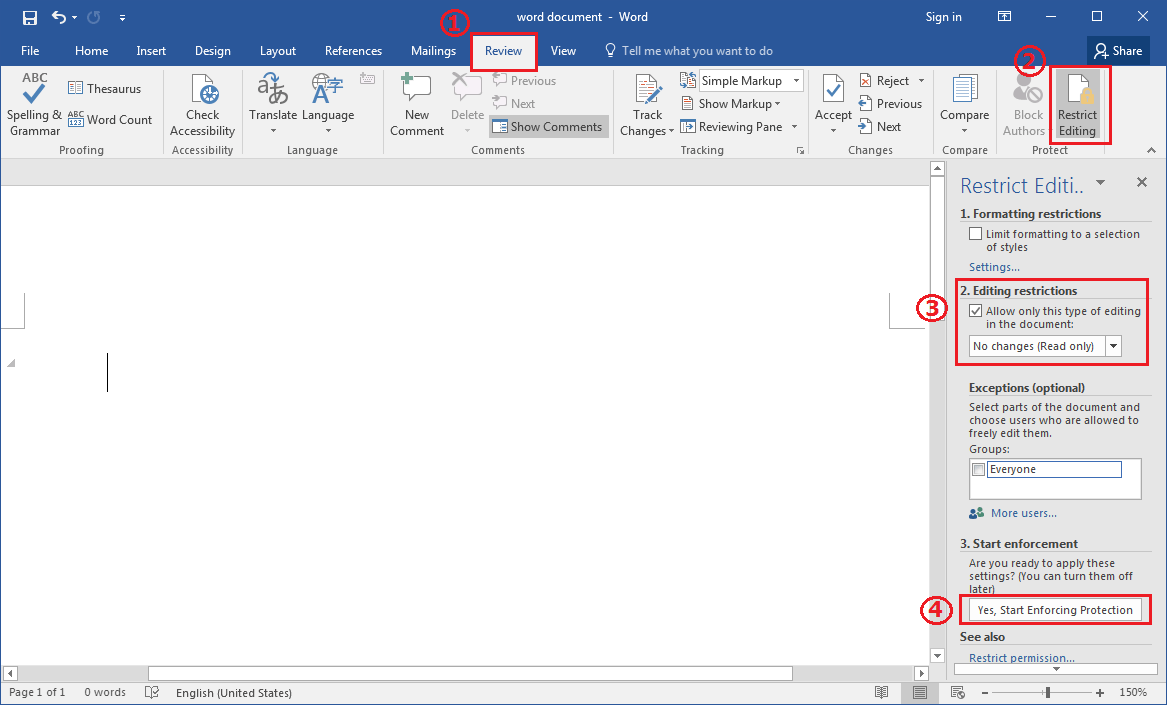
1. Open this Word file, click on Review, and then click on Restrict Editing.
2. Below Editing restrictions, check the box of "Allow only this type of editing in the document". And select "No changes (Read only)" on the drop-down list. Click on "Yes, Start Enforcing Protection".
3. Enter and reenter password on the text field, and click on OK.

When the Word document is protected with restrict editing password, no one can edit any contents on this document, unless stop protection with password.
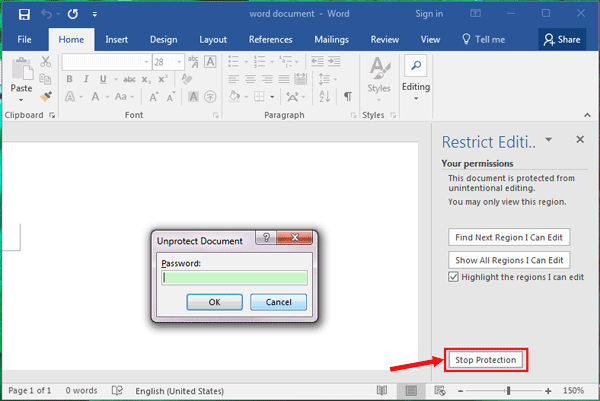
If you want to modify this restricted document, click on Stop Protection, and then type in password to unprotect this document and disable read only in this Word document.
If you forgot the editing restrictions password, you can get Cocosenor Word Unprotect Tuner to remove the protection password in a soon.
Way 6: Make Word Document read only by using File Lock Tuner
No matter you are using Microsoft Word 2021/2019/2016/2013/2010/2007/2003 or Microsoft 365, Cocosenor File Lock Tuner can help you make the Word document read-only within simple clicks.
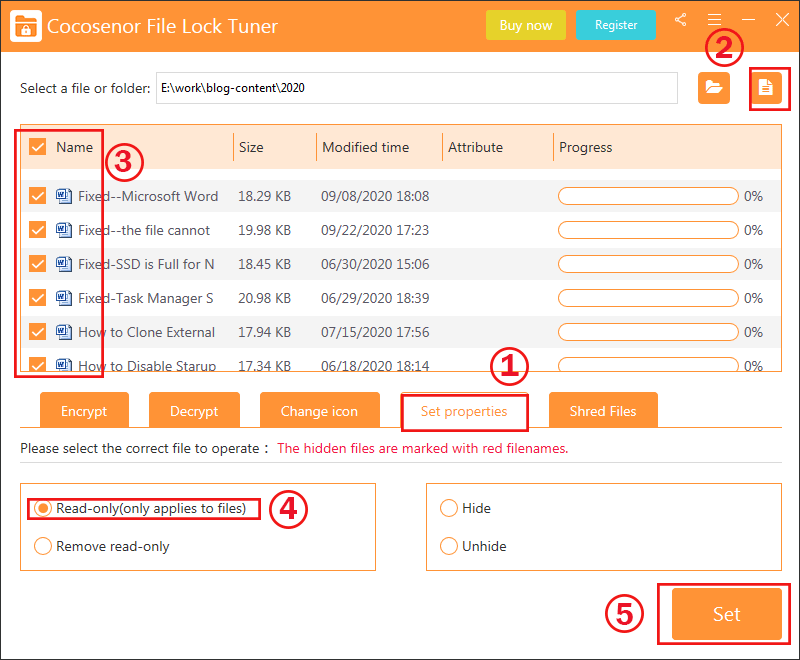
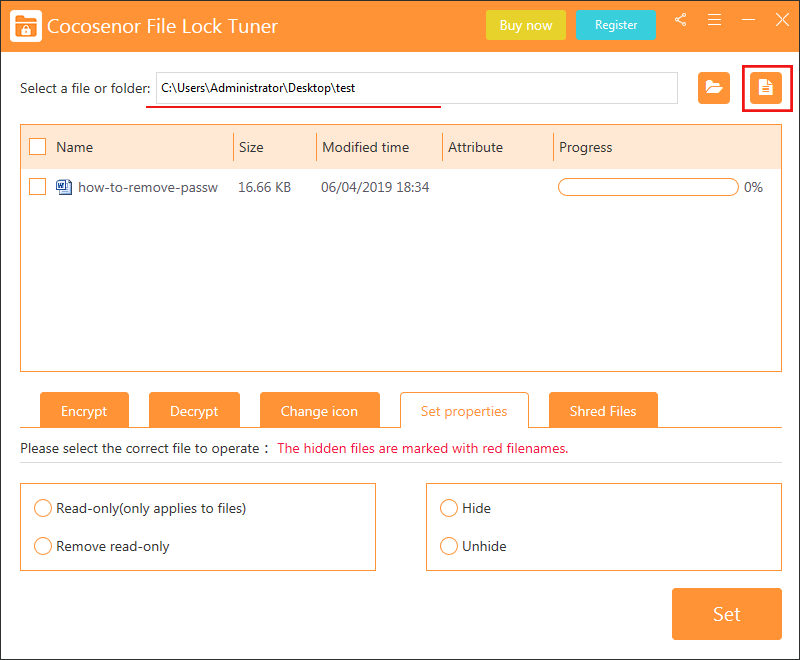
1. Launch the software and hit on Set properties tab.
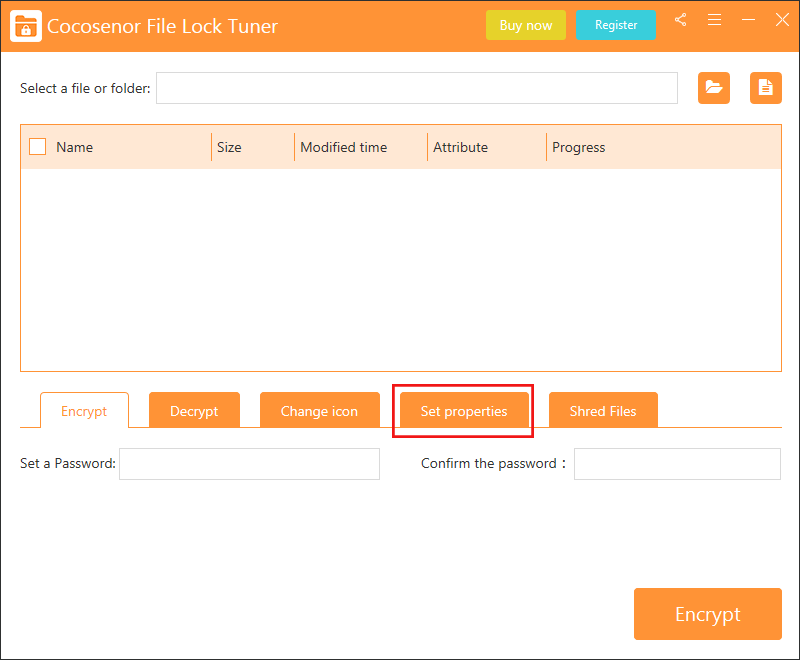
2. Click the file icon to add your Word document.
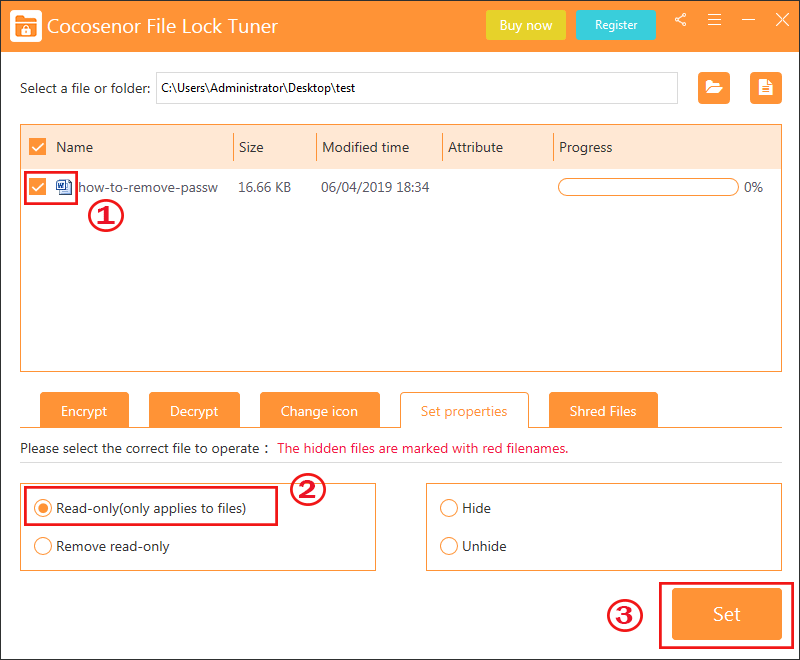
3. Tick the checkbox of your document and then choose Read-only (only applies to files) option. At last, click the Set button on the bottom right.
4. In no time, the Word document is set to read-only.
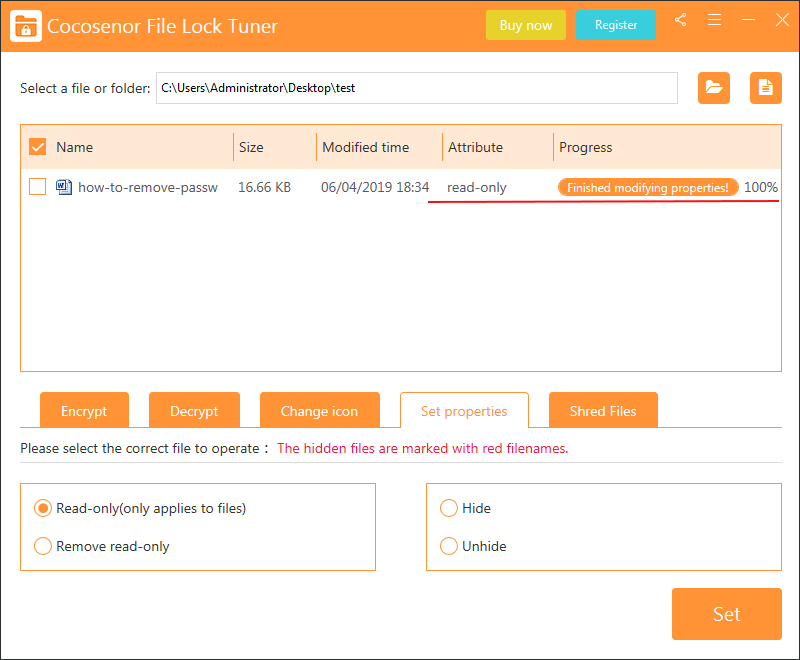
Besides, you can make a series of Word files to read-only at a time by using this software. What you need to do is to gather them in a folder and add this folder into File Lock Tuner.