
Steps Recorder on Windows 10 How to Use and Set
The Steps Recorder on Windows 7 is called Problem Steps Recorder (PSR), and change to Steps Recorder since on Windows 8, and is also used on Windows 10.
You can use Steps Recorder to capture the steps you take on a computer, and save them with a text description of where you click,a screen shot of each click and the commend you add. You can save them to a file and send to someone else who is helping you with the problem, or use them for a course is very good I think.
Here in this article, we mainly talks about how to use and set the Steps Recorder on Windows 10.
Open Steps Recorder and Start Record
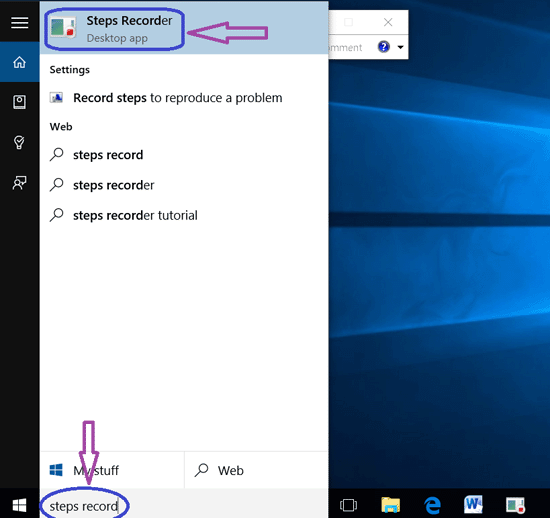
Step 1: On the Cortana search box (right on your desktop), type in: steps recorder.
And then the Steps Recorder will appear on the top of Cortana, click to open it.
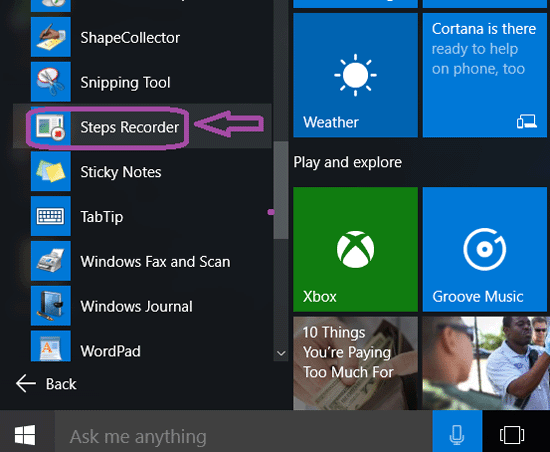
Step 2: Or open the Steps Recorder by this way: Start Menu >> All apps >>Windows Accessories >>Steps Recorder.
Step 3: After open the Steps Recorder, click on "Start Record".
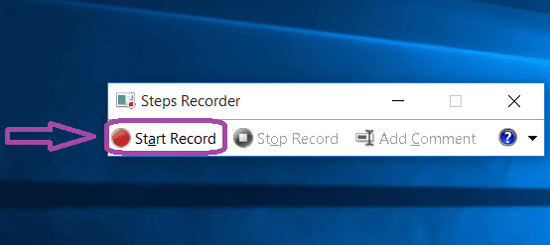
And then your operations (including the mouse click, and keyboard action) on windows will be recorded with the screenshot and text description.
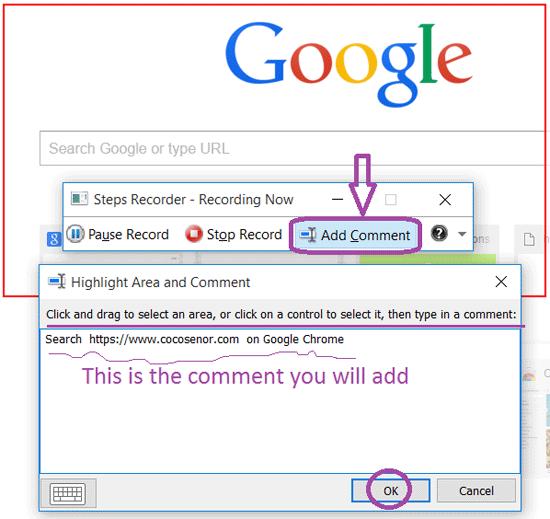
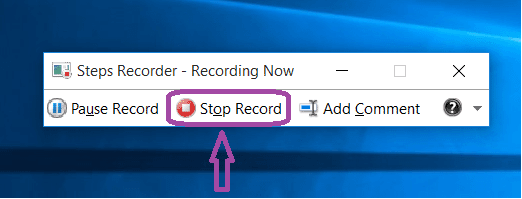
Step 4: If want to add commends, click on the "Add Comment" button, click and drag to select the area, and type in a comment on the text box, then click on "OK" to add the comment.
Step 5: If want to end the record, click on the "Stop Record" button.
Save and Use the Records
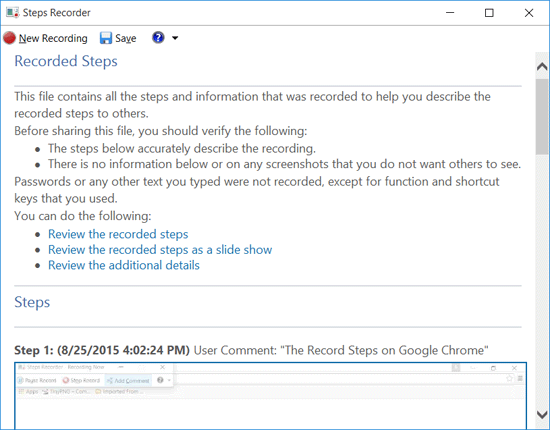
Step 6: After a while you click on the Stop Record button, the Record Steps will be showed below the Steps Recorder.
The records were displayed with the form: "Step + text description + screenshot + Additional Details"
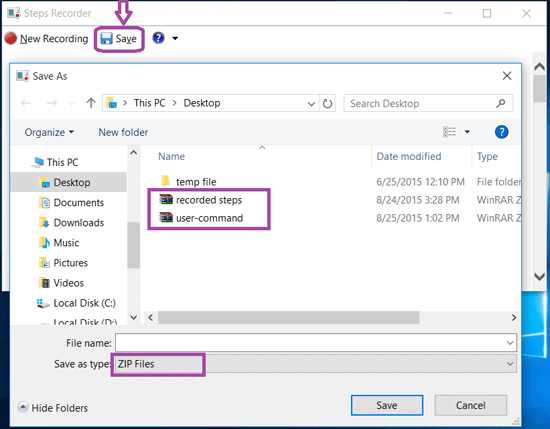
Step 7: Click on the "Save" button, the recorded steps will be saved to a Zip file.
Step 8: Double-click on the Zip file, you can see a MHTML file, double click on the MHTML file, the recorded steps will be showed on the internet explorer automatically.

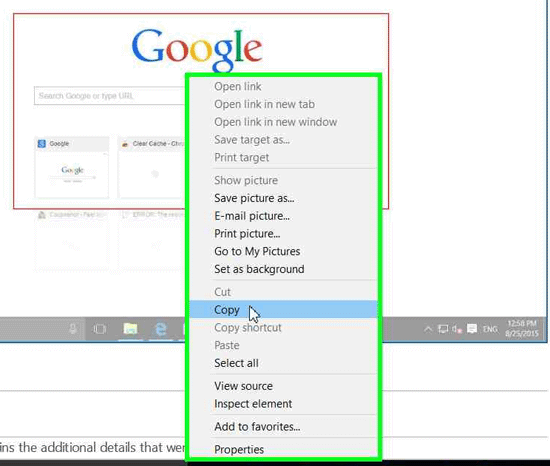
Step 9: And then you can copy the screenshots to the other place (world document, PowerPoint, Photoshop, or other picture editor) to deal with it and then use it.
Right-click on the screenshot, click on "Copy", and then press "Ctrl + V" to paste it the place where you want.
Adjust the Steps Recorder Settings on Windows 10
Step 1: Open the Steps Recorder by searching on the Cortana: type "steps recorder" on the Cortana search box, when the Steps Recorder appears on the top, click on it.
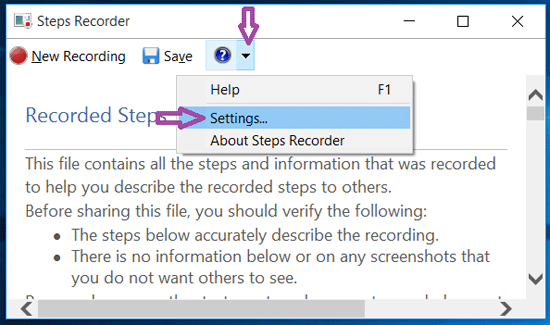
Step 2: Click on the down arrow right on the help button, and then select "Settings".
Step 3: Change the Steps Recorder Settings.

1. Output File
You can click on the "Browse" button to set a default output file name, and then you won't be prompted to save a file after recording.
2. Screen Capture "Yes" or "No"
If you don't want to show the screenshots on the records, select the "No" option below "Enable screen capture:"
Of course, if you want to capture the screen shots along with the click information, select "Yes" again.
3. Numbers of recent screen captures to store
The numbers of the screen captures is 25 by default, and it can be changed on the right.
The Steps Recorder only records and shows the default number of screen captures. For example, if the default number of screen captures is 25, but you take 30 screen shots during the recording, you will lose the first five screen shots.
So remember to change the settings before taking a record with Steps Recorder on Windows 10.

