
How to Factory Reset Windows 11 without Password
If you get a second-hand laptop and cannot login due to not having the password, how can you do a factory reset without logging in the Windows 11? Here you can learn two easy ways to factory reset Windows 11 without password.
- Two Ways to Factory Reset Windows 11 without Password:
- Way 1: Do Windows 11 Factory Reset from Login Screen
- Way 2: Factory Reset PC with Windows Installation Media
Way 1: Do Windows 11 Factory Reset from Login Screen
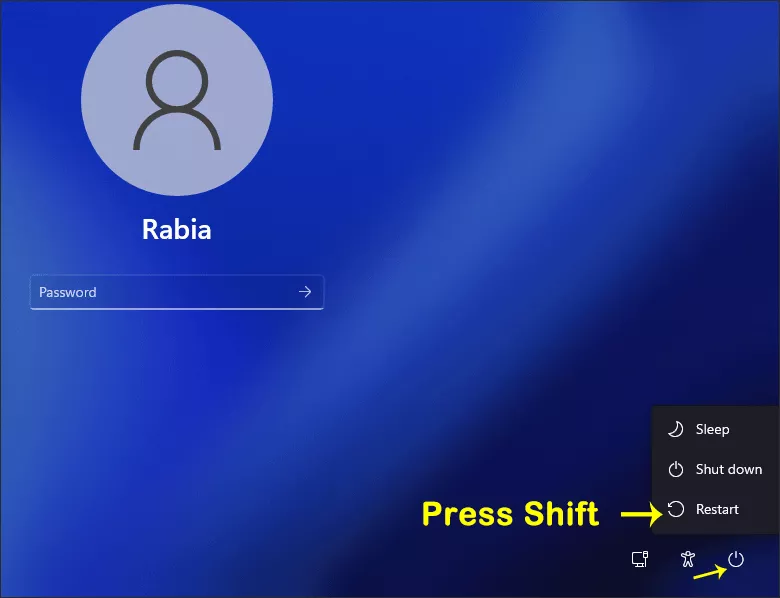
What to do if you are on the Windows login screen but without the sign in password? Is it possible for you to factory reset it without login? You can do it easily with the followed steps to reset it without password.
Step 1: Press the Shift key and then click on the Power button, select the Restart button to continue.
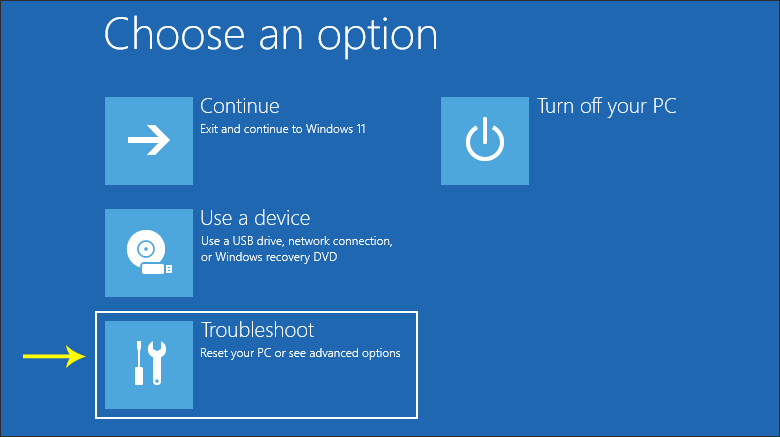
Step 2: Choose Troubleshoot option to perform resetting.
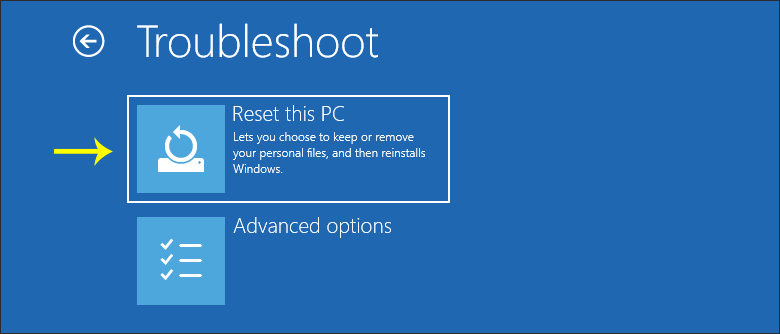
Step 3: Click on Reset this PC option.
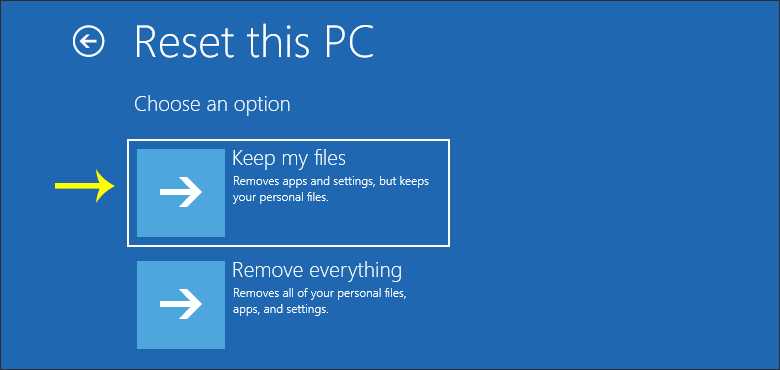
Step 4: Choose an option to reset this PC: Keep my files or Remove everything. Here Keep my files is selected.
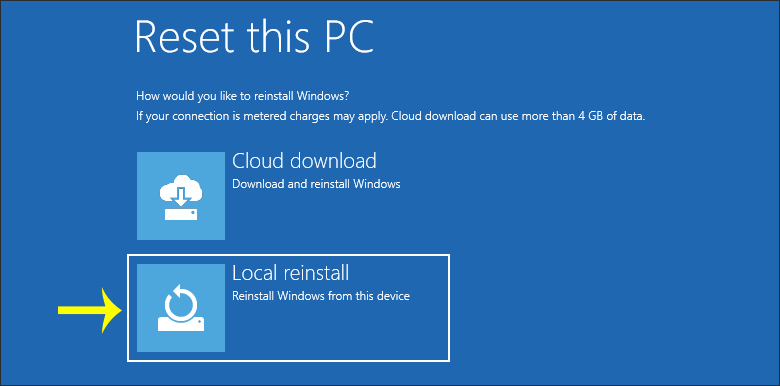
Step 5: Select a method to reinstall Windows: Cloud download or Local reinstall. Local reinstall is set as an example.
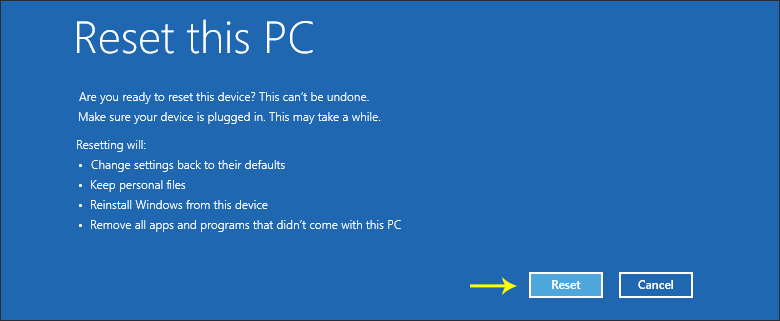
Step 6: Here you will get the warning message about reset this pc. Read it carefully and then click on the Reset button.
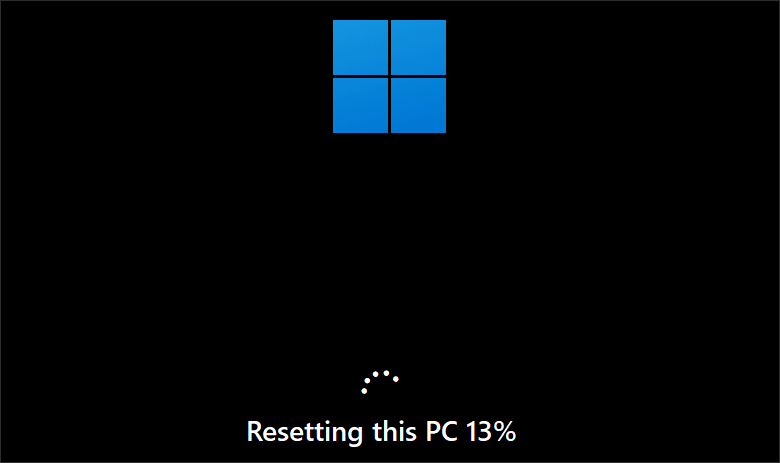
Step 7: In no time, the computer will restart on resetting this PC. To reinstall Windows, your computer will restart for several times. You just need to wait for the process to be finished.
Way 2: Factory Reset PC with Windows Installation Media
Is it possible to factory reset your PC without turning it on? Yes, you can make Windows 11 factory reset from boot. But you need to have the Windows 11 installation media. You can check this page to create Windows 11 installation media.
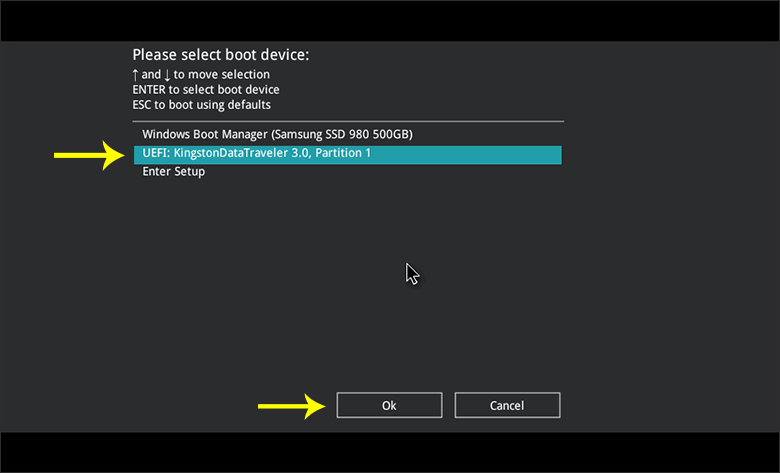
Step 1: Put the USB or CD/DVD with the Windows 11 installation media into your computer and then turn it on. At the same time, press the F8 key or other boot key to enter the boot menu. After that, select to boot the computer from your USB.
Step 2: Minutes later, you can see the Windows installation interface, click on Next to continue.

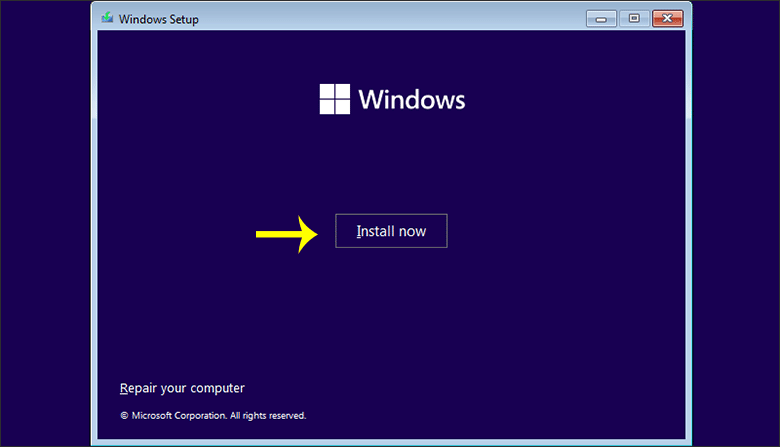
Step 3: Hit on Install now to reset your Windows 11 PC.
Step 4: Choose I don’t have a product key to reinstall Windows.

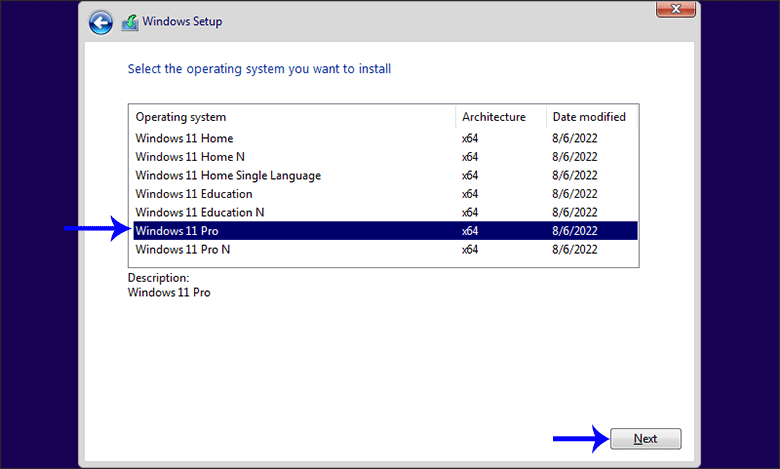
Step 5: Select the Windows 11 operating system you want to install and then click the Next button.
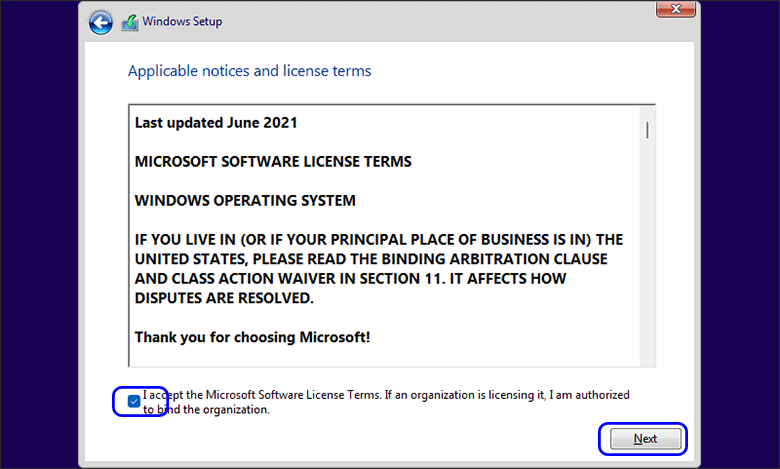
Step 6: It will show you the Applicable notices and license terms. You need to check the box to agree on it and hit on Next button.
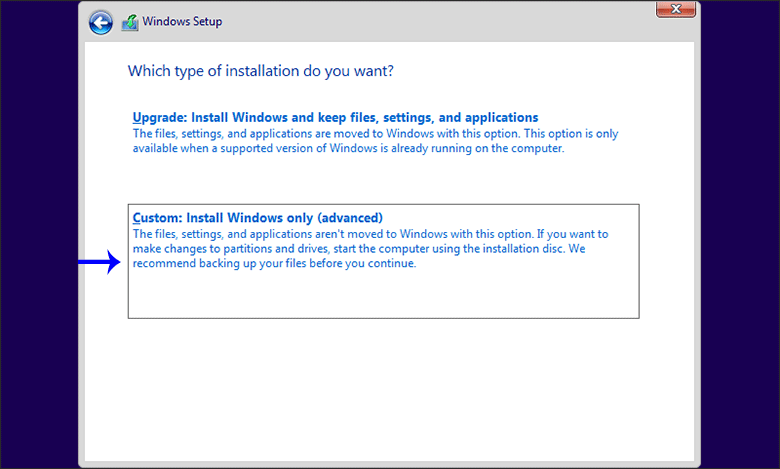
Step 7: Choose Custom: Install Windows only (advanced) to continue.
Step 8: You need to choose a location to install the Windows 11. And click on Next to start installing Windows 11.
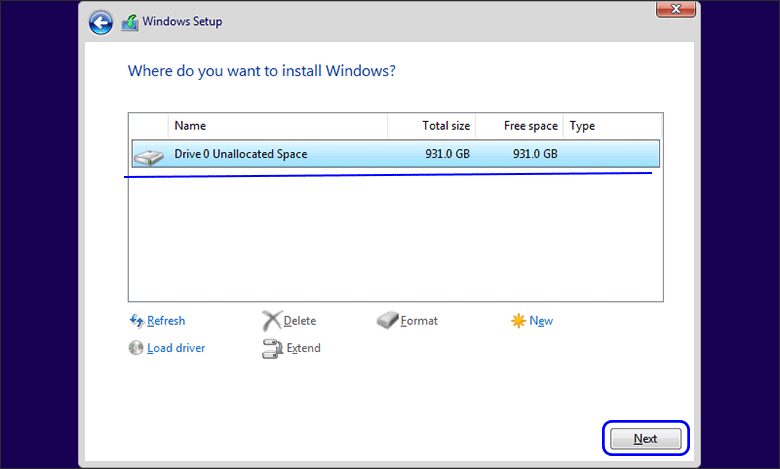
Tips: If you get the message to inform you that the Windows 11 cannot be installed on the partition, you need to do a disk cleanup for the partition or convert the disk to GPT partition style.
.Step 9: The Windows 11 is installing on your computer. It will restart when the installation is completed.
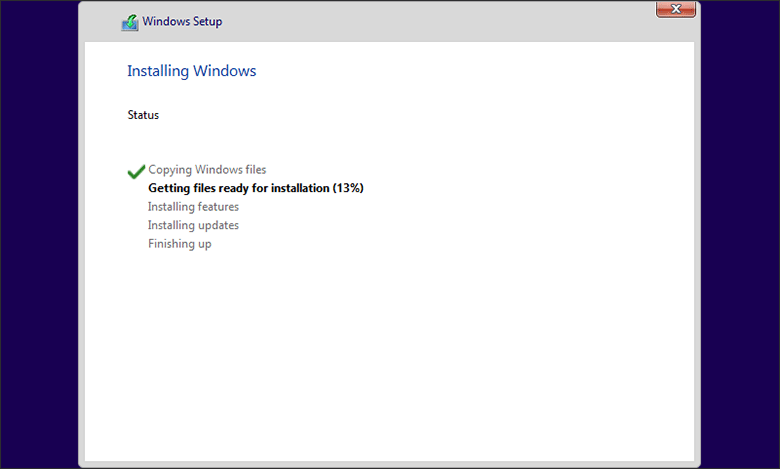
After that, you can follow the on-screen instruction to finish the setup of Windows 11. A fresh copy of Windows 11 OS will be installed on your computer later.
