
2 Ways to Downgrade Windows 10 Pro Back to Windows 10 S
If you have upgraded your Windows 10 S device to Windows 10 Pro, but now you want to switch it back again, here are two ways for you.
Tips: If you switch back Windows 10 Pro back to Windows 10 S, the apps you downloaded and installed form outside of Microsoft store, will be removed.
- 2 ways to switch Windows 10 S to Windows 10 Pro:
- Switch Windows 10 Pro back to Windows 10 S with recovery image file
- Switch Windows 10 Pro back to Windows 10 S with installer
Switch Windows 10 Pro back to Windows 10 S with recovery image file
If you use the Surface device that is pre-installed with Windows 10 S, such as the Surface laptop, then you can switch the Widows 10 Pro back to Windows 10 S with the Surface recovery image file downloaded from Microsoft.com.
1. Download Surface recovery image file from Microsoft site. This needs you to sign in and enter your Surface serial number.

2. Copy the image file to a USB drive that is formatted to FAT32 prior.
3. Decompress the recovery image on the USB drive to create a bootable USB recovery drive for your Surface.
4. Connect the USB drive to your Surface, and power off it if it is on.
5. Press and hold on the Volume down (-) button, while press and release the Power button, when Surface logo appears, release the Power button. For more detail, visit this article how to boot Surface from USB drive.
6. Select the language and keyboard layout for your Surface.
7. Select Troubleshoot > Recover.
8. If you are asked what to recover, you can click on "Skip this drive", and then select the current system that is installed on your Surface.
9. Select one of the option: "Just remove my files" or "Fully clean the drive".
10. Click on "Recover", and this will begin to install Windows 10 S on your Surface.
11. After the installation process completes, you will find your Surface back to Windows 10 S again.
Switch Windows 10 Pro back to Windows 10 S with Installer
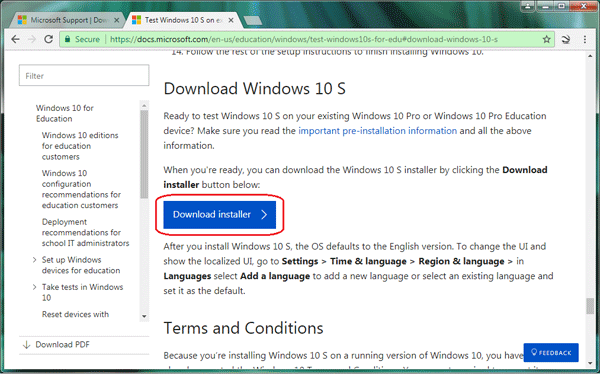
1. Open the Microsoft official site, and click on "Download installer" to download Windows 10 S Installer.
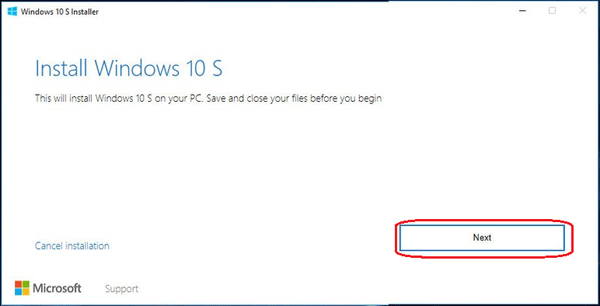
2. Run the Windows 10 S Installer after it is downloaded.
3. Click on Next on the Windows 10 S Installer program.
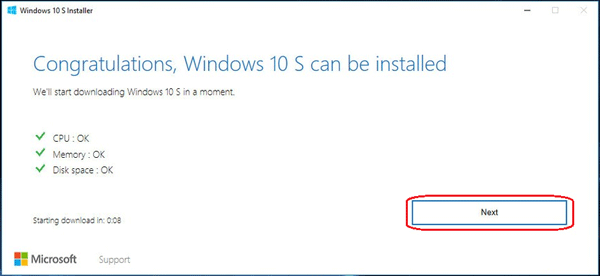
4. The Installer will check for your PC to make sure if it is appropriate for the downgrade. If you get the massage "Congratulations, Windows 10 S can be installed", click on Next.
5. The program will download Windows 10 S and install it. During this process, you are still able to use your PC normally. Please wait for it patiently, this process will take for some time.
6. During the installation process, it will need to restart the PC device to continue, you can click on "Restart now" to reboot the PC, or click on "Restart later" to change the time, or leave it to restart by the default time.

7. After the installation finish, Windows 10 S is back on your computer.
If Windows 10 S can't meet your requirements, you can switch it back to Windows 10 Pro again at any time. But please remember to keep your Windows 10 Pro product key, incase asking for activation. So, you had better check your Windows 10 Pro product key and then store it in a save place before downgrading Windows 10 Pro to Windows 10 S.

