- Backup
- More Tools
- Support
- Store
Everyone knows Microsoft allows Windows 10/8.1/8 Enterprise edition users to create the portable Windows on certified USB, which make it convenient for users to deploy their own working environment at any Windows computer. But for other Windows users, how can they make the portable on USB drive?
Here comes Cocosenor OS2Tuner, the powerful Windows To Go creator for every Windows users, despite of the Windows edition and version. You can easily create a bootable USB drive from Windows 11/10/8/7 ISO/WIM/ESD file. Also, it is possible to burn your own Windows OS to the USB drive by using the PE file. You can get more details from the below tutorial.
Tutorial:
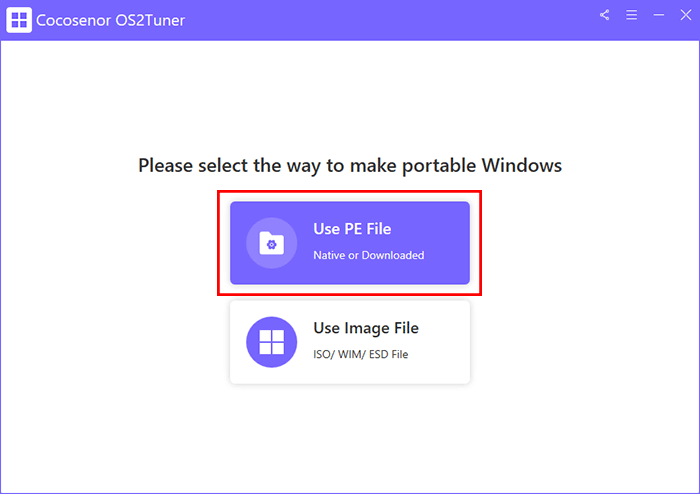
There are two options for you to create Windows To Go USB by using PE file: use the native PE file from your current system or download the PE file online. No matter which option you choose, you will clone your current Windows OS to the USB and make it bootable on any Windows computer.
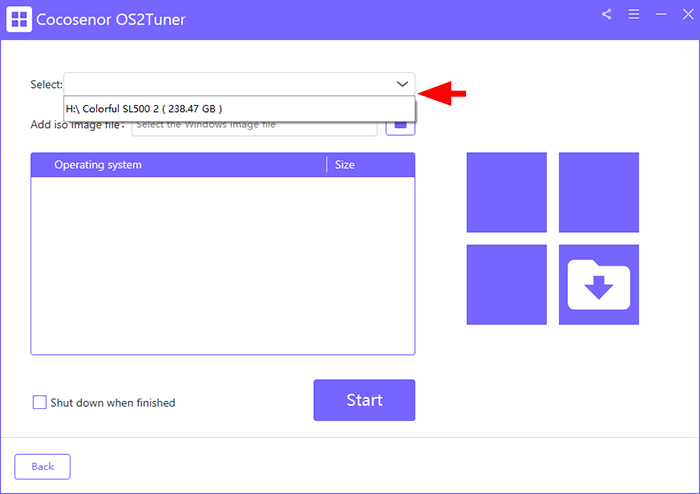
After connecting the USB drive to your computer, you can open the software and then select the first option to make portable Windows.
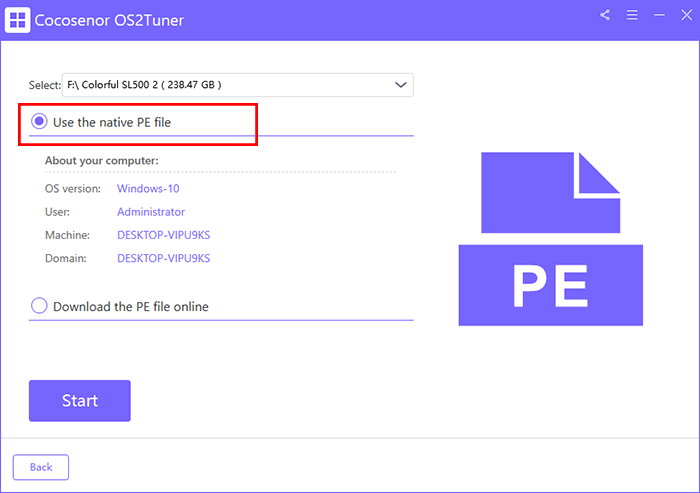
Way 1—use the native PE file from your computer
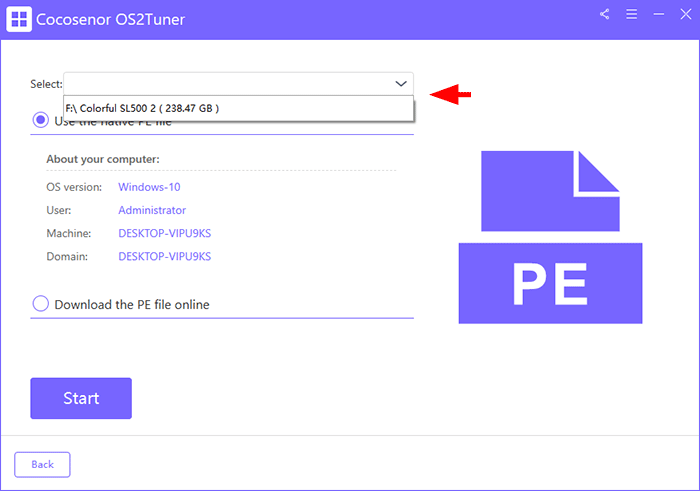
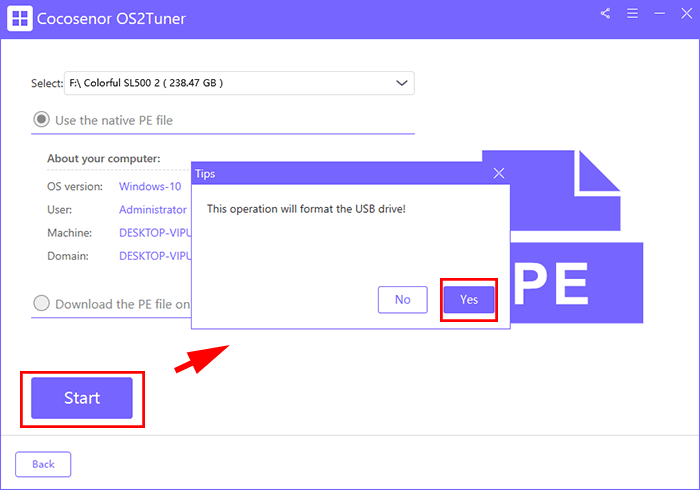
If there is the built-in PE file on your computer, you can directly hit the option Use the native PE file and then check your computer OS version, User, Machine, and Domain.
Way 2—download the PE file online
You can choose the option—Download the PE file online and then click the Download button to get the PE file.
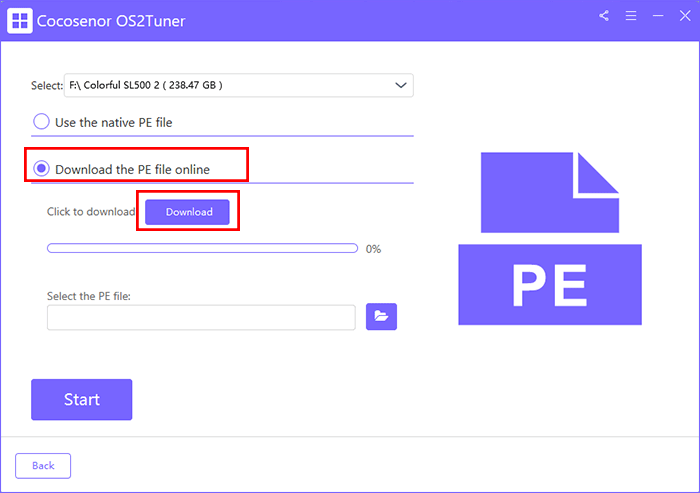
When the downloading process ends, you will get the successful prompt and click the OK button. Then you see its default save location on the select PE file checkbox.

Tips: If you have the downloaded PE file on your computer, you can directly click the folder icon on Select the PE file section to add the PE file manually.
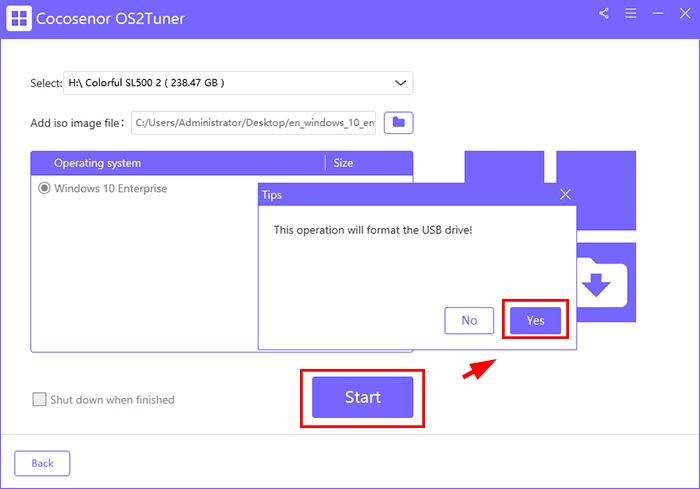
After clicking the Start button, you will get the format prompt. Then you can click the Yes button to proceed.
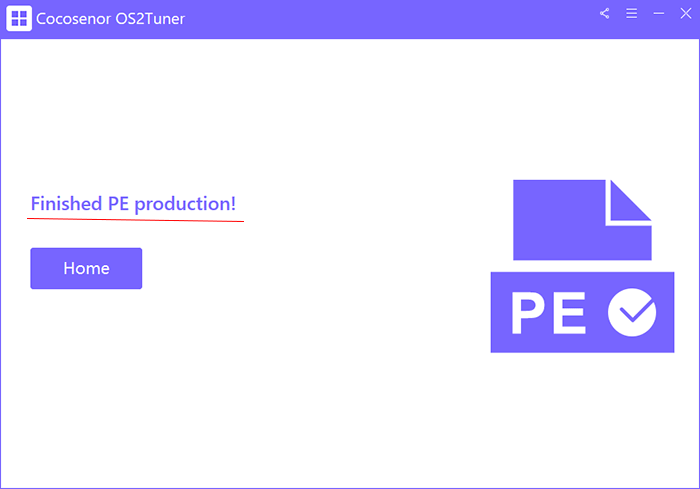
The software will start making a portable Windows on your USB drive automatically. You just need to wait for the process to be finished.

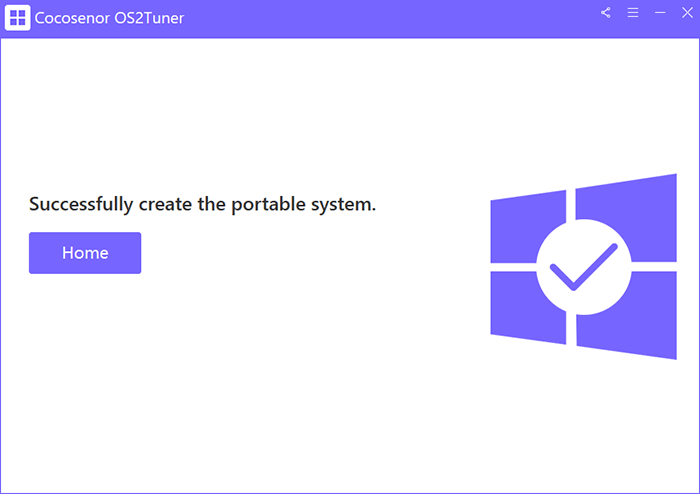
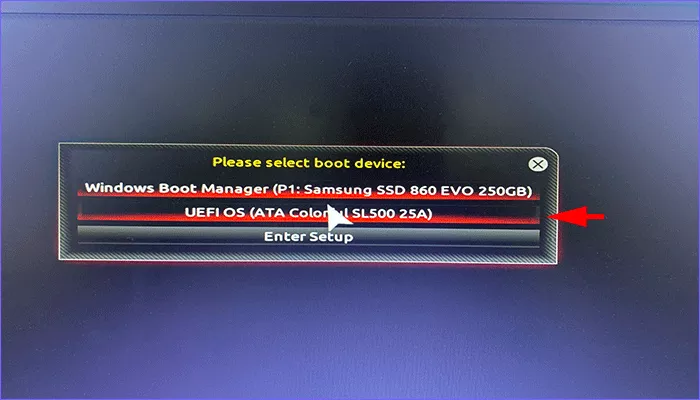
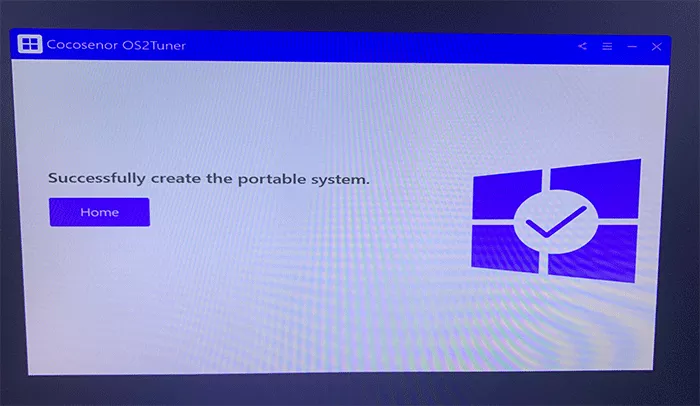
When you get the successful prompt, you can close the software and shutdown the computer. Now the Windows to go USB with your own Windows OS is created. You can take it to any Windows computer and boot into your own working environment.
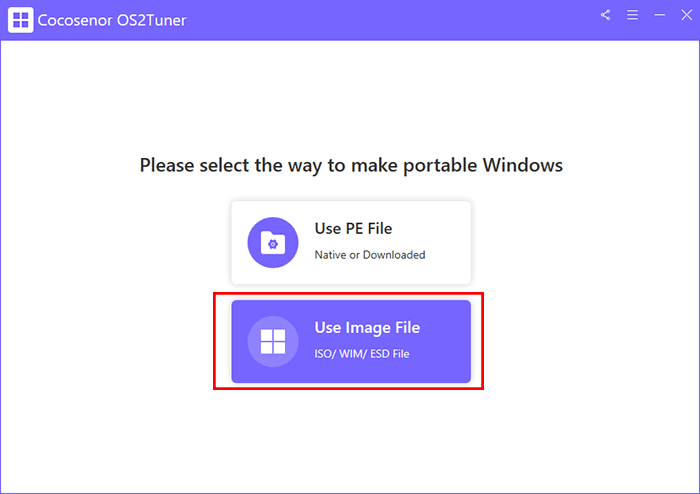
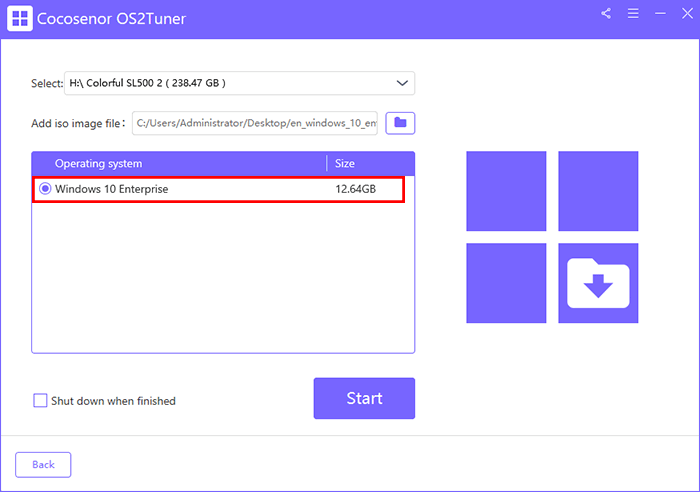
In order to create the portable Windows from Windows ISO/WIM/ESD file, you need to download a Windows installation image file in advance. You can search online and download from Microsoft official website.
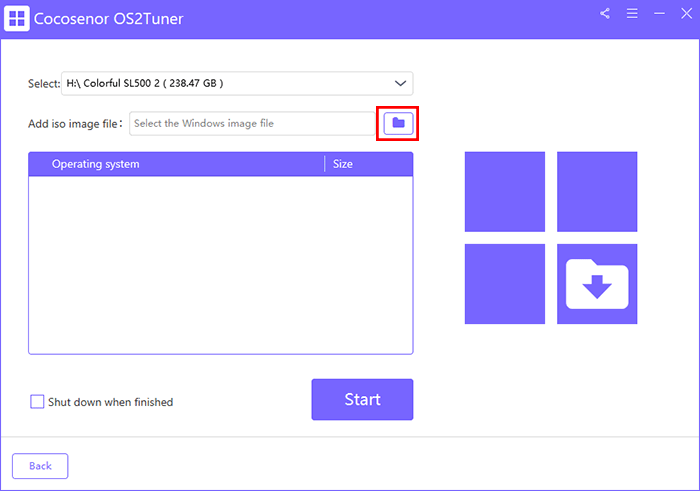
You can click the folder icon and then add the image file from your computer.
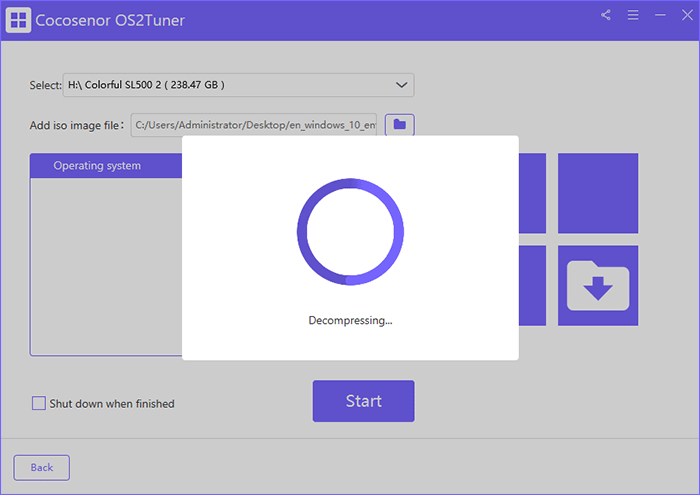
After that, the software will decompress the image file for you.
Before you click the Start button, you can check the checkbox of Shut down when finished option. Then then computer will shut down when the portable Windows is made.
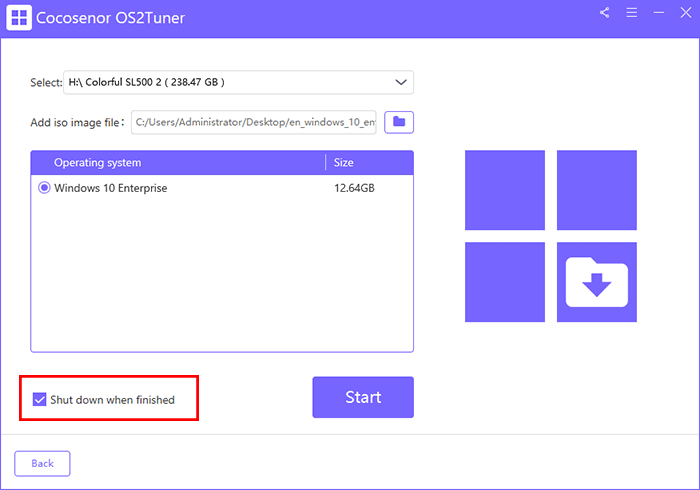
If you want to still use the computer, you can ignore this option and let the software run until the portable Windows is created. After that, you can run Windows from USB without reinstalling on any Windows computer.