- Backup
- More Tools
- Support
- Store
Files will pile up on your computer over time, accompanied by numerous duplicate files. These useless files occupy precious storage space, slow down your computer and complicate finding the right file. In such cases, you need a reliable utility to remove these unwanted clutter. Cocosenor Duplicate Tuner, an efficient duplicate file cleaner, is designed to find and remove duplicate files with fast speed and 100% accuracy. This software utilizes advanced MD5 checksum to help you target the duplicates including images, documents, videos, audio, etc. and allows you to delete them in one click. The tutorial below will take you through the process of cleaning up duplicate files with this powerful tool.
Tutorial:
Cocosenor Duplicate Tuner provides speedy and accurate scan to help you figure out duplicate files in particular directories and remove them with a single click, thus freeing up storage space and optimizing your device for maximum performance. It is highly configurable with deep custom options, here's how it works:
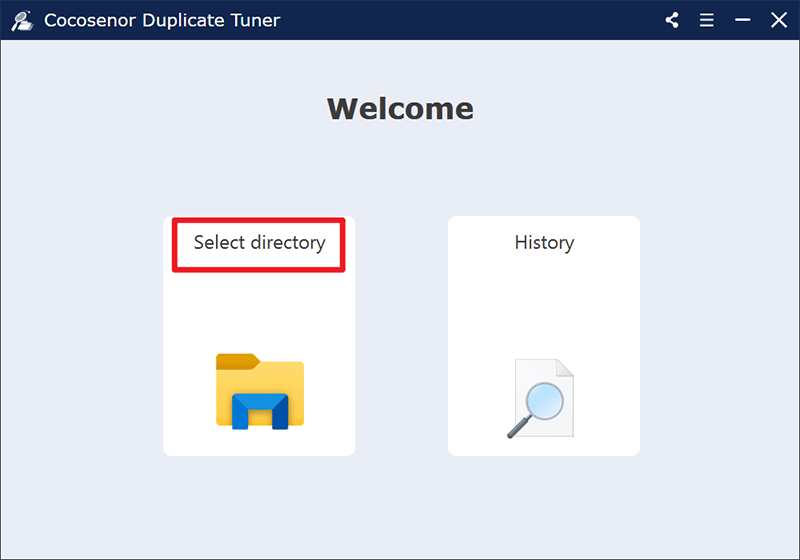
Firstly download and install Cocosenor Duplicate Tuner on your Windows computer and launch it. Then you will be presented with two main options and choose the "Select directory" at the left side to begin.
![]()
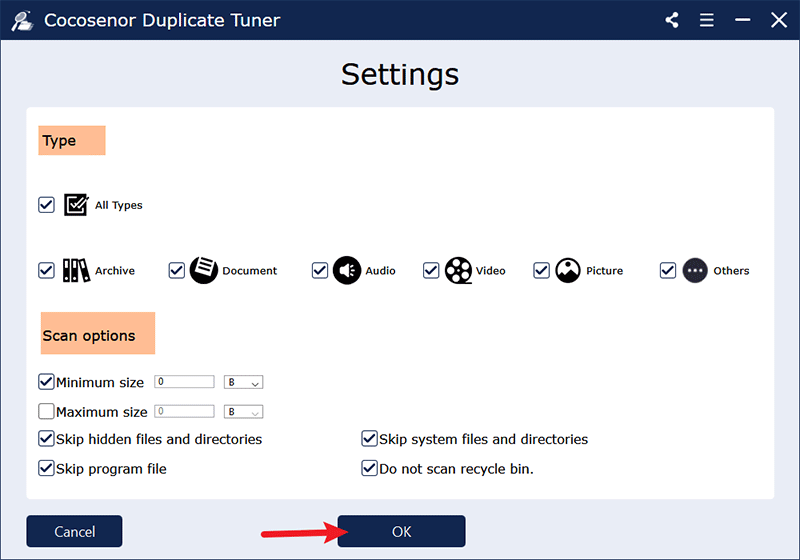
As you can see from the screenshot below, lots of customized options are available and all of these options are checked by default. You can tick the type of duplicate files you want to search under the Type section. At least one should be selected. Under the Scan options, you are able to define the duplicate file size to be searched and determine whether to find duplicates in hidden folder or skip specific folders from search. Once you finish the configuration, click OK to continue.
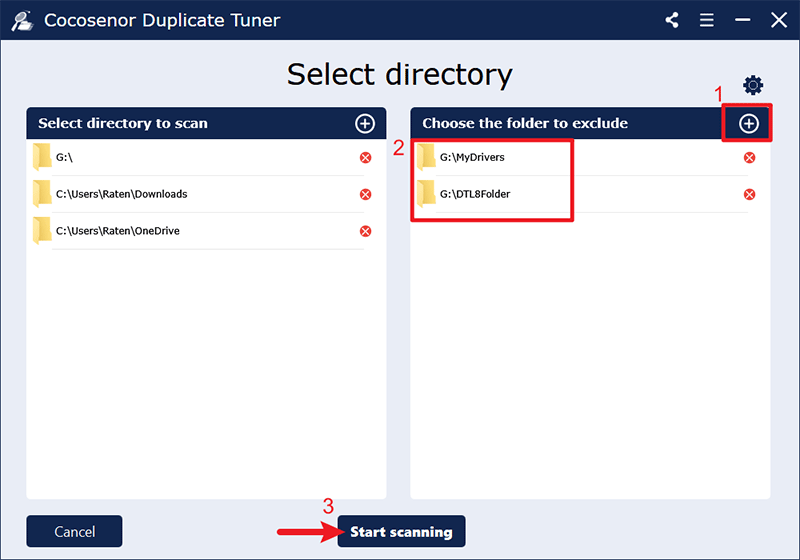
Add the directory to scan for duplicate files, either a drive volume or a certain folder. The C drive has already been added in the list. You can also add multiple folders at once, undo the selection by clicking the red cross. If you want to identify duplicates on external hard drive, USB drive or SD card, connect the above device to your computer in advance.
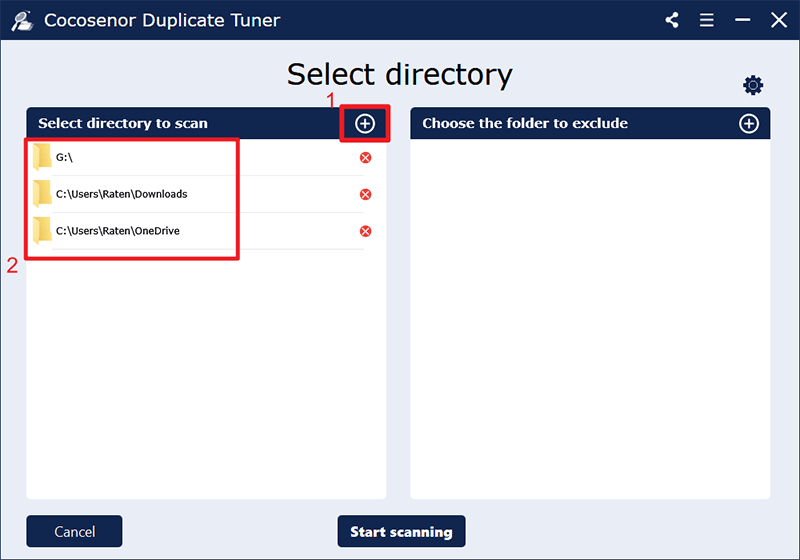
In case you want to skip some subfolders from searching process, add the folders to the exclude list. After you confirm the folders to include or exclude, click "Start scanning" to begin finding duplicate files. The time taken to scan depends on the volume of your files.
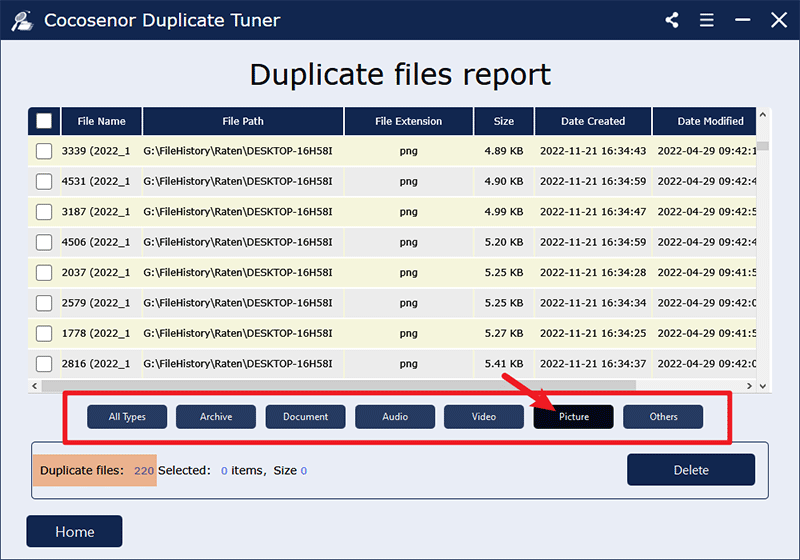
Upon completion of the scan, you'll be shown a duplicate files report which contains detailed information including file path, file extension, size, date created and modified. At the bottom of the list, you can see the total amount and size of the duplicate files. To display the duplicates by type, select All types, archive, Document, Audio, Video, Picture or Others.
The group of identical documents will be marked with the same color. Clicking the checkbox next to File Name will make a selection of all duplicate files but not the original file and hit Delete to remove them.

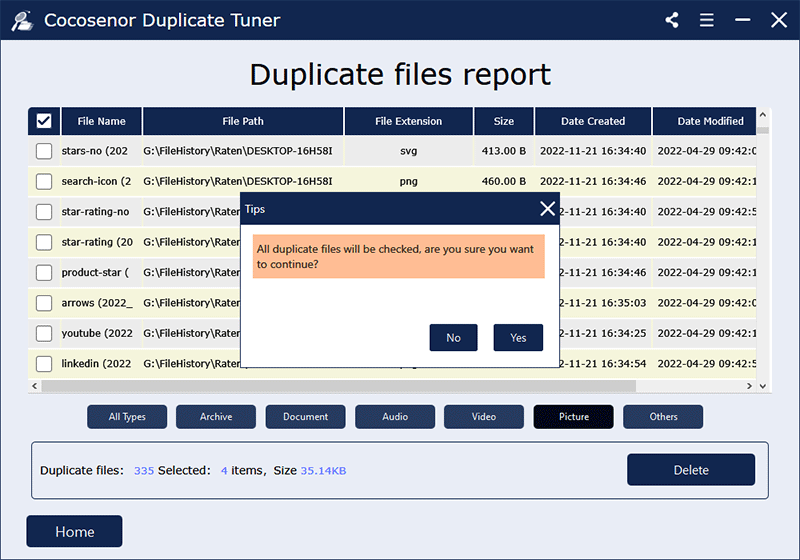
If you double click the checkbox next to File Name, all duplicate files including the original file will be selected together. In such case, you will be prompted with a notice to ensure the operation.
Click Yes to confirm deletion after you hit the Delete button.
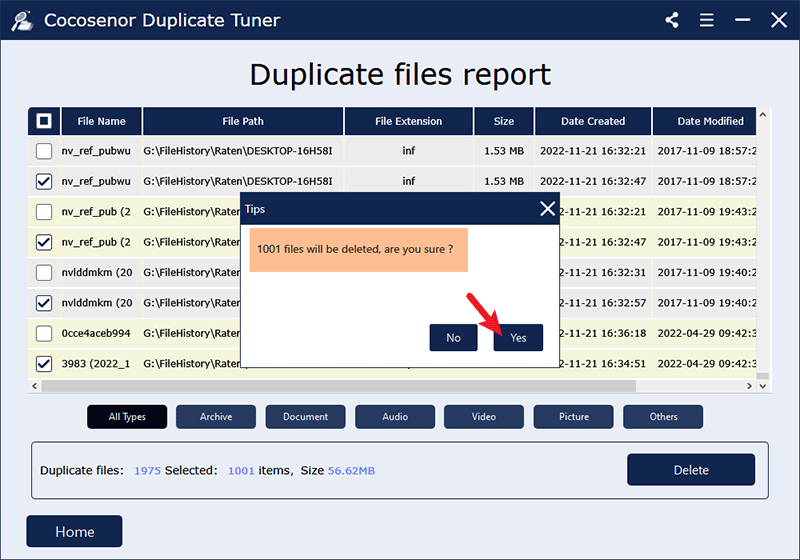
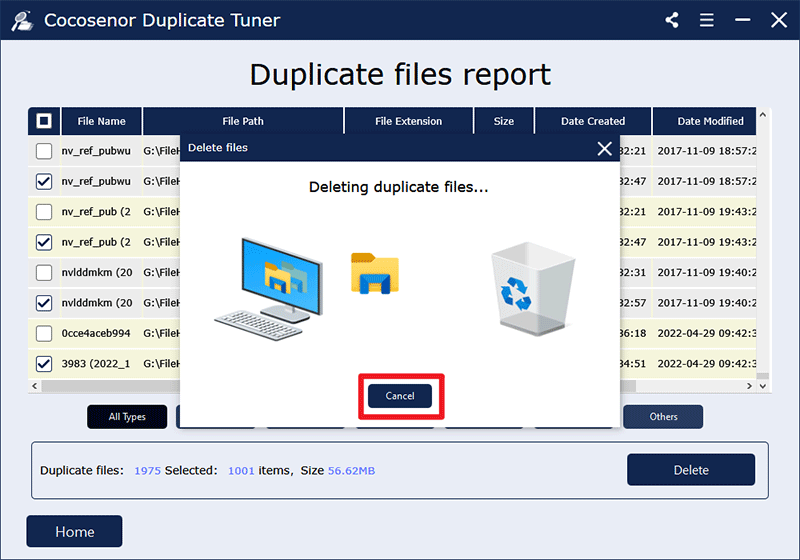
You are able to cancel the deletion during this process.
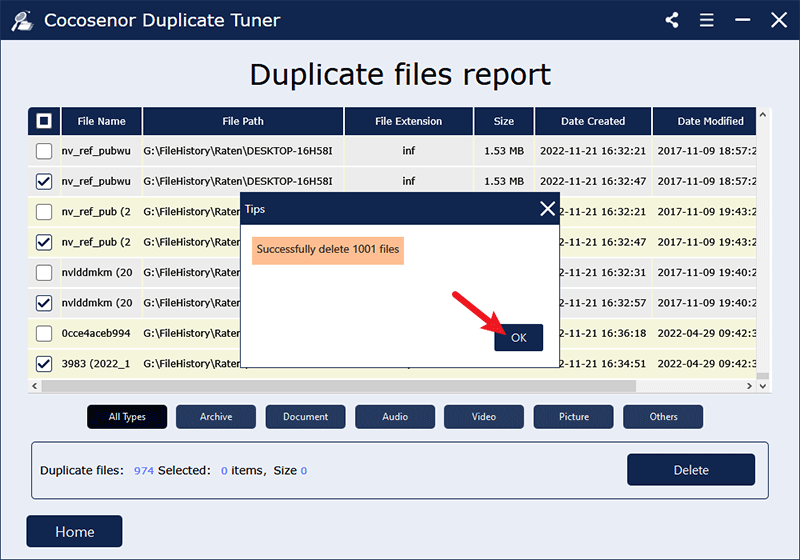
"Successfully delete" notification will pop up once it is done. Click OK and then Home to back to the main interface.
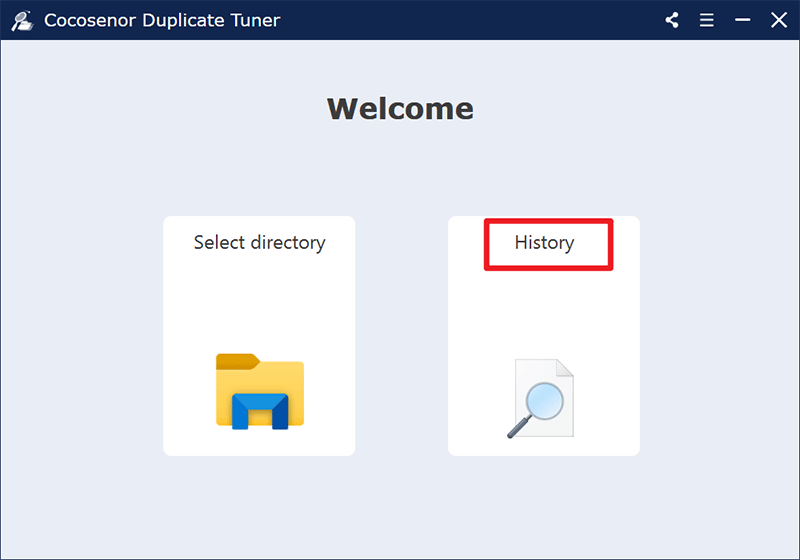
Cocosenor Duplicate Tuner supports checking the scan history. The results of each scan and delete operation are retained for you.
In the instance where you can't remember whether you have scanned a folder path before, you are free to check the details in the scan records. The results of previously performed scans are listed in order of time from early to late. Scroll down the record list, select one and click "Load records".
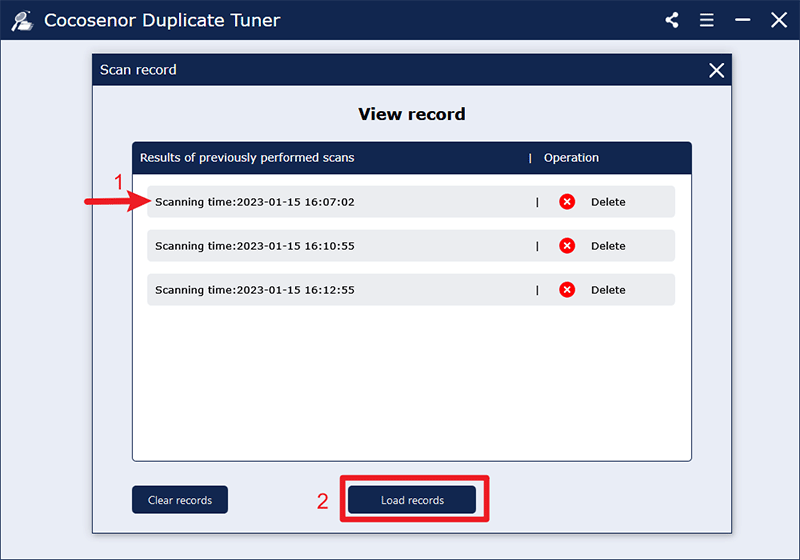
Then you shall see a list of files that are left after the duplicate files have been removed from the previously scanned folder. Please note that you won't see the same duplicate file report as what you get in the previous scan because if you perform a delete operation after the scan is complete, the data in the scan record will be deleted simultaneously.
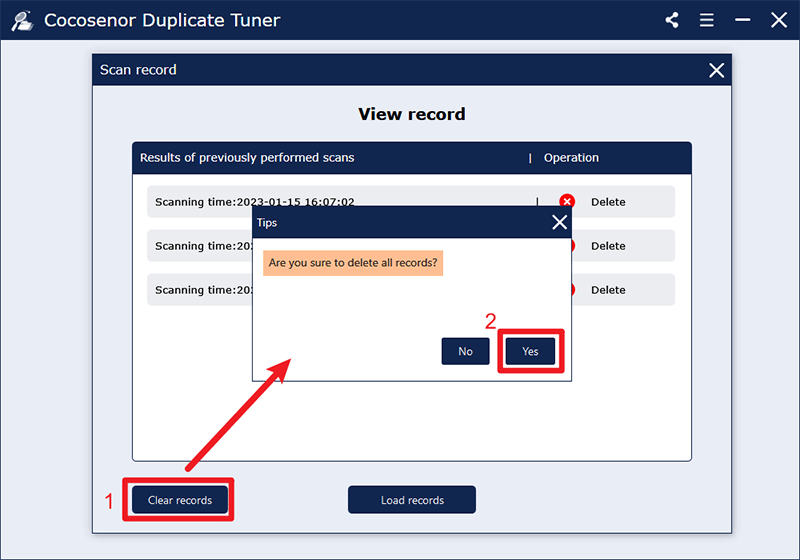
If you want to wipe out all the scan records, click "Clear records" and confirm with a Yes.