- Backup
- More Tools
- Support
- Store
System Tuner – an efficient cleanup and optimization tool for the Windows operating system, helping cleaning up all the junk files and registry garbage on your computer and help simplify the operation to manage the startup programs and system services. Here's the tutorial including 4 parts to help you to quickly get known and use Cocosenor System Tuner.
Video guide:
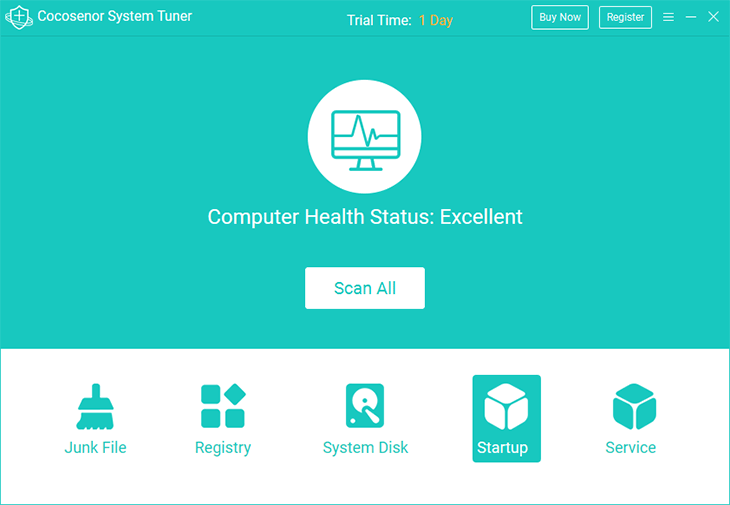
Download and install the softare on your computer. After the installation, launch the program instantly. Then you will see the Scan All button on the center. Click it and the scanning process will begin.
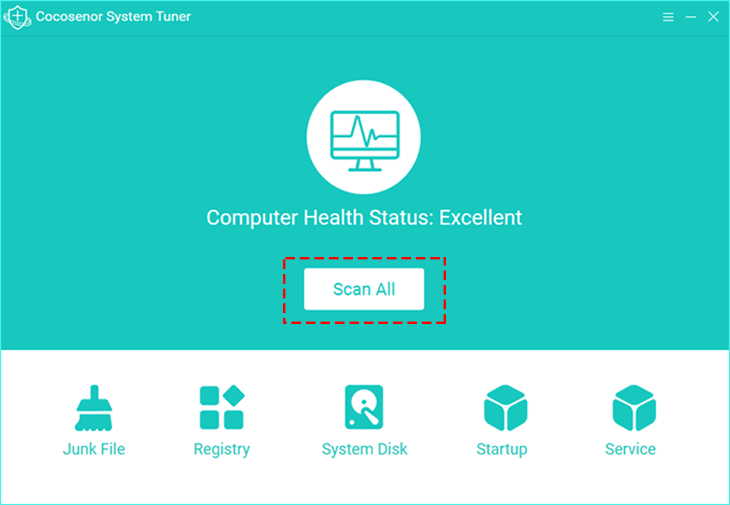
Notes: An overall scan is going to help scan out the junk files/garbage and invalid registry that have already existed on the computer. In addition, you can do junk files cleanup or registry cleanup individually by clicking the corresponding icon on the Home page. And the steps are as the same as Scan All process.
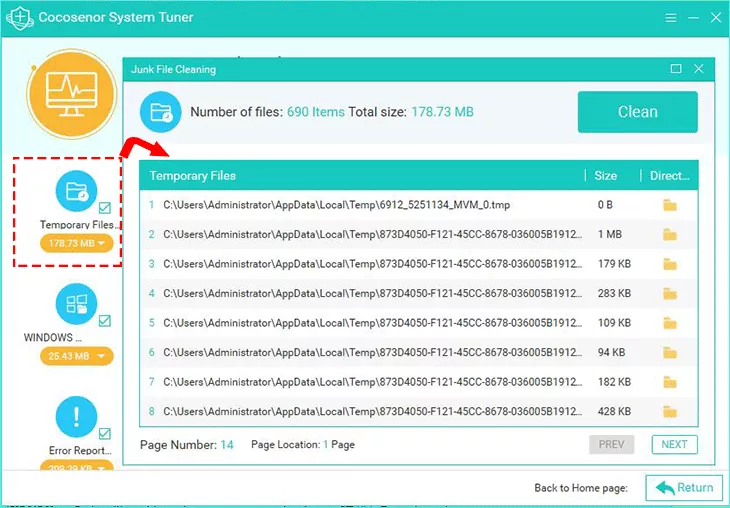
1. When scan completed, you can check both the scan result of registry and junk files. With a simple click on the Clean button, you will erase all these files from the computer.
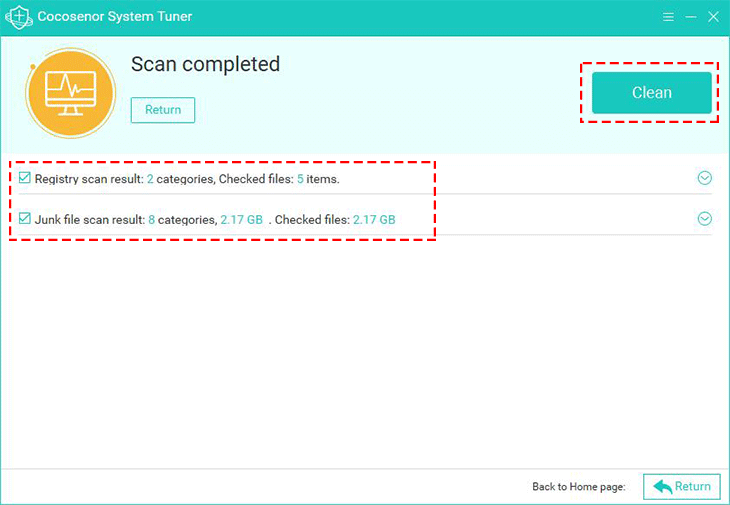
2. Click the arrow button of contraction/expansion to view specific details of each result. There are a series of categories listed below Registey and Junk file. You can view the checked files amount of space, too.
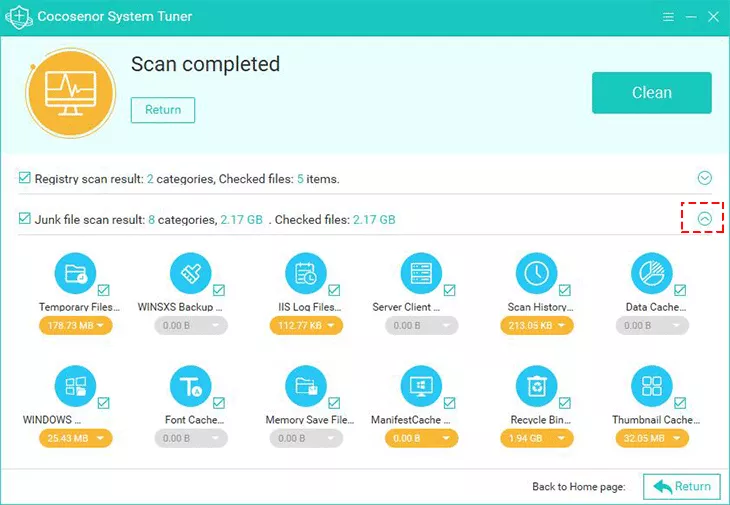
3. You can click on the category that needs to clean up for more details. And then click the Clean button to delete all files in the selected category.
After the cleaning is finished, you can get the notification. If you want to check again, you can click the Rescan button. Anyway, this cleaning indeed helps to free up disk space in C drive.

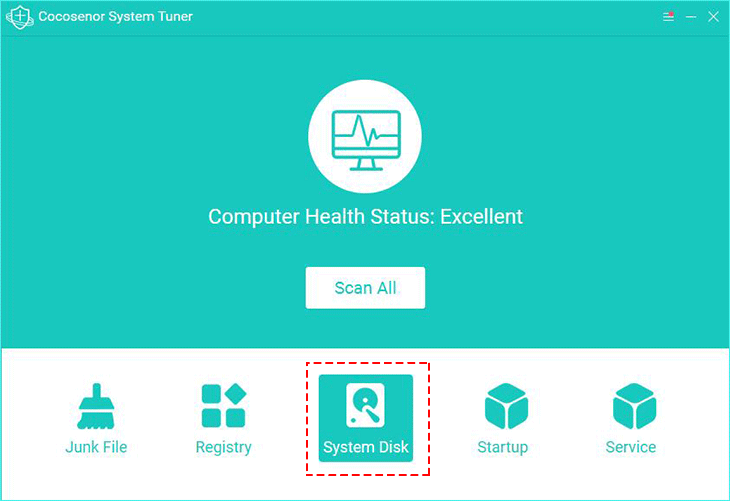
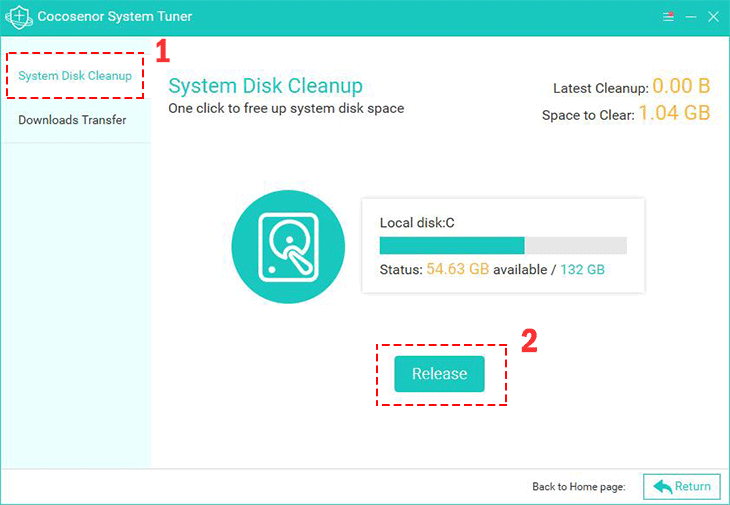
There are two sub-features in the System Disk. One is System Disk Cleanup and the other is Downloads Transfer.
On the page of System Disk Cleanup, you will see the current status of the system disk and the information about the space to clear.After clicking the Release button, you will get the more space for the C drive.
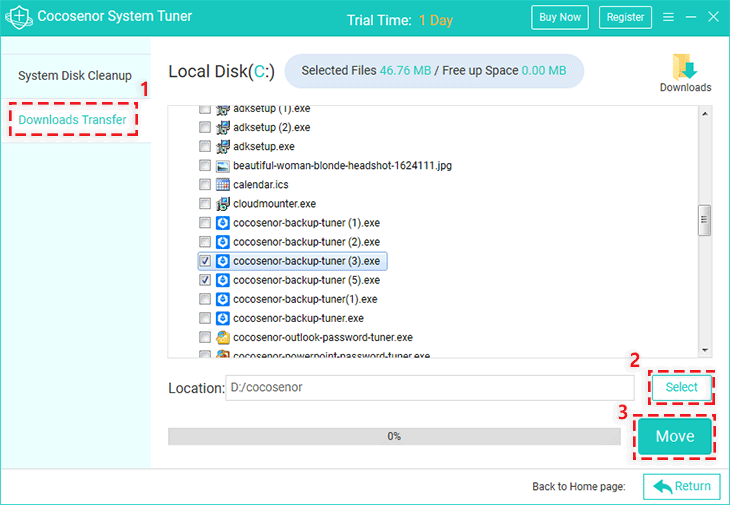
By default, the system location of Downloads is set in Local Disk (C:) as shown in the picture below. You can select a new location path from another hard disk or drive for the Default Downloads. Click the Select button and choose the new location. And then click Move to start transferring.
Note: After you change the location for system downloads, you have to reopen the browsers (like Chrome, Microsoft Edge, or Firefox) to make sure the change is updated.
All the auto-start programs and applications the Cocosenor System Tuner detected would be listed on the page of Startup. Scroll to find the startup program or application that you want to ban/disable. You can check the items' status by the condition given behind and click the button to disable or enable the startup item.

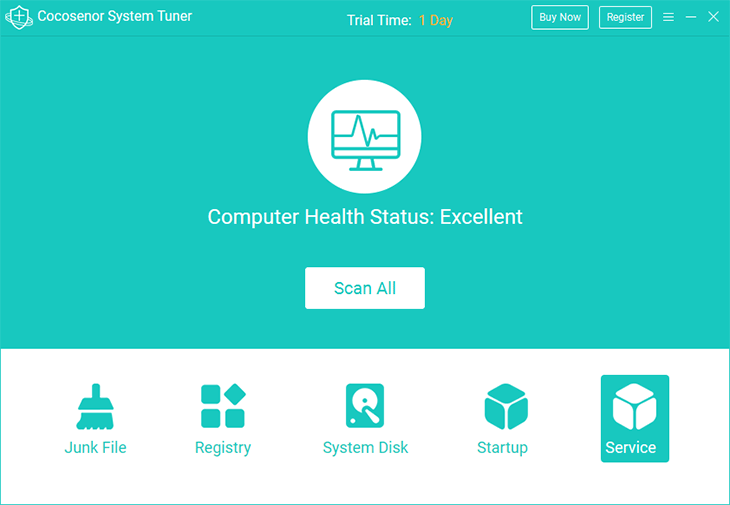
You can scroll down to scan all the System Services, checking for the state of each Service. Every Service is provided with a professional suggsetion whether the Service should be disabled or not. Then you can disable or enable the Service just by clicking the button.
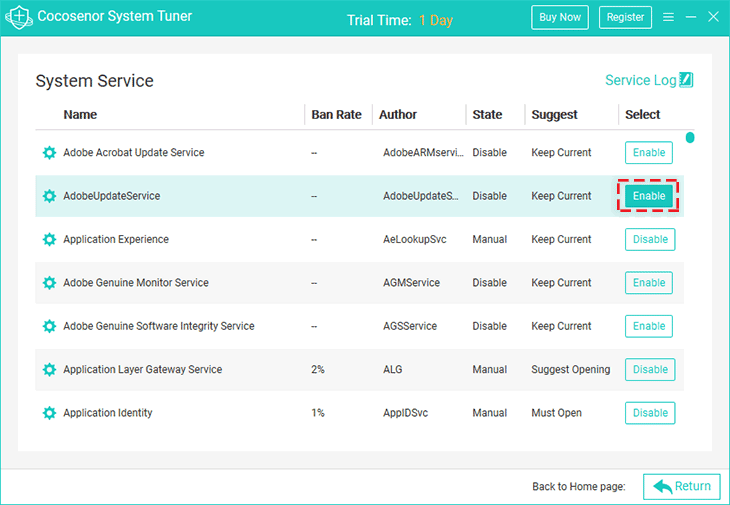
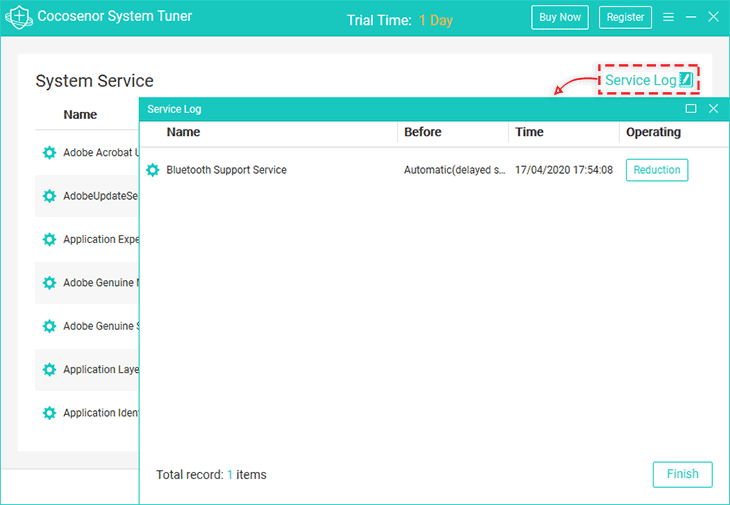
For reducing mistaken operation, the Service Log saves every operation you ever made to enable or disable the system Services. You can restore the operation there.