- Backup
- More Tools
- Support
- Store
Cocosenor ISOTuner is a free all-in-one ISO image tool that consists of four core functions: Burn, Extract, Create and Copy. It is designed with the intuitive interface so that everyone can easily use it. This user guide will show you exactly how to burn, extract, create and copy ISO files with this software.
Tutorial:
Cocosenor ISOTuner is the free ISO burning tool that makes it super easy to create a bootable USB flash drive with the Windows or Linux ISO file, which can help you to reinstall OS or troublesome operating system issues.
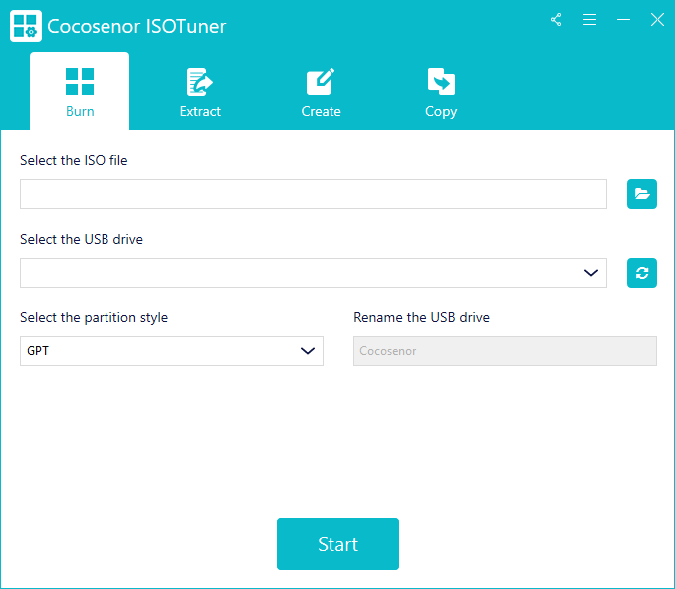
Once this program is opened, it will be on Burn interface by default.
Plug into your USB flash drive and then click the Refresh icon on the software if the USB flash drive is not detected. After that, select your USB drive to burn ISO image.

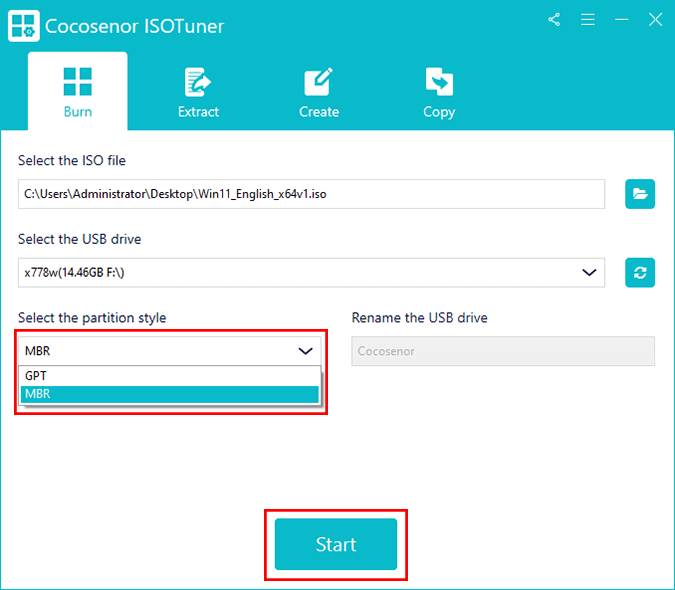
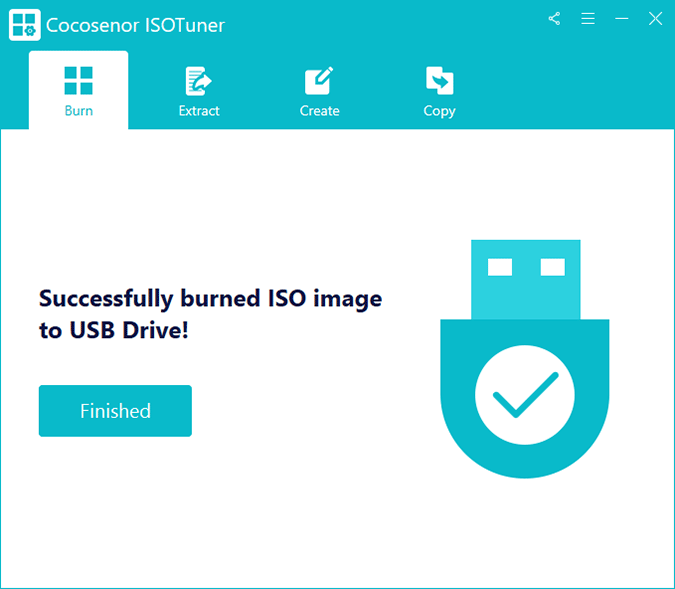
The burning process ends. If your ISO file is the Windows OS ISO or Linux ISO, you can use it to boot a computer from USB to install the system.
Cocosenor ISOTuner is also the free ISO extractor for Windows users to extract files from disk image.
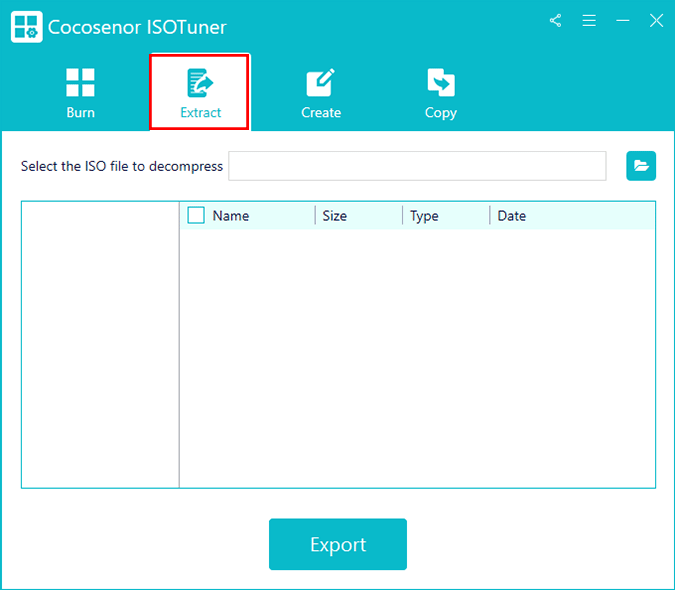
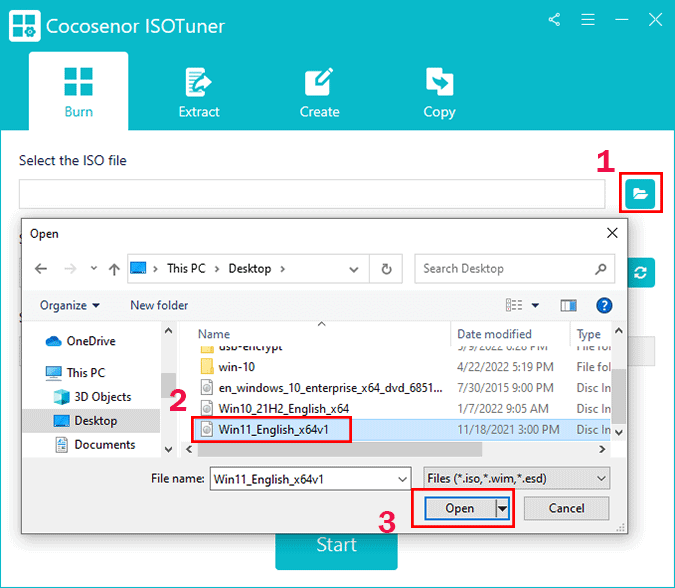
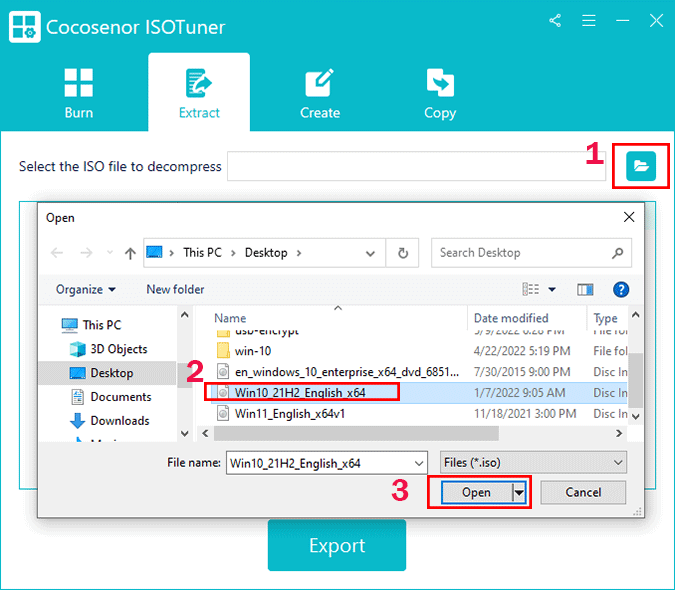
You should click the folder icon and then choose the ISO file from your computer. After that, click the Open button to import it into Cocosenor ISOTuner.
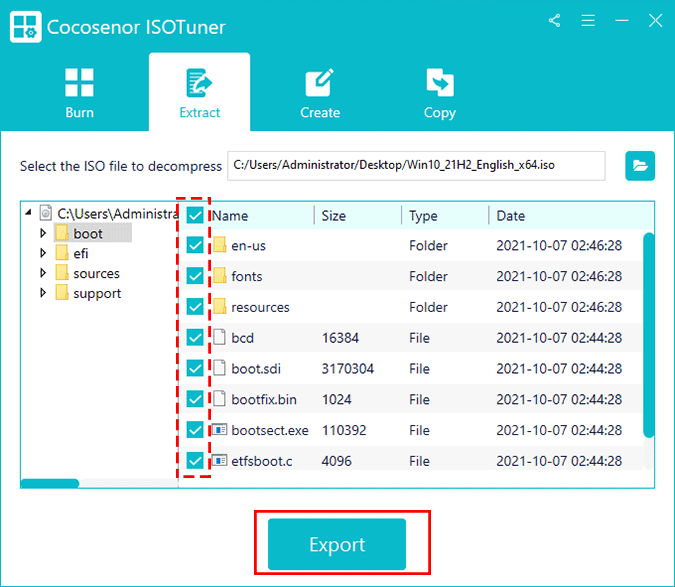
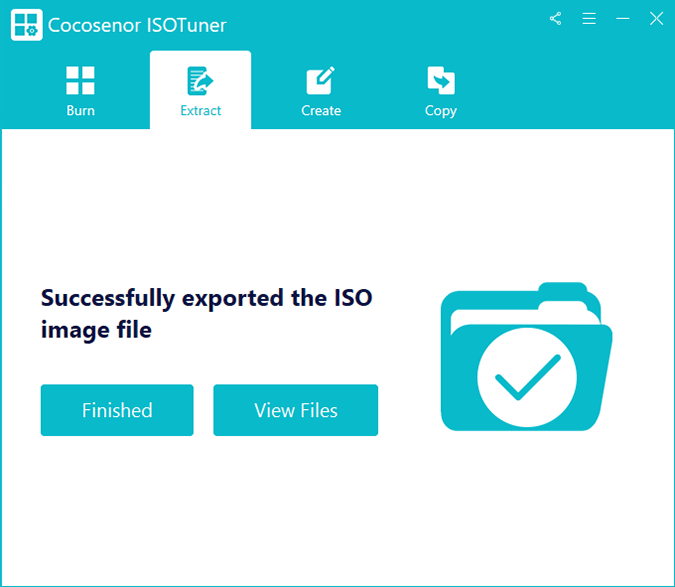
In no time, all files and folders are extracted from the ISO image. You can tick the checkbox of files or folder and then click the Export button to save it on your computer.
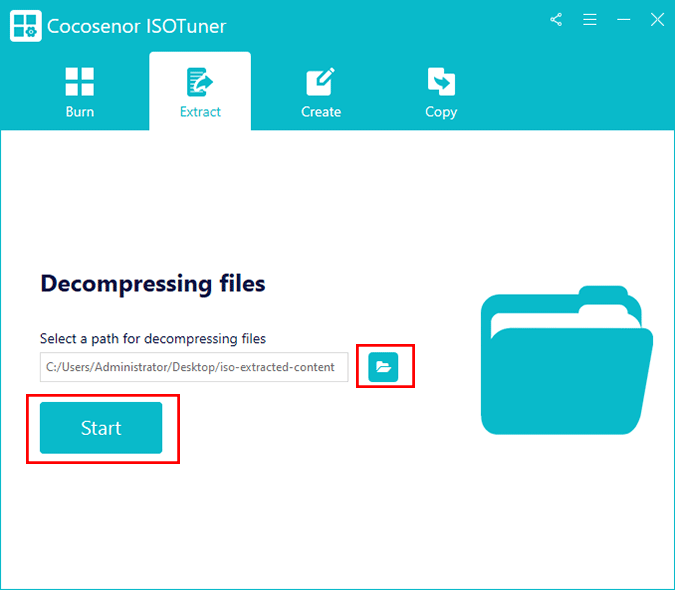
You can select a folder from your computer to save the chosen files or folders. Then, click the Start button to export the contents.
If you are going to create a backup for your files, folders, images, videos, applications and etc., this free ISO creator is bound to your best helper that enables you to make ISO images of a collection of files, folders or other data.
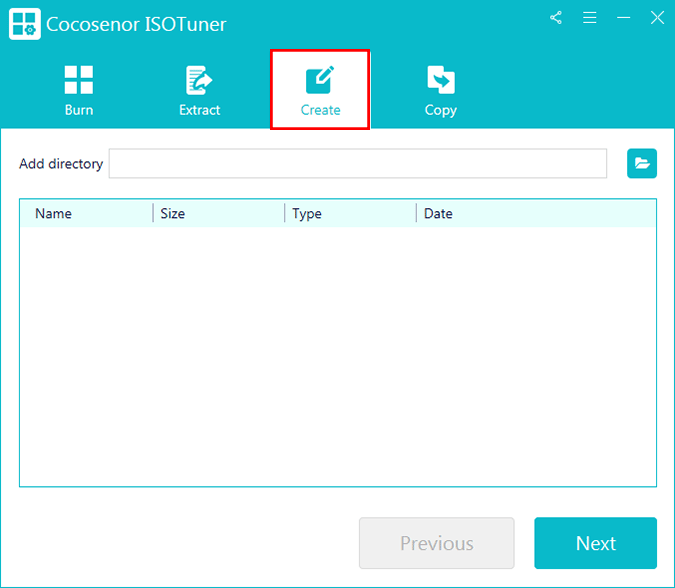
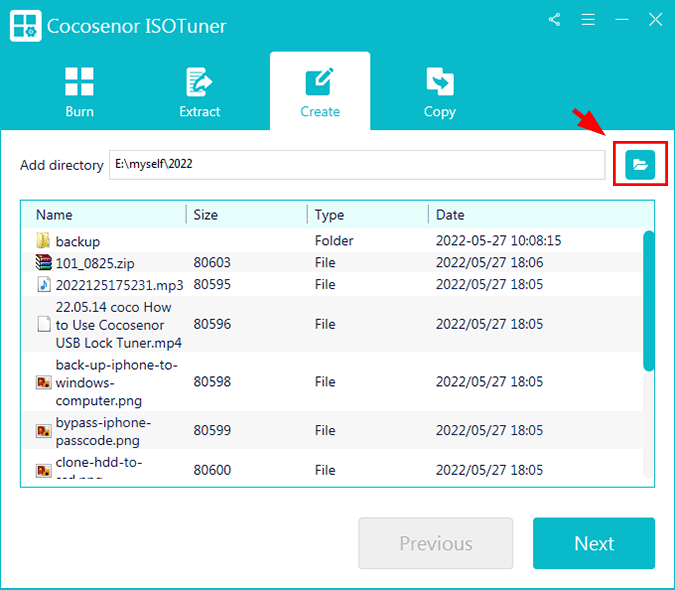
Here you can add various files to create the unique ISO image, such as music, videos, documents, images, and software. But you should store all the files in one folder in advance. After that, click the Next button to go ahead.
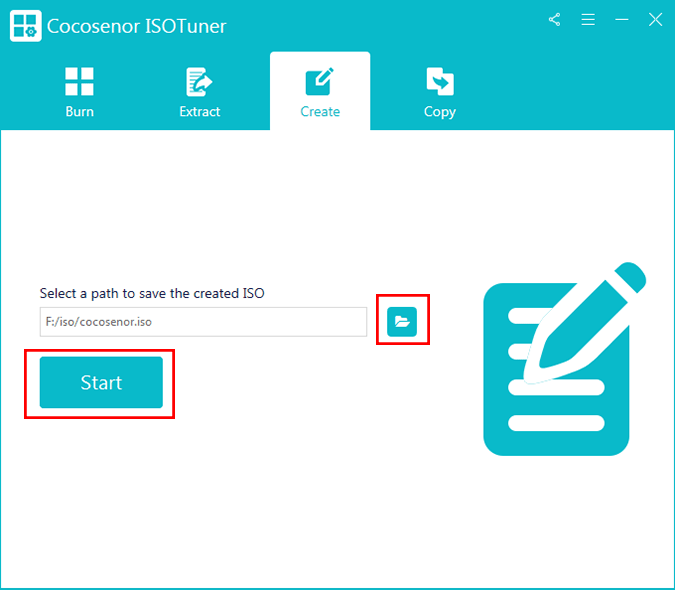
You can click the folder icon here to navigate to the destination folder on your computer. The name of the ISO image will be given by default. After that, click the Start button to make ISO image file.
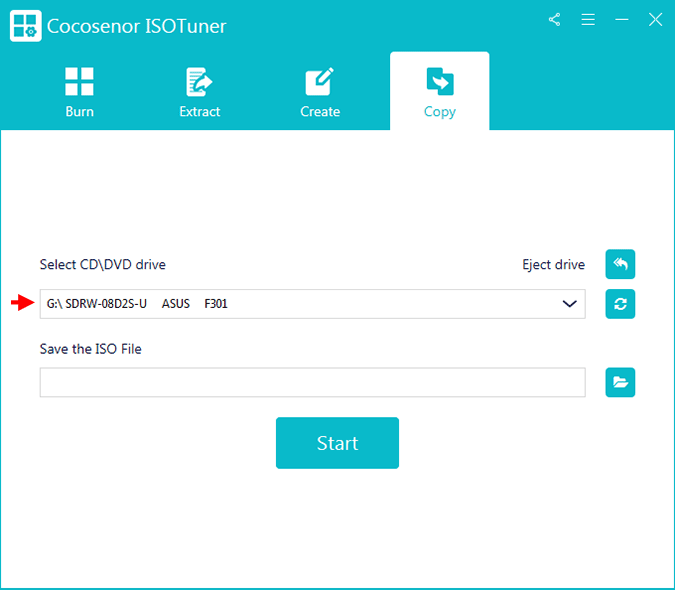
Cocosenor ISOTuner is the professional CD/DVD disc to ISO converter that can help to convert the data from CD/DVD disc to ISO image, which you can directly save it on your computer.

Inject the CD/DVD into your computer. If there is no CD/DVD drive on your computer, you can connect an external CD/DVD drive and place your CD or DVD on it. After that, choose the CD or DVD for data clone.
Note: There is an button on the right side for you to eject the CD/DVD drive. If you want to replace the CD or DVD, you can click it and the CD/DVD drive will be ejected.
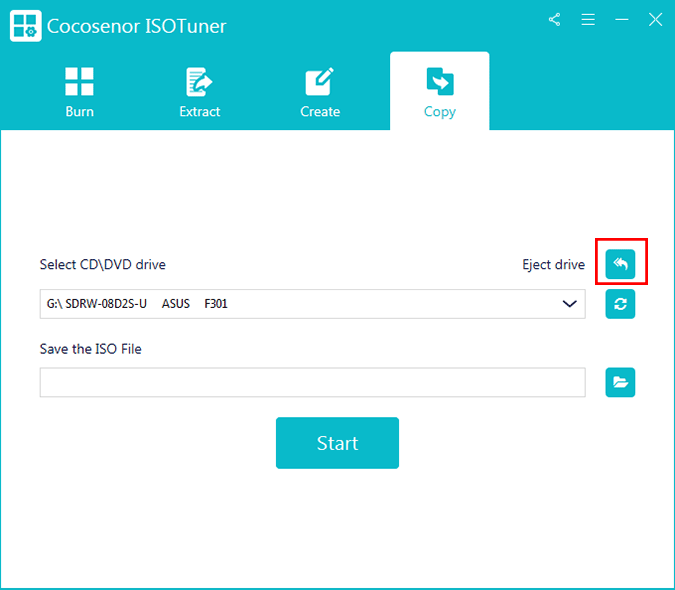
Click the folder icon on this interface and then choose a folder from your computer to save the ISO file. After that, click the Star button on the center.
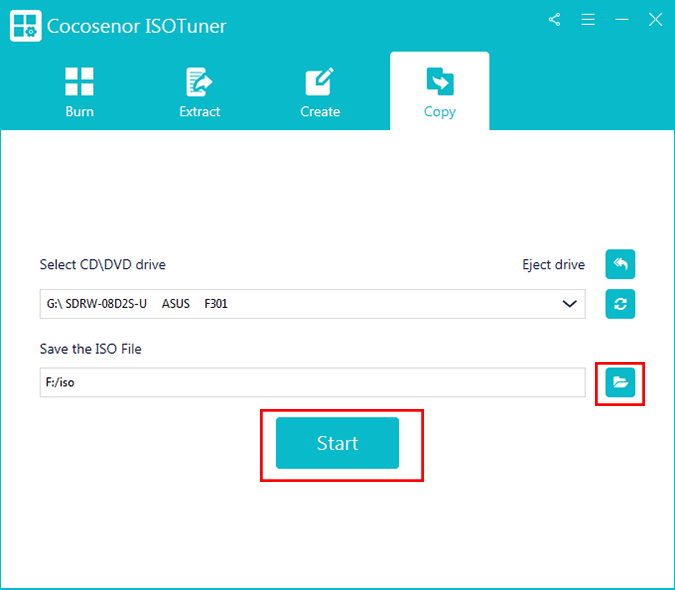
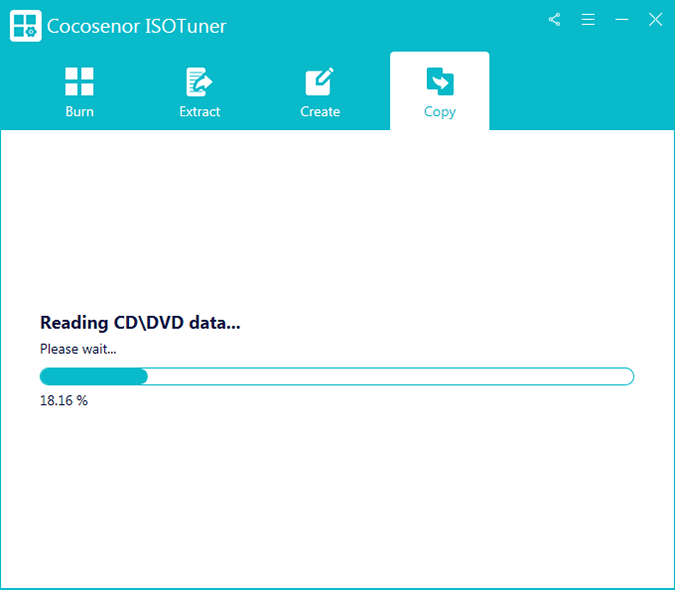
The software will start reading the CD/DVD data and then making the ISO file.